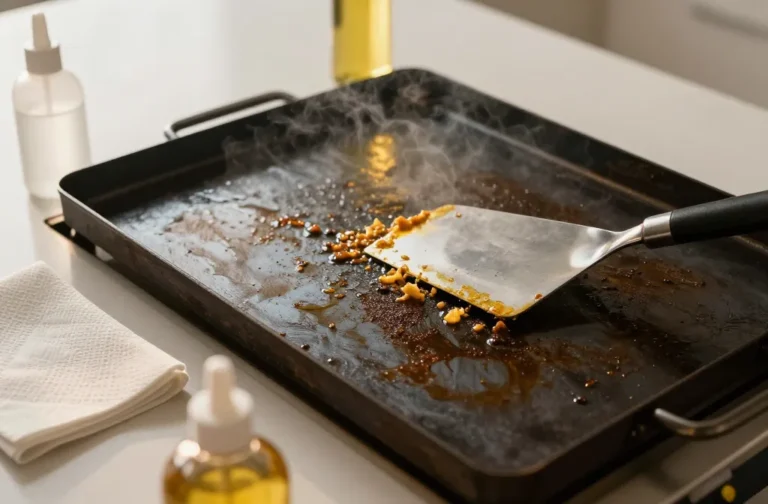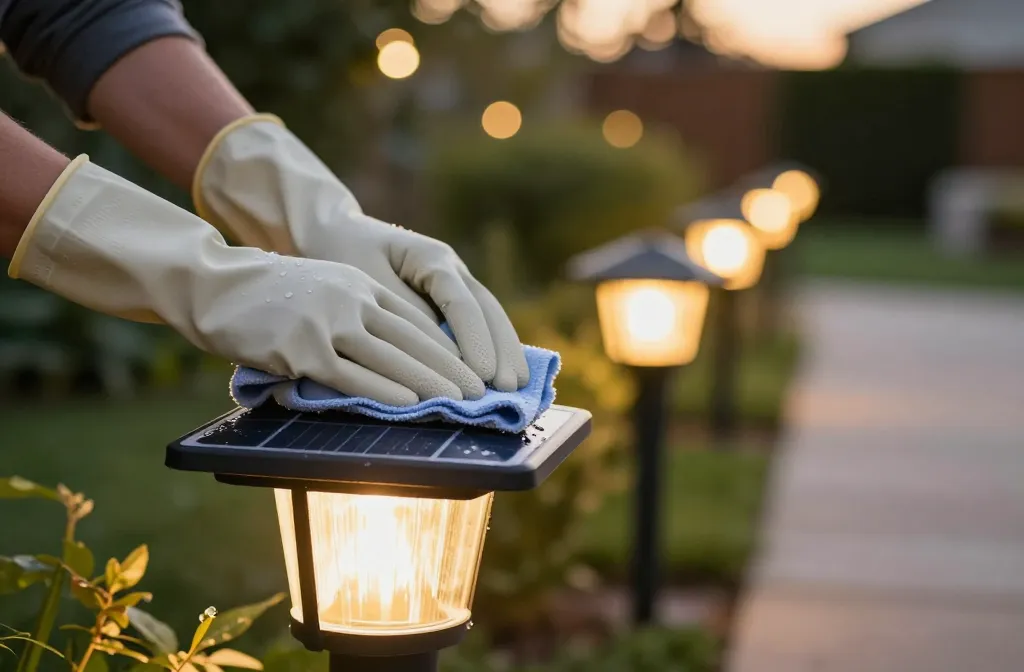
Your solar yard lights work hard every night, and the thanks they get? Dust, spider webs, and bird… contributions. If your lights look more “meh” than “magical,” they probably just need a good clean. The best part: you don’t need fancy tools or a full afternoon. Give me 20 minutes and a soft cloth—let’s make those lights shine again.
Why Clean Solar Lights At All?
Dirty solar panels block sunlight, which means less charging and dimmer lights. Cloudy covers also mess with the glow. A quick clean can restore brightness, extend battery life, and make your yard look like you actually care. Plus, it’s oddly satisfying—like washing a dusty car and remembering it’s red.
What You’ll Need (Nothing Wild)
Keep it simple. You probably own most of this already:
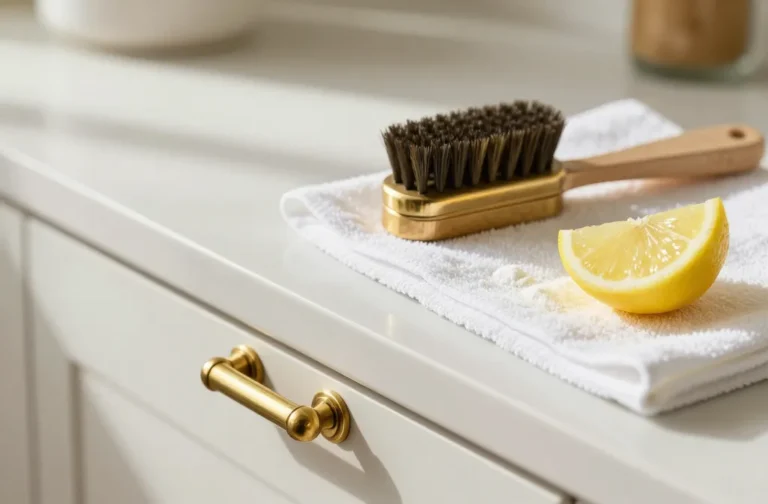
- Soft microfiber cloths (paper towels can scratch)
- Mild dish soap
- Warm water in a small bucket
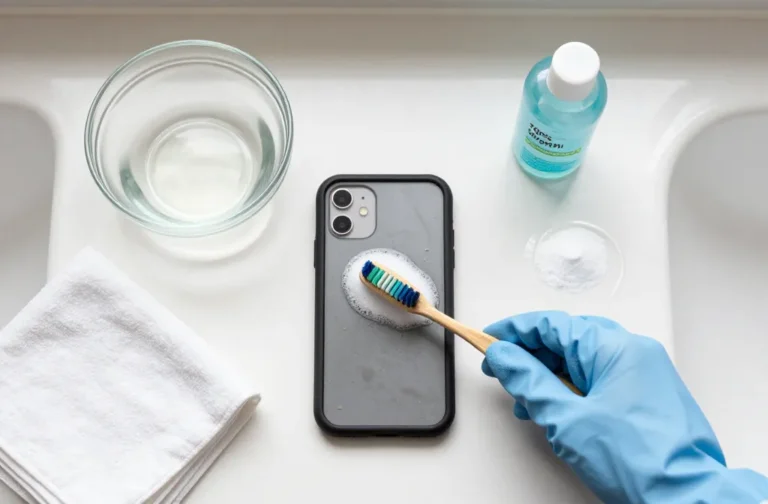
- Soft toothbrush or small detailing brush
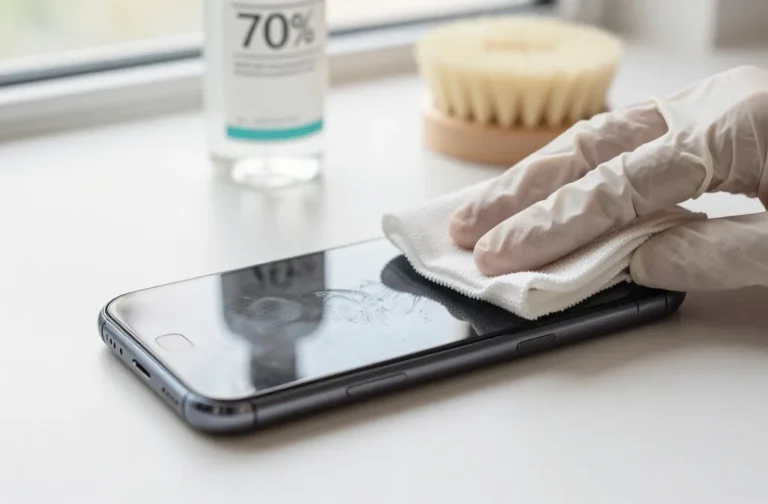
- Isopropyl alcohol (optional for stubborn residue)
- Fine-grit sandpaper (1000–2000) or headlight restoration kit if lenses turned cloudy
- Clear UV-resistant spray (optional for lens protection)
- Rubber gloves if you’re feeling fancy
FYI: Avoid harsh cleaners and glass polish with ammonia. They can damage coatings and plastics.
Quick Clean: The 10-Minute Tune-Up
You don’t need to disassemble anything for this routine.
- Turn the lights off and remove them from the stakes if possible. Less awkward, fewer ants up your sleeve.
- Dust first. Wipe the solar panel and lens with a dry microfiber cloth to remove loose grime.
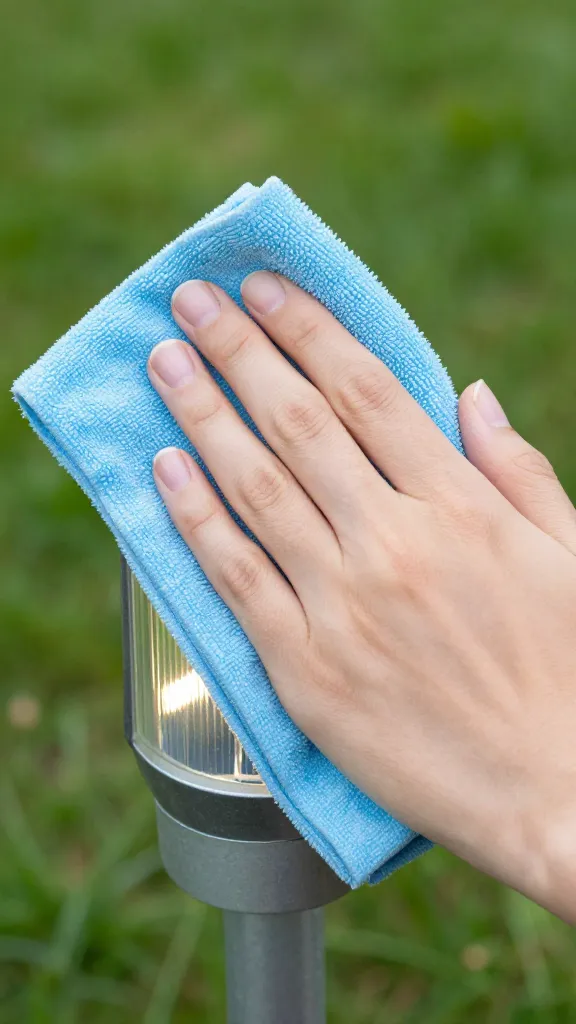
- Soap and water. Mix a few drops of dish soap in warm water. Dip your cloth, wring it out, and gently wipe the panel, lens, and housing.
- Detail the crevices. Use the toothbrush around edges, seams, and any textured surfaces.
- Rinse and dry. Wipe with a clean, damp cloth to remove soap residue, then dry thoroughly.
- Polish with alcohol (optional). If smudges remain, dab a little isopropyl alcohol on the cloth and do a final pass on the solar panel.
You’ll probably see a noticeable brightness boost tonight. Small effort, big glow-up.
Deep Clean: Fixing Cloudy Lenses and Faded Housings
If your lights look hazy or yellow, the plastic lens likely oxidized. Sun does that. No drama—we can fix it.
De-yellow and De-haze the Lens
- Clean first. Wash the lens with soapy water and dry it.
- Wet sand with 1000–2000 grit sandpaper. Light pressure, small circles. Keep the lens wet as you go.
- Wipe and inspect. If it looks uniformly frosted (not patchy), you’re on track.
- Polish. Use plastic polish or a headlight restoration compound with a microfiber cloth until it clears.
- Seal it (highly recommended). Apply a clear UV-resistant spray to slow future yellowing. Follow the can directions and let it cure.
Refresh the Housing
If the black plastic looks chalky, rub it with a little plastic restorer or even a dab of mineral oil on a cloth. Wipe off excess so dust doesn’t stick. Avoid the solar panel—oil and panels do not vibe.
Battery and Contacts: When Cleaning Isn’t Enough
Sometimes a clean lens won’t fix a dim light because the battery taps out first. Solar lights usually use AA or AAA NiMH rechargeables.
Check the Battery
- Open the battery compartment (usually under the cap). Flip the power switch off if there is one.
- Look for corrosion (white or green crust). If you see it, remove the battery.
- Clean contacts with a cotton swab dipped in white vinegar or isopropyl alcohol. Dry thoroughly.
- Replace old batteries with the same type and capacity (NiMH, same mAh). Don’t swap in regular alkaline—wrong chemistry.
IMO, if your lights are 2–3 years old and act moody, just replace the batteries. Cheap fix, big payoff.
Panel Positioning and Shading: The Silent Brightness Killer
Clean panels can still underperform if they sunbathe in the shade—irony noted.
- Give them 6–8 hours of direct sun. Morning to mid-afternoon works best.
- Angle the panel toward the sun if your model allows. South-facing in the northern hemisphere, north-facing in the southern.
- Relocate stubbornly dim lights. A few feet can change everything if trees or fences cast shade.
- Avoid pathway sprinklers. Hard water leaves a cloudy film. If you can’t avoid it, wipe panels weekly.
FYI: Partial shade on just a bit of the panel can tank output more than you’d expect. Those cells share the workload.
Seasonal Care: Keep Them Happy Year-Round
You don’t need to baby them, but a little routine helps.
Monthly (or whenever they look dull)
- Quick clean with soapy water and a microfiber cloth
- Brush away cobwebs and leaf bits
- Check for moisture inside the lens—condensation means a failing seal
Spring and Fall
- Deep clean lenses and housings
- Inspect and replace batteries if runtime dropped
- Reposition for shifting sun angles as trees fill in or drop leaves
Winter Tips
- Wipe off snow and ice gently with a soft brush—no scraping
- Consider storing decorative lights if you get long, dark winters
- Keep panels dry and upright to prevent water pooling and seepage
Common Mistakes to Avoid
- Using abrasive cleaners or rough pads. Micro-scratches reduce panel efficiency.
- Forgetting the on/off switch. Don’t laugh—it happens.
- Spraying chemicals directly on the panel. Spray the cloth instead for better control.
- Mixing battery types or capacities. Keep them matched or expect weird performance.
- Skipping the dry step. Trapped moisture invites fog and corrosion.
FAQ
How often should I clean solar yard lights?
Aim for a light wipe-down monthly and a deeper clean every season. If you live near the coast, in a dusty area, or under trees, clean more often. Your eyes will tell you—when the glow fades, grab a cloth.
Can I use glass cleaner on the solar panel?
Use mild soap and water instead. Many “glass” cleaners contain ammonia or additives that can damage coatings and plastics. If you need extra oomph, isopropyl alcohol on a microfiber cloth works well.
My lights turn on but look dim. What now?
Clean the panel and lens first. If they still look weak, check the battery age and contacts. Replace the battery if it’s 2+ years old, and make sure the panel gets a full day of sun—shade ruins everything here.
Water got inside the lens. Are they toast?
Not necessarily. Open the unit, remove the battery, and let everything dry completely in a warm, shaded spot. Check the gasket or seal; if it’s cracked, replace it if possible or add a thin bead of clear silicone. If rust hit the electronics, it might be time to retire it, IMO.
Can I put car wax or oil on the solar panel to make it shiny?
Hard no. Oils and waxes leave films that block light and attract dust. Keep the panel clean, dry, and bare. Save the wax for your actual car.
Do headlight restoration kits really work on cloudy solar lights?
Yes, on plastic lenses they work surprisingly well. Follow the kit instructions, then seal with a UV-protective spray. That sealant step matters or the haze will come back fast.
Wrap-Up: Let There Be Better Light
Clean panels and clear lenses make your solar lights charge faster and shine brighter. Keep your kit simple, your motions gentle, and your batteries fresh. A few minutes every month beats buying new lights every season. Now step outside tonight and enjoy that glow—your yard earned it.