Your makeup sponge works hard. Foundation, concealer, cream blush—then it sits there like a tiny germ hotel. Let’s fix that. I’ll show you quick, effective ways to clean it so your skin stays happier and your makeup looks smoother. No fancy gadgets needed, just smart technique.
Why you should clean your sponge (and how often)
We ask a lot from a sponge, and it collects everything: oils, pigments, and bacteria. That grime leads to streaky application and clogged pores. Not cute.
Aim to wash your sponge after every few uses—ideally every time, but I get it, life happens. At the very least, do a proper deep clean once a week. And if it smells weird or looks stained even after washing? Time to retire it.
The quick cleanse: for daily or every-few-uses cleaning
When you don’t have time for a spa day for your tools, do a fast refresh. This method keeps buildup at bay and takes under 2 minutes.
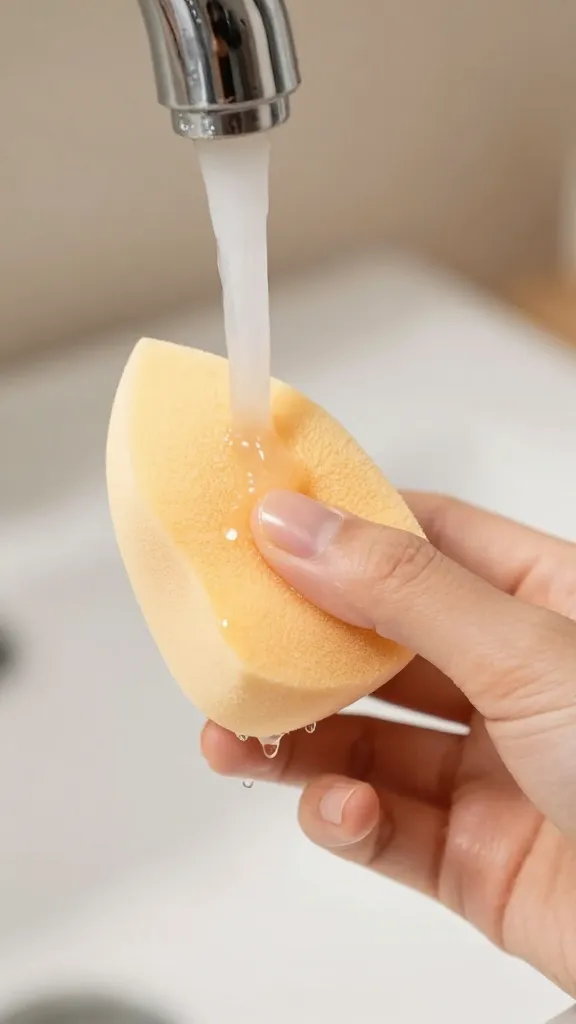
- Wet the sponge with warm water until it’s fully saturated and puffy.
- Add cleanser: a drop of fragrance-free liquid soap, sponge cleanser, or gentle face wash.
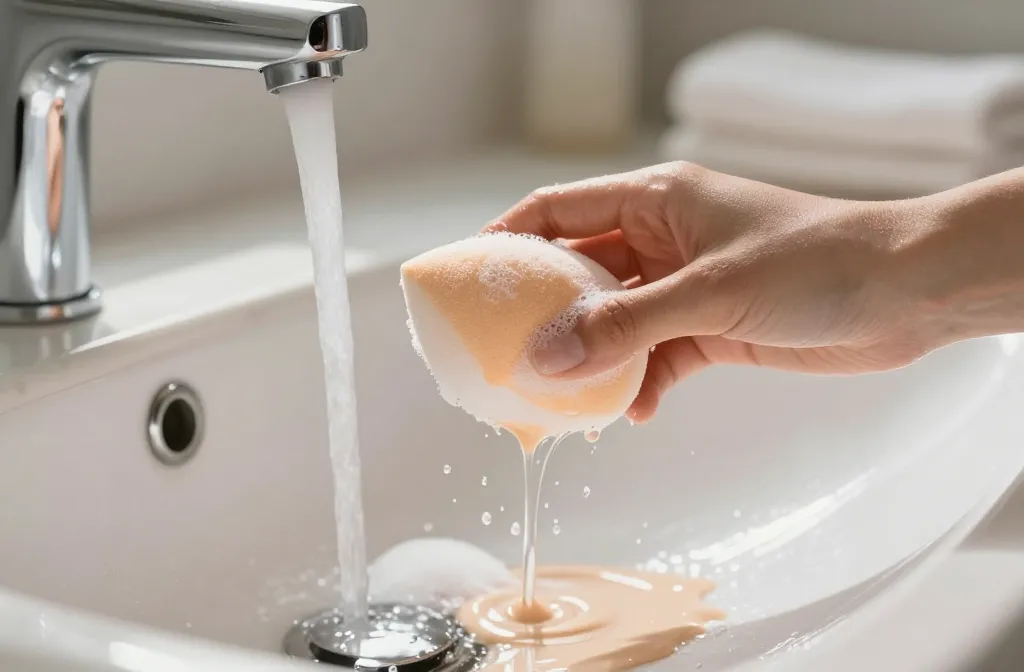
- Work it in: squeeze, roll, and massage under running water. Don’t twist—twisting tears foam.
- Rinse, rinse, rinse until the water runs clear. Keep going even when you think you’re done.
- Squeeze out water with a clean towel and let the sponge air-dry in an open, ventilated spot.
Good cleanser options
- Unscented dish soap (great on oils—use sparingly)
- Baby shampoo (gentle, accessible)
- Solid bar cleansers made for brushes/sponges
- Dedicated sponge shampoos if you’re fancy like that
The deep clean: for weekly reset and stubborn buildup
This one pulls out long-set stains and that weird “why does this look beige forever?” tint.
- Pre-soak: Fill a bowl with very warm water and add a pea-size of cleanser. Submerge the sponge for 10–15 minutes.
- Spot treat stains: Rub the sponge directly onto a solid cleanser or dab dish soap where makeup clings.
- Massage gently: Press and release. Don’t nail it like bread dough—you’ll rip it.
- Rinse thoroughly: Squeeze under running water until it’s crystal clear.
- Optional microwave step for extra sanitizing: See below before you try it.
- Dry properly: Towel-squeeze, then air-dry on a clean rack or a paper towel in a bright, ventilated spot.
About the microwave method (read before doing)
Microwaving can reduce microbes, but you must do it safely. Only microwave if your sponge has no metal, you use a microwave-safe cup, and the sponge sits fully submerged in soapy water. Heat for 45–60 seconds, then let it cool before touching. If your sponge expands a ton, smells burnt, or looks warped, skip this in the future. IMO, it’s optional—not mandatory.
The stain-buster routine: when foundation won’t budge
Some formulas cling like their rent depends on it—long-wear foundation, cream contour, SPF. Try a two-step cleanse.
- Oil break-down: Gently massage a tiny amount of food-grade oil (olive, avocado) into stains. This loosens pigments.
- Soap follow-up: Wash immediately with dish soap or a solid cleanser to remove the oil.
- Rinse like crazy until no slick residue remains.
What not to use
- Bleach or harsh household cleaners—too aggressive for porous foam and your skin.
- Boiling water—can warp foam and break seams.
- Alcohol—dries out and degrades foam; also rough on skin.
Drying: where most people mess up
You cleaned it, great. Now don’t ruin it by trapping moisture. Bacteria love damp, dark places, FYI.
- Don’t store in closed bags or drawers while damp.
- Let it breathe on a clean, elevated surface. A wire rack or the edge of a sink works.
- Sunlight helps, but don’t bake it on a hot radiator.
- Fully dry before sealing in a travel case.
Speeding up dry time
Wrap the sponge in a clean microfiber towel and gently press for 10–15 seconds. This pulls out excess water without friction. Then set it out to air-dry.
How to keep it cleaner, longer
Think prevention. If you limit how much product sinks deep, you’ll spend less time scrubbing.
- Dampen the sponge before makeup so it absorbs less product.
- Apply to your face first, then blend with the sponge instead of loading directly onto it.
- Rotate sponges: keep two in play so one dries while you use the other.
- Store smart: use ventilated holders or cases with holes.
When to replace
You’ll know it’s time when you see:
- Tears or crumbling that catch on skin
- Persistent stains or odor even after deep cleaning
- Weird texture—feels slick or rough instead of bouncy
Most sponges last 1–3 months with regular use and cleaning, IMO.
Travel-friendly cleaning hacks
On the road with a grubby sponge? You’ve got options.
- Hotel bar soap: Run the sponge under warm water, rub on the bar, rinse clear. Works in a pinch.
- Makeup-remover wipes: Not perfect, but press and roll to lift surface product. Do a proper wash later.
- Sick of soggy bags? Pop the clean sponge into a breathable mesh pouch clipped outside your toiletry kit.
FAQ
Can I use the washing machine?
I wouldn’t. Even in a lingerie bag, the rough tumble and detergent can tear foam and leave residue. Hand-wash in minutes and save your sponge (and your patience).
Do I need a special sponge soap?
Nope. A gentle, fragrance-free soap works great. Specialty cleansers can be nice and less drying, but they’re not a must.
How long should drying take?
Usually 6–12 hours depending on your climate and sponge density. If it’s still damp the next day, give it more airflow and avoid closed containers.
My sponge smells even after washing. What now?
Try a deep clean with a pre-soak, then the microwave-in-soapy-water method. If the odor lingers, retire it. Persistent smell often means bacteria set up camp deep inside.
Is hot water better than cold?
Use warm water. It helps dissolve oils without damaging foam. Very hot water can loosen glue or warp some sponges, and cold water doesn’t lift oils as well.
Can I use vinegar or baking soda?
You can, but they’re not miracle workers for oily makeup stains. If you try it, follow with a proper soap wash so your sponge doesn’t smell like a salad.
Conclusion
Clean sponges blend better, last longer, and treat your skin nicer. Keep it simple: quick wash after use, deep clean weekly, dry in the open, and replace when it gets funky. Your base will look smoother, your sponge won’t gross you out, and your face will thank you—silently, but still.