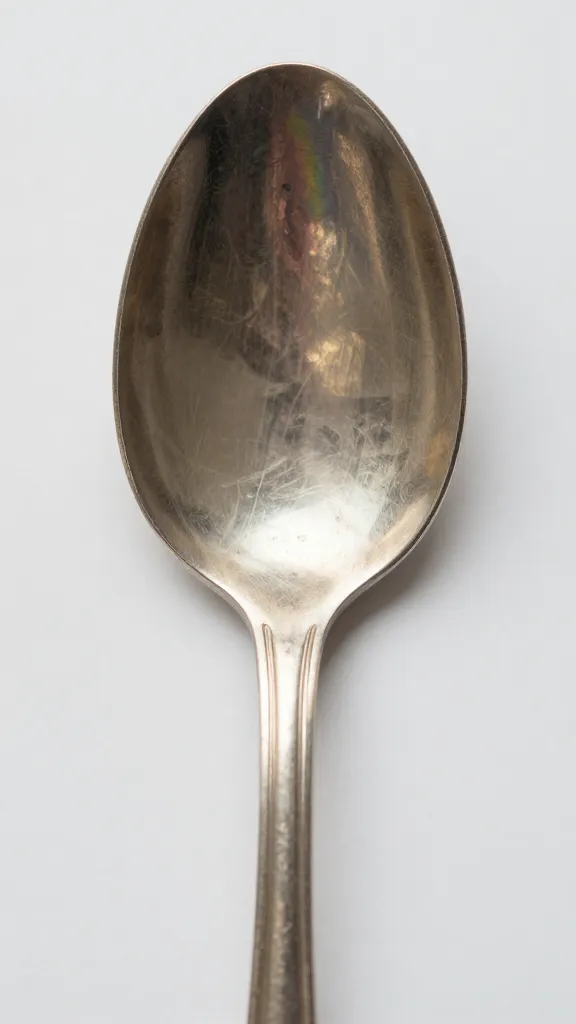
Silver looks glamorous right up until it doesn’t. One day it sparkles, the next it’s got that dull gray cast and weird rainbow blotches. The good news? Tarnish isn’t permanent—just chemistry doing its thing. And we can undo it with stuff you already own, plus a few pro tricks for the fancy pieces. Let’s get that shine back without losing your Saturday.
Why Silver Tarnishes (And Why It’s Not Your Fault)
Tarnish happens when silver meets sulfur in the air, on your skin, or in food. It forms silver sulfide on the surface—that gray or black film. Not dirt, not neglect, just science.
Some pieces tarnish faster. Sterling silver (92.5% silver + copper) reacts more than pure or plated. Humidity, wool, eggs, onions, rubber bands, and even your heating system can speed it up. FYI, this is normal life, not a moral failing.
Quick Diagnosis: What Kind of Silver Are You Cleaning?
Before you go full DIY wizard, figure out what you’ve got. Different finishes need different love.
- Sterling silver: Stamped 925 or “sterling.” Safe for most cleaners and polishes.
- Silver-plated: Thin layer of silver over base metal. Gentle methods only. No aggressive scrubbing.
- Antique/patina pieces: Intentional dark areas in the details. Don’t strip the character!
- Gemstones/pearls attached: Avoid harsh chemicals and dips. Treat like they’re dramatic and fragile—because they are.
The Gentle Start: Soap and Water (Yes, Really)
If the tarnish looks light, start simple. Warm water, a few drops of mild dish soap, and a soft cloth. You’d be surprised how much grime hides the shine.
- Mix warm water and a little dish soap.
- Dip a soft cloth or sponge, then wipe gently.
- Rinse in clean water and dry immediately with a lint-free cloth.
If that fixes it, you win. If not, bring in the next level.
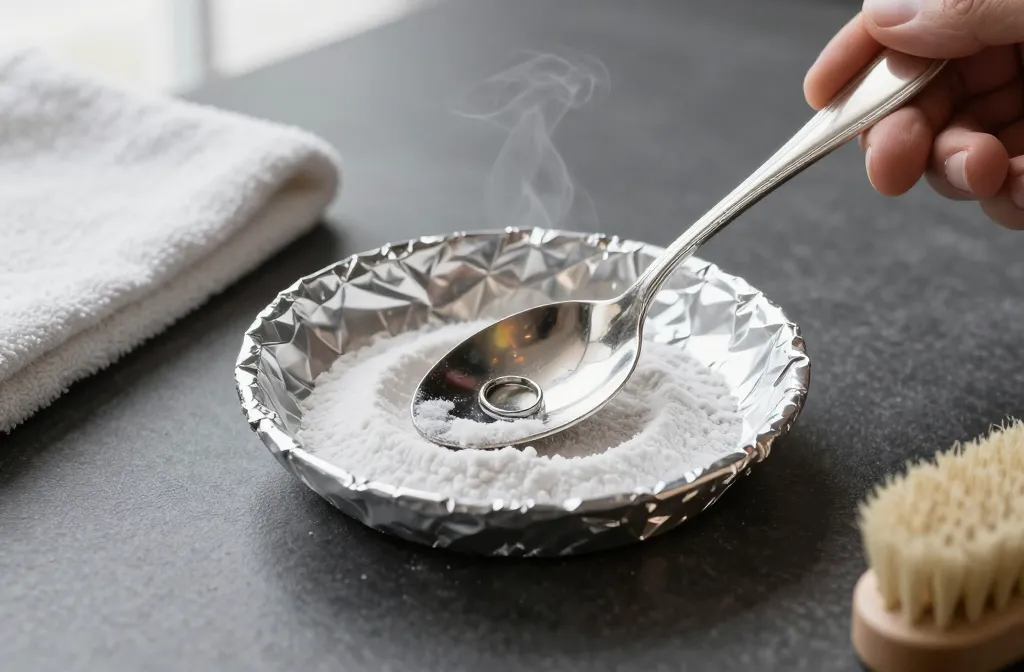
The Classic Aluminum Foil Trick (Kitchen Chemistry)
This one feels like a magic trick because it actually reverses the tarnish reaction. No scratching, no elbow grease—just science.
What you need:
- Aluminum foil
- Non-metal bowl or pan
- Hot water (not boiling for delicate pieces)
- 1 tablespoon baking soda per cup of water
- Optional: a pinch of table salt for extra kick
Steps:
- Line your bowl/pan with foil, shiny side up.
- Place silver pieces so they touch the foil.
- Sprinkle baking soda over the items (and salt if using).
- Pour in hot water to cover. You’ll smell sulfur—that’s tarnish leaving your silver, not your soul.
- Wait 2–5 minutes, flip pieces if needed.
- Rinse well and dry immediately.
When to skip this method: Pieces with glued-in stones, pearls, oxidized designs you want to keep, or silver plate that already shows wear. IMO, use it on flatware, simple chains, and solid sterling.
Why It Works (Nerd Corner)
The aluminum bonds with sulfur more readily than silver does. The hot water and baking soda act like a conductor, so sulfur migrates from your silver to the foil. Tarnish gone, shine restored. Chemistry: 1, Grime: 0.
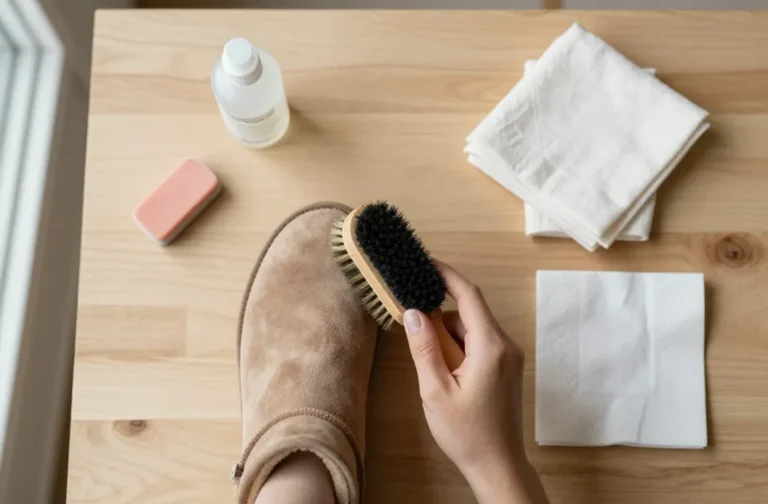
Polishing by Hand: When You Want Control
For heirlooms, jewelry, or anything with details, a gentle polish beats dips. You’ll remove tarnish without overdoing it.
You’ll need:
- Silver polishing cloth or a cream/paste polish made for silver
- Soft microfiber cloths or cotton rounds
- Soft-bristle brush (baby toothbrush) for crevices
Steps:
- Apply a pea-sized dab of polish to the cloth, not the piece.
- Rub using small, straight strokes—no gritty circles. Be gentle.
- Use a toothbrush sparingly for grooves and filigree.
- Buff with a clean cloth until it gleams.
Pro tip: If you love the darkened recesses on antique pieces, polish only the raised areas. That contrast makes the design pop. Over-polish and you’ll flatten both the shine and the vibe.
DIY Paste: Baking Soda + Water
Short on polish? Make a mild paste with baking soda and water. Rub very gently, then rinse and dry. Avoid on silver plate or super soft, mirror finishes—it can scratch if you go ham.
When to Use Silver Dips (And When to Back Away)
Liquid silver dips work fast. They also strip oxidized finishes and can dull the surface if you overuse them. They’re like that friend who helps you move but breaks three glasses.
Use dips for:
- Heavily tarnished sterling with no stones or patina you want to keep
- Intricate chains that are impossible to polish by hand
Avoid dips for:
- Anything with pearls, opals, turquoise, or porous stones
- Silver-plated items with thin plating
- Antiques where the dark patina matters
How to dip safely:
- Follow the label exactly. Gloves, good ventilation, the whole deal.
- Dip for seconds, not minutes. Watch like a hawk.
- Rinse thoroughly and neutralize with a baking soda bath if the product recommends it.
- Dry completely.
Prevent Tarnish Like a Lazy Genius
You cleaned it. Now keep it clean with minimal effort.
- Store smart: Air is the enemy. Use anti-tarnish pouches, zip bags, or cloth-lined boxes. Add anti-tarnish strips.
- Wear it often: The oils on your skin actually slow tarnish. Yes, your body is the maintenance plan.
- Keep away from sulfur sources: Rubber bands, wool, felt, eggs, onions, and some cleaning products.
- Dry before storing: Moisture speeds tarnish. Quick wipe after wear or washing = big difference.
- Rotate polishing cloths: Once they’re black, they still work, but don’t grind old residue into delicate pieces.
Setting Up a 10-Minute Maintenance Routine
– Weekly: Quick wipe with a silver cloth for jewelry you wear.
– Monthly: Check flatware or display pieces and touch up as needed.
– Seasonally: Deep clean and replace anti-tarnish strips. That’s it. Go live your life.
Special Cases You’ll Want to Baby
Some pieces come with baggage. Handle them like VIPs.
Jewelry with Stones
– Pearls, opals, turquoise: Keep away from dips and harsh polishes. Use a damp cloth only, then dry.
– Gem-set rings: Avoid soaking if stones are glued. Use a soft brush and mild soap at most.
Silver Plate
– Use only the gentlest methods. No vigorous scrubbing.
– If you see yellowish or coppery areas, the plating already thinned. Stop and consider professional replating, IMO.
Engraved or Antique Pieces
– You want the contrast. Polish lightly, leave the crevices dark.
– If you’re unsure, test polish on the underside first. Always.
Common Mistakes to Avoid
- Skipping the dry step: Water spots look awful and invite tarnish right back.
- Using toothpaste: Old myth. Many modern toothpastes contain abrasives. Hello, scratches.
- Paper towels for polishing: They scratch. Use microfiber or cotton.
- Soaking everything: Not all jewelry likes baths. Know your stones and settings.
- Over-dipping: Fast results, long-term dullness. Use sparingly.
FAQ
How often should I clean my silver?
Clean as needed, which depends on wear and storage. Jewelry you wear a lot might just need a quick wipe weekly. Display pieces or stored items usually need attention every 1–3 months. If you store with anti-tarnish help, you’ll stretch that timeline.
Can I use vinegar or lemon juice?
You can, but I don’t love it for silver. Acids can etch finishes and mess with stones or glue. Baking soda + hot water with foil or a proper silver polish works better and stays safer, IMO.
What’s the safest method for silver-plated items?
Start with soap and water, then a gentle silver polish if needed. Avoid abrasive pastes and limit any chemical dips. If you see base metal peeking through, stop and reassess—no cleaner fixes worn plating.
Why does my silver get cloudy again so fast?
Air exposure, humidity, and contact with sulfur-rich stuff bring tarnish back. Dry thoroughly, store airtight with anti-tarnish strips, and keep pieces away from wool, rubber, and certain foods. A quick wipe after wear helps a ton.
Are polishing cloths better than liquid polish?
They’re different tools. Cloths shine and remove light tarnish fast with minimal mess. Liquid or cream polishes cut through heavier tarnish and reach details. I like a combo: cloth for maintenance, cream for the tough jobs.
Is the aluminum foil method safe for everything?
Not everything. Skip it for pieces with pearls, porous stones, glued settings, or deliberate oxidized designs. It’s great for solid sterling flatware and simple pieces, though.
Wrapping It Up
Tarnish looks scary, but it’s just a surface thing. Start gentle with soap, then try the foil trick or a proper polish, and dip only when you must. Store smart, wipe often, and your silver will keep that VIP shimmer with minimal drama. Shine on—your brunch spoons and favorite chain will thank you.