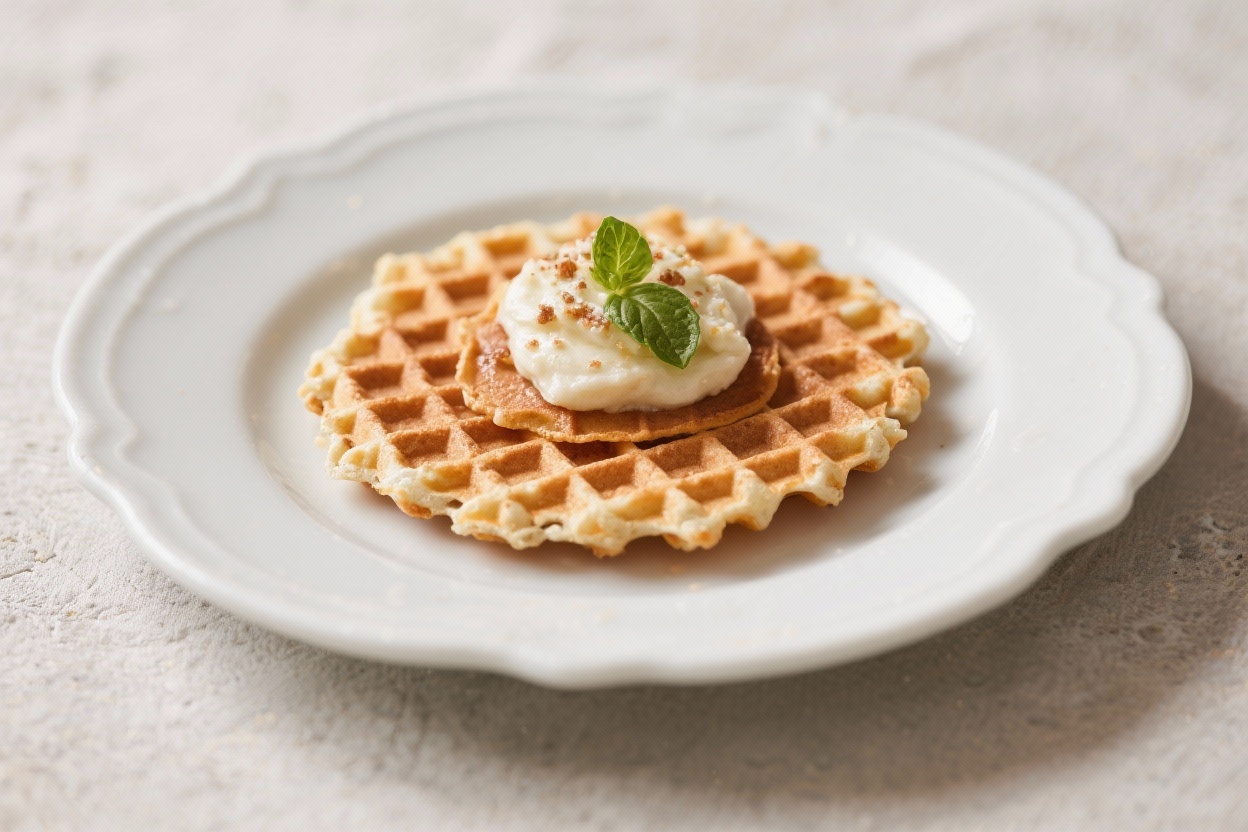
You know that one dessert that disappears from the table before it even cools? This is it. Pizzelle are thin, lacy Italian waffle cookies that snap like a secret and taste like a hug.
If your Nonna didn’t make these, don’t worry—you’re about to become someone’s Nonna. With a pizzelle iron, a handful of pantry staples, and five minutes of swagger, you’ll crank out a stack that looks bakery-level and tastes better. Ready to make your kitchen smell like anise, vanilla, and victory?
What Makes This Recipe So Good
- Shatteringly crisp edges with a tender center—no floppy cookies here.
- Classic Italian flavor from vanilla and anise, plus a buttery finish that feels luxurious, not heavy.
- Fast and forgiving: batter in 10 minutes, cookies in 20, applause immediately.
- Perfect canvas for fillings: Nutella, whipped ricotta, or a dusting of powdered sugar.
- Holiday-worthy, everyday easy—they store well and make elite gifts.
Ingredients Breakdown
- 3 large eggs – For structure and shine.
- 3/4 cup (150g) granulated sugar – Sweetness and browning.
- 1/2 cup (113g) unsalted butter, melted and cooled – Richness and crisp texture.
- 1 3/4 cups (210g) all-purpose flour – The base, measured lightly.
- 1 1/2 teaspoons baking powder – Gentle lift to prevent toughness.
- 1 teaspoon pure vanilla extract – Classic aroma.
- 1/2 to 1 teaspoon anise extract (or 1 tablespoon anise seeds) – Signature pizzelle flavor; adjust to taste.
- Pinch of fine salt – Balances sweetness.
- Optional: powdered sugar – For dusting.
Instructions
- Preheat the pizzelle iron. Medium heat is your friend.
Lightly grease if your iron isn’t nonstick.
- Whisk eggs and sugar in a bowl until pale and slightly thick, about 1–2 minutes by hand.
- Stir in melted butter (cooled), vanilla, and anise. Mix until smooth and glossy.
- Combine dry ingredients: whisk flour, baking powder, and salt. Fold into wet ingredients until just combined.
Batter will be thick like pancake batter.
- Test a cookie. Drop 1 heaping tablespoon onto the center of each iron plate. Close and cook 30–60 seconds until golden. Adjust heat/time as needed.
- Cook the batch. Work quickly: scoop, press, peek.
Transfer with a spatula to a wire rack.
- Shape while warm (optional): Roll around a wooden spoon for cannoli-style tubes or drape over a bowl for mini shells. They set fast—move like a pro.
- Cool completely. Dust with powdered sugar if you want that snow-globe effect.
Storage Tips
- Room temperature: Store in an airtight tin for up to 2 weeks. Add a sheet of parchment between layers.
- Keep them crisp: Toss a dry paper towel or a few grains of uncooked rice in the tin to absorb moisture.
- Freeze: Freeze baked pizzelle up to 2 months.
Thaw uncovered at room temp to maintain snap.
- Re-crisp rescue: If they soften, bake at 300°F (150°C) for 3–5 minutes, then cool.
Health Benefits
- Portion control built-in: Thin cookies mean satisfying crunch for fewer calories per piece.
- Anise perks: Traditionally linked to digestion support and a soothing aroma. Tastes great, too—bonus.
- Simple ingredients: No mystery oils or stabilizers—just butter, eggs, flour, sugar.
- Customizable sweetness: You control sugar and fat levels, IMO the best “diet” is the one you’ll actually enjoy.
Avoid These Mistakes
- Overmixing the batter: Tough cookies happen when gluten is worked too hard. Mix just until combined.
- Iron too hot or cold: Too hot burns fast; too cold dries them out.
Aim for even, golden browning.
- Skipping the cool-down for butter: Hot butter can scramble eggs. Let it cool slightly first.
- Storing before cooling: Steam equals soggy. Always cool on a rack until crisp.
- Too much batter: Overflow makes a mess and uneven edges.
Start small and adjust.
Variations You Can Try
- Lemon zest + vanilla: Bright, fresh, perfect for spring platters.
- Cocoa pizzelle: Swap 2 tablespoons flour for unsweetened cocoa; add 1 extra tablespoon sugar.
- Almond delight: Use almond extract instead of anise; sprinkle with toasted sliced almonds.
- Espresso boost: Stir in 1 teaspoon instant espresso powder for mocha vibes.
- Gluten-free swap: Use a 1:1 GF flour blend; add an extra tablespoon melted butter for crispness.
- Holiday spice: Cinnamon, nutmeg, and a pinch of clove—your house will smell illegal (in a good way).
FAQ
Do I need a pizzelle iron?
Yes. A waffle iron won’t get them thin enough. Pizzelle irons are affordable and last forever—like your new cookie legacy.
Can I make the batter ahead?
Yes, up to 24 hours in the fridge.
Let it sit at room temp 15 minutes and stir gently before cooking.
Why are my pizzelle soft?
They were either undercooked, cooled on a solid surface (traps steam), or stored before fully cooling. Use a wire rack and airtight container once cool.
Can I skip the anise?
Totally. Use vanilla only, or swap in almond or lemon.
You’ll still get that classic pizzelle magic.
How do I shape them into cones or cannoli?
While hot, wrap around a cone mold or spoon handle. Hold 5–10 seconds to set. Fill when completely cool.
Wrapping Up
Crisp, aromatic, and wildly snackable—this Pizzelle Recipe Italian is the cookie flex you’ll make on repeat.
With a few pantry staples and a steady rhythm at the iron, you’ll stack a tower of golden beauties in minutes. Gift them, fill them, or hoard them (no judgment). Just don’t blink—they vanish fast.