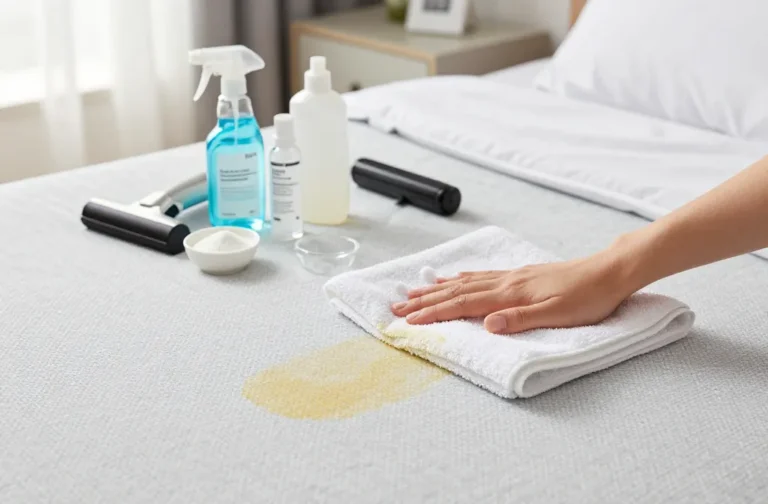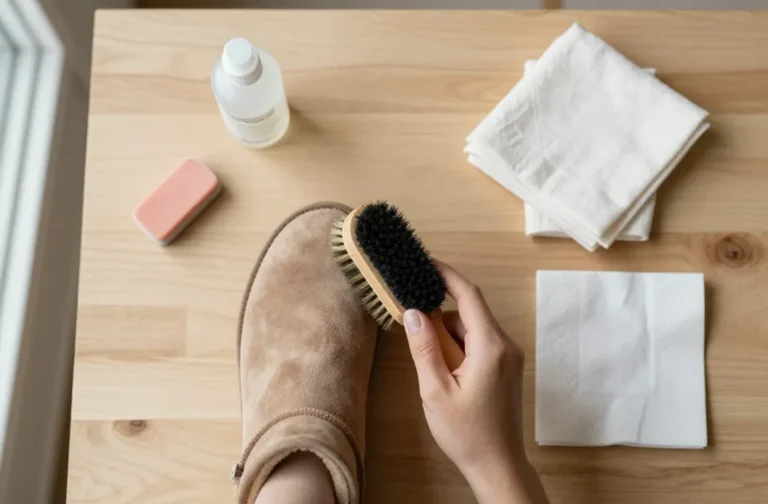
We ask a lot from that little sponge. It blends, blurs, erases mistakes, and pretends pores don’t exist. But if your beauty blender looks like it’s lived nine lives, your skin will tattle. Let’s fix that. I’ll show you easy, fast, and actually satisfying ways to clean it—no drama, just a squeaky-clean sponge that works like new.
Why You Need to Clean That Sponge (Like, Yesterday)
Your beauty blender soaks up makeup, skin oils, and—sorry—bacteria. That buildup causes breakouts and streaky application. Clean sponges give you smoother blends and save product because they don’t hold onto old gunk. Wash it regularly and you’ll extend the life of the sponge and your foundation. Win-win.
How Often Should You Wash It?
Think of it like your favorite mug: you can’t just keep refilling it forever. Clean your beauty blender after every 1–3 uses. If you have acne-prone or sensitive skin, wash it after every use. And no matter what, replace it every 3 months or sooner if it tears, smells weird, or won’t come fully clean. FYI, mold isn’t a “quirk”—it’s the red flag.
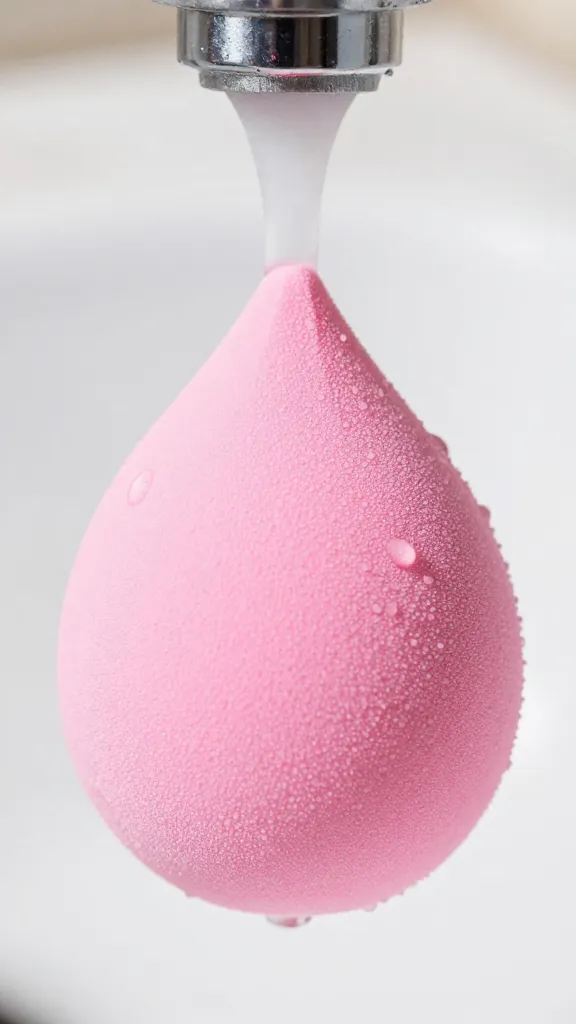
The Classic Clean: Soap + Warm Water
This is the OG method. It works with what you already have and doesn’t take long. Use a bar cleanser, liquid dish soap (unscented), or gentle brush cleanser.
Step-by-step
- Wet the sponge with warm water until it expands fully. Warm water helps break down oils.
- Apply cleanser directly to the sponge. About a pea-sized amount for liquid soap or rub it onto a cleansing bar.
- Massage and squeeze under running water. Don’t twist—press and release to protect the sponge’s structure.
- Rinse until water runs clear. Keep going. If it still looks stained, repeat the soap step.
- Blot and air-dry on a clean towel in a well-ventilated spot. Don’t trap it in a drawer while damp. Mold says “thank you” when you do.
Pro tips
- Use a silicone scrub mat to gently agitate stubborn spots, especially if you love full-coverage foundation.
- If your tap water runs very hard, final rinse with filtered water to reduce residue.
- Got fragrance sensitivity? Choose unscented, dye-free soap.
The Quick Fix: Microwave Method (Yes, Really)
It sounds chaotic, but it works—if you do it correctly. The heat helps melt oils and kills some bacteria. IMO, it’s perfect when you need a fast reset.
How to do it safely
- Use a microwave-safe mug and fill it with water. Add a small pump of gentle dish soap or sponge cleanser.
- Fully saturate the sponge under the tap first. Then submerge it in the mug—no dry spots allowed.
- Microwave for 60 seconds on high. Watch it so it doesn’t overflow.
- Let it cool before touching. Carefully remove, then rinse under running water until clear.
- Air-dry as usual.
- Don’t microwave a dry sponge. You’ll scorch it. Or worse.
- Avoid this method if your sponge has metallic flakes or unknown dyes that might react to heat.
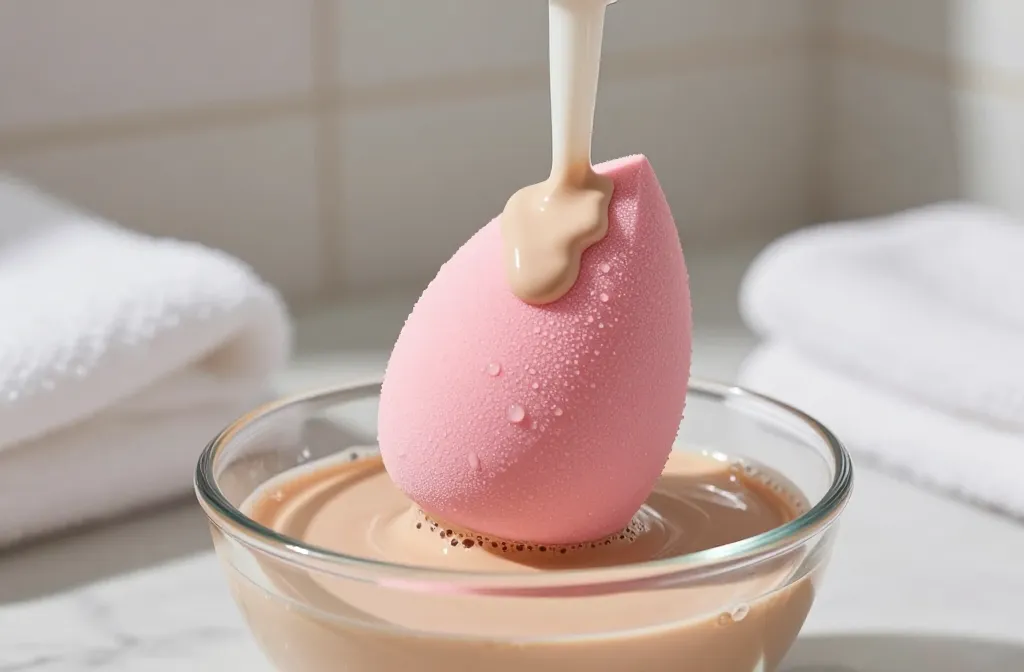
Stain-Busting: Oil Cleanse First
Water breaks down water-based products. Oil breaks down oil-based products—primer, sunscreen, cream blush. If your sponge looks like it’s been dip-dyed in bronzer, try this.
Two-step deep clean
- Pre-treat with oil: Massage a teaspoon of gentle oil (olive, jojoba, or a cleansing oil) into the dry sponge, focusing on stains.
- Rinse with warm water until milky runoff stops.
- Follow with soap: Use your regular cleanser to remove the oil and any leftover pigment.
- Rinse clear and repeat if needed. Then dry.
Why this works: Oil dissolves long-wear and waterproof formulas that laugh at regular soap. It also keeps the sponge supple.
When You’re Lazy: Solid Cleansers and Travel Hacks
We’ve all been there—running late, sponge looks tragic. Solid cleansers save time and pack easily.
- Solid cleanser bar: Wet sponge, swirl on bar, squeeze under warm water. Done in under a minute.
- Face wash hack: Use a fragrance-free gel cleanser in the shower if you forgot your sponge soap.
- On-the-go: Seal a mini pump of gentle dish soap in a reusable bottle and clean at the sink anywhere.
FYI: Avoid hand sanitizers or alcohol. They’ll dry and damage the sponge.
Drying: Where Most People Mess Up
You can wash perfectly and still ruin your sponge if you dry it wrong. Moisture + darkness = mold party.
Drying best practices
- Blot first with a clean towel to remove excess water.
- Air-dry upright in a breathable holder or on a clean rack. Let air circulate all around.
- Keep it out of bags or closed drawers until completely dry.
- Sunlight helps, but don’t bake it. Indirect light is perfect.
Bonus: Store your sponge in a vented case. If it smells musty, it’s time for a deep clean—or the bin.
Sanitizing vs. Cleaning: What’s the Difference?
Cleaning removes makeup and oils. Sanitizing reduces microbes. You want both, especially if you struggle with breakouts.
Easy sanitize options
- Microwave method after washing to add a heat step.
- Gentle brush sanitizing spray that’s sponge-safe. Spray lightly after it dries.
- Diluted white vinegar rinse (1 part vinegar to 3 parts water) after soap, then rinse well. The smell fades.
Don’t use straight bleach. Ever. This is your face, not a tile grout tutorial.
Common Mistakes to Avoid
- Twisting the sponge: It rips the foam. Squeeze only.
- Using super hot water: Warm works best. Boiling water can warp the sponge.
- Skipping rinses: Soap residue causes irritation and bad blends.
- Storing damp: That’s a fast track to mildew and breakouts.
- Waiting weeks between washes: Your skin will notice. Not in a good way.
FAQs
Can I use shampoo or body wash to clean my beauty blender?
Yes, as long as it’s gentle and preferably fragrance-free. Baby shampoo works well. Strong fragrances or heavy conditioners can leave residue and mess with your makeup finish.
Why does my sponge still look stained after cleaning?
Some pigments stain foam, especially long-wear foundations and cream bronzers. If it’s rinsing clear and doesn’t smell, it’s clean—even if it looks a little tinted. Try the oil-precleanse method for stubborn spots.
Is the microwave method safe for all sponges?
Most standard foam blenders handle it fine if they’re fully saturated and submerged. Avoid if your sponge has glitter, metallic flecks, or unknown additives. Always let it cool before handling—steam burns are not a vibe.
How do I know when to replace my beauty blender?
Replace it when it tears, crumbles, smells funky, or won’t rinse clear. Also, if it stays damp longer than usual or feels slimy, toss it. As a rule, every 3 months is ideal.
Can I put it in the washing machine?
You can, but I don’t recommend it. The agitation can shred the foam and detergent may linger inside. If you try it anyway, use a mesh bag, gentle cycle, and extra rinse—then air-dry thoroughly.
What’s the best cleanser to buy?
IMO, a solid brush/sponge cleanser gives the best balance of speed and power. Otherwise, a basic unscented dish soap cuts oils like a champ and costs pennies.
Conclusion
A clean beauty blender blends faster, looks smoother, and treats your skin nicer. Keep it simple: wash often, rinse well, dry fully. Use oil for stains, heat for sanitizing, and common sense for storage. Do that, and your sponge—and your face—will thank you.