Grease welded itself to your oven racks again? Perfect. Let’s evict it. You don’t need fancy tools or a hazmat suit—just a little strategy and stuff you probably already own. We’ll hit the fastest methods, the lazy overnight trick, and the “I need these shiny now” option. Ready to stop pretending those baked-on blobs are “seasoning”?
Know Your Enemy: What You’re Actually Cleaning
Food splatters don’t just sit there—they bake on, layer after layer, every time you run the oven. That means you’re fighting carbonized grease and sugar. Cute, right? Not so much.
Good news: oven racks usually have chrome or stainless steel finishes that handle scrubbing and soaking like champs. Bad news: abrasive tools or harsh oven cleaners can dull or pit that finish. So we’ll match the mess to the method and keep things shiny.
Quick Prep: Set Yourself Up for Success
Before you dive in, do a tiny bit of prep. Ten minutes up front saves you thirty later. Promise.
- Remove the racks—obvious, but yeah, take them out.
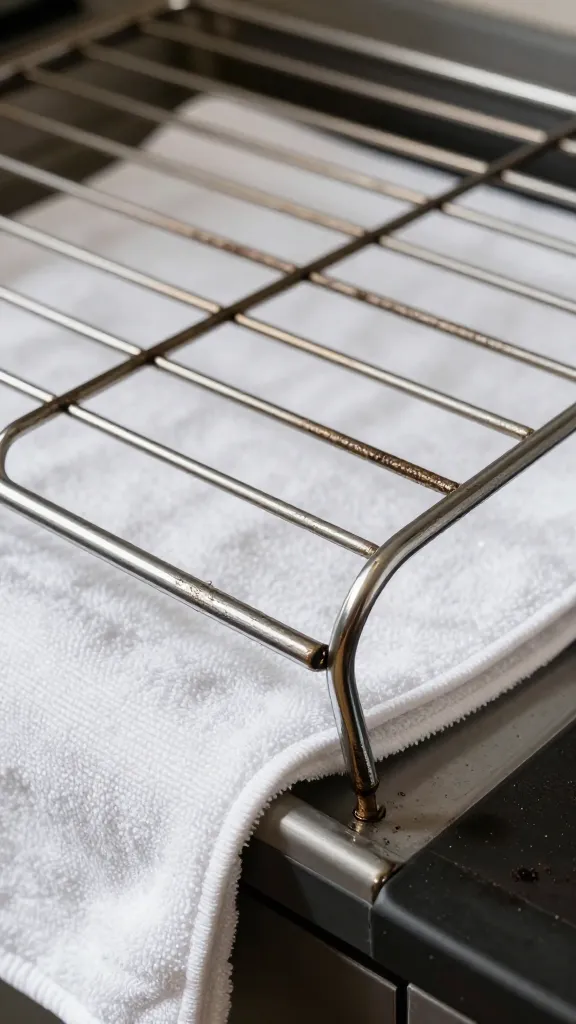
- Protect your surfaces with towels or an old sheet if you’re cleaning indoors.
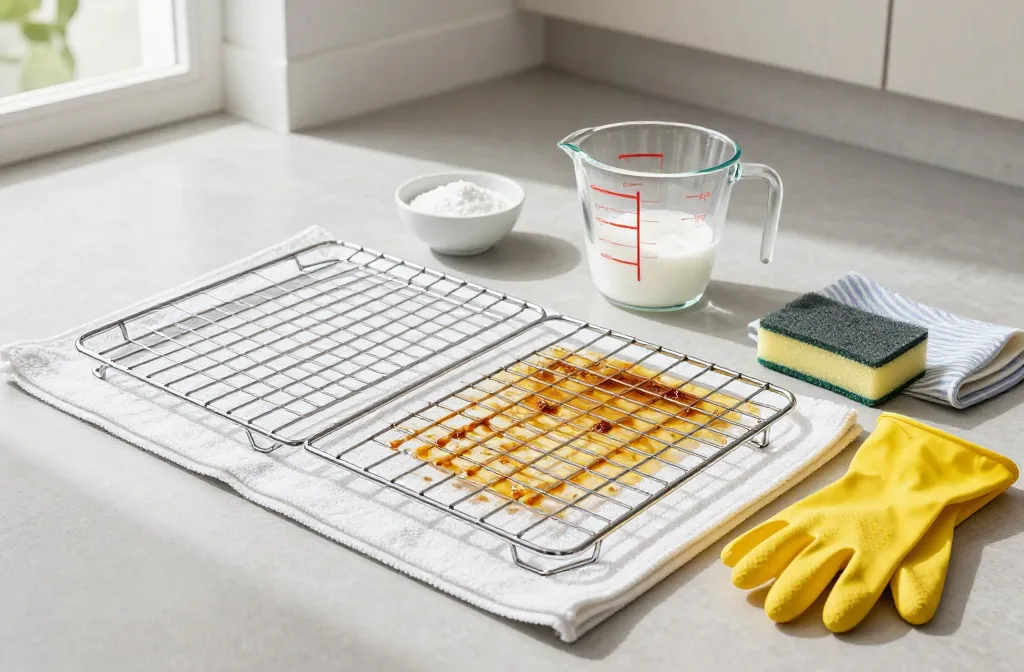
- Gather supplies: dish soap, baking soda, white vinegar, a non-scratch scrub sponge, a toothbrush, trash bags (heavy-duty), rubber gloves, and microfiber cloths.
- Check your manual if you bought your oven this century. Some racks can’t handle self-clean cycles or certain chemicals. FYI.
The Dish-Soap Soak (A.K.A. The No-Drama Method)
This is the most forgiving, least smelly option. It just takes time to soak.
- Fill a tub with the hottest water you can get. If your bathtub is off-limits, use a large plastic storage bin.
- Add a generous squirt of grease-cutting dish soap. Think “sudsy soup,” not “one delicate droplet.”
- Submerge the racks fully and let them soak 2–6 hours. Overnight if they look like a crime scene.
- Scrub gently with a non-scratch sponge or nylon brush. Use a toothbrush in corners. Rinse and dry.
Pro Tips
- Lay an old towel under the racks in the tub to prevent scratches.
- Add a half-cup of vinegar for extra degreasing power. You’ll get some fizz if you add it after sprinkling baking soda on stuck spots.
- Still not clean? Repeat the soak. Layers took time to build; they take time to soften.
The Baking Soda + Vinegar Paste (When You Need a Little Muscle)
No harsh chemicals, just kitchen science. Mildly abrasive, super effective.
- Make a paste: 1/2 cup baking soda + splash of water until spreadable. Smear it on the gunk.
- Spritz or drizzle vinegar over the paste. Enjoy the foamy show. Let it sit 15–30 minutes.
- Scrub with a non-scratch pad. Reapply paste for stubborn spots.
- Rinse thoroughly and dry. No chalky residue allowed.
When to Use This
Use it on racks that aren’t nuclear-level dirty, or right after a dish-soap soak to finish the job. IMO, this combo handles 80% of messes without breaking a sweat.
The Trash Bag Ammonia Trick (Heavy-Duty, Works Like Magic)
This is the big gun for caked-on carbon. It’s a vapor method, not a soak, and it works fast. Safety first: good ventilation, gloves, and keep pets away.
- Place racks in a heavy-duty trash bag (contractor bags are ideal).
- Add 1/4 cup household ammonia into the bag. You don’t need to pour it on the racks—the fumes do the work.
- Seal tightly and leave it outdoors or in a well-ventilated garage for 6–12 hours.
- Open carefully away from your face. Remove racks, rinse thoroughly, and scrub off the loosened gunk.
Important Warnings
- Never mix ammonia with bleach or cleaners containing bleach. Toxic gas = hard no.
- Rinse racks till they don’t smell. If they do, rinse again.
Hydrogen Peroxide Hack (For Stubborn Burnt Sugar)
Caramelized sugars cling like their life depends on it. Peroxide helps.
- Make a paste: 1/4 cup baking soda + 2–3 tablespoons hydrogen peroxide.
- Spread on trouble spots and let sit 20–30 minutes.
- Scrub and rinse. Repeat if needed.
Why It Works
Peroxide oxidizes that burned-on sugar while baking soda scours gently. It’s like a tag team for the worst grime, FYI.
What Not to Do (Yes, It Matters)
Sometimes “hardcore” equals “permanent regret.” Don’t risk it.
- Avoid steel wool or metal scrapers on chrome racks. They scratch and invite rust.
- Skip the self-clean cycle with racks inside unless your manual says it’s fine. High heat can discolor racks and wreck the glide.
- Watch harsh oven cleaners on racks. Many are fine on interior walls but can dull rack finishes fast.
- Don’t forget to dry completely. Water spots and rust are not the aesthetic we want.
Speed-Clean If Guests Are En Route
You’ve got 30 minutes and standards. Here’s your plan.
- Blast with hot water in the tub or shower to preheat the metal and soften grease.
- Sprinkle baking soda generously, then spritz with vinegar.
- Wait 10–15 minutes, then scrub with a nylon pad.
- Rinse, dry, and buff with a microfiber cloth. Better? Way better.
Bonus Shine
Wipe the dry racks with a drop of mineral oil on a cloth, then buff dry. It helps future messes release easier. Don’t overdo it—no slippery grill vibes.
Maintenance So You Don’t Have to Do This Forever
Future you deserves easier cleaning. Set up a routine.
- Line roasting pans with foil or parchment to catch drips (not the oven floor—blocks airflow).
- Wipe racks with a soapy sponge after big, splashy bakes while they’re slightly warm (not hot!).
- Monthly mini-soak: 30-minute dish-soap bath prevents buildup.
- Use an oven thermometer if you run hot. Over-temp = more splatter, more carbonization.
FAQ
Can I put oven racks in the dishwasher?
You can, but I wouldn’t rely on it. Big chunks can clog the sprayer, and dishwasher detergents can discolor chrome over time. Use the dishwasher only after you’ve done a thorough soak and scrub first.
Is the self-clean cycle safe for racks?
Often no. The extreme heat can discolor racks and damage the sliding action. Check your manual. If it says remove them, remove them. IMO, just clean racks separately for better results.
What if my racks have heavy rust?
Light rust? Use a baking soda paste and a nylon scrub pad, then dry completely. Heavier rust may need a fine-grade synthetic steel-wool alternative (non-metal) and a rust-inhibiting polish. If pitting runs deep, replacement might be cheaper than the headache.
Will oven cleaner ruin my racks?
Some formulas can dull finishes fast. If you use one, choose a fume-free version, test a small spot, and rinse obsessively. Personally, I reach for ammonia-in-bag or baking soda first—they’re cheaper and safer for the finish, IMO.
How often should I clean oven racks?
Light cooks can go every 2–3 months. If you roast, broil, or bake drippy goodness weekly, plan on a quick monthly soak. After a cheese disaster? Do it now. Future scrubbing you will send thanks.
Do I need special tools?
Nope. A tub, dish soap, baking soda, vinegar, a non-scratch sponge, and gloves handle most messes. For heavy buildup, add a contractor bag and a splash of ammonia. That’s it.
Conclusion
You don’t need to fear your oven racks. Pick the method that matches your mess, let time and chemistry do the heavy lifting, and keep a simple maintenance routine. Next time lasagna erupts like a volcano, you’ll handle it without a meltdown. Clean racks, better browning, less smoke—kitchen wins all around.