You lugged home a bucket of seashells that looked magical on the beach… and kind of funky on your kitchen counter. No shame. Beach finds come with sand, algae, and that mysterious “ocean smell” that’s not quite candle-worthy. Good news: you can clean them up fast, safely, and without turning your place into a science experiment. Let’s get those shells from gritty to gorgeous.
Know Your Shells Before You Scrub
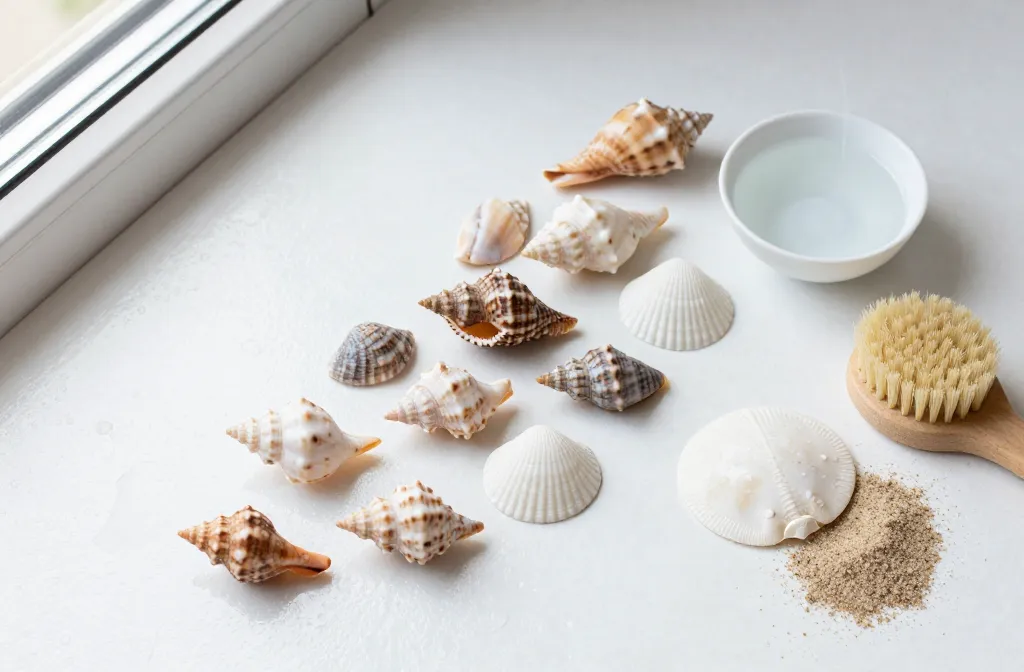
Not all seashells behave the same. Some tolerate tougher cleaning, while others chip faster than your favorite mug.
- Hard, glossy shells (conch, whelk, cockle) can handle soaking and light scrubbing.
- Porous or delicate shells (sand dollars, sea biscuits, moon snails) need gentle care and minimal chemicals.
- Spiral shells with points chip easily—treat the tips like tiny crown jewels.
- Anything with a smell probably has lingering organic matter. We’ll fix that.
Quick legality and ethics check
Some beaches and parks prohibit collecting live shells or any natural items. FYI, always leave live creatures and egg casings. If it crawled out when you picked it up, that was a resident, not a souvenir.
The Basic Clean: Sand, Salt, and the Slime Factor
You’ll start simple. No need to summon chemistry class yet.
- Rinse in fresh water. Swish shells in a bucket or sink to knock off loose sand. Change the water as it turns cloudy.
- Soak in warm, soapy water. A few drops of dish soap in warm (not hot) water for 20–30 minutes. This loosens grime and algae.
- Scrub gently. Use an old toothbrush or soft brush. Work in small circles. Focus on crevices but don’t go wild on fragile edges.
- Rinse and inspect. If they still look gunky, repeat once. Most shells glow after two rounds.
Tools I actually use
- Soft toothbrush and a nail brush
- Wooden skewer or toothpick for cracks
- Microfiber cloth for drying and buffing
- Plastic tub or bucket (so sand doesn’t destroy your sink)
How to De-Stink: Dealing with Odors and Organic Bits
That smell? Something used to live in there. You need to dissolve or dislodge the last of it.
- Saltwater soak: Mix 1/4 cup table salt per quart of water. Soak 12–24 hours. Salt helps draw out funk. Rinse well.
- Baking soda bath: A few tablespoons of baking soda in warm water for 1–2 hours. Great for neutralizing odors without harshness.
- Hydrogen peroxide (3%): For stubborn organic residue, soak 10–20 minutes. It fizzes, which means it’s working. Don’t overdo it with delicate shells.
Pro tip: If you see a thin membrane or dried bits inside the spiral, pick it out with a wooden skewer after soaking. Gloves help, and your future self will thank you.
Whitening Without Wrecking the Shell
You want bright, not bleached-to-death. IMO, restraint wins here.
When to use vinegar (and when to run away)
Vinegar dissolves calcium carbonate. That means it literally eats shells. You can use a very fast dip—like 3–5 seconds—to lift surface scum on hardy shells, then rinse like your life depends on it. But don’t soak. Don’t use on thin or porous shells. And test one first. FYI, I skip vinegar on anything I care about.
Better brightening options
- Hydrogen peroxide (3%): Soak briefly to lift stains and sanitize. Safer than vinegar for most shells.
- Sunlight: A few hours of indirect sun can lighten algae stains. Avoid all-day blazing sun, which can make shells brittle.
- Magic eraser: Light rub on tough spots. Keep it gentle to avoid dulling natural shine.
Avoid bleach unless you accept risk. Bleach can over-whiten, make shells chalky, and sometimes crack them later. If you must: dilute heavily (1:10), soak for 5–10 minutes max, rinse like crazy, then soak in plain water to neutralize. Test on a throwaway shell first.
Special Cases: Sand Dollars, Coral, and Other Divas

Some beach beauties demand VIP treatment.
Sand dollars and sea biscuits
– Rinse gently in cool water.
– Soak in a weak bleach solution (1:10) for 5 minutes to sanitize and whiten slightly. Yes, I know I dunked on bleach—this is the rare exception.
– Rinse well, then dry fully.
– To harden, brush with a mix of white glue and water (50/50). Let dry on a rack so they don’t stick.
Delicate spiral shells
– Skip harsh chemicals.
– Use baking soda paste for stains (baking soda + a few drops of water). Rub lightly, rinse, repeat.
– Dry on a towel and avoid knocking them around like marbles.
Coral fragments
– Check local rules first; many places prohibit collecting.
– If allowed, rinse, then use hydrogen peroxide for 10–15 minutes.
– Dry completely; never seal coral that’s still damp.
Polish and Protect: Finishing Touches
Want that subtle sheen without making shells look like they rolled in lip gloss?
- Mineral oil: Rub a tiny amount on clean, dry shells. Buff with a cloth to remove excess. It deepens color and adds a soft glow.
- Beeswax or microcrystalline wax: Lightly apply, then buff. Longer-lasting finish with less “wet” look.
- Clear acrylic spray (matte or satin): Use sparingly, outdoors, and only if you want a sealed look. Test first—some shells yellow under cheap sprays.
Less is more. You can always add another coat. You can’t un-goop a shell.
Drying the right way
– Lay shells on a rack or towel in a warm, breezy spot.
– Flip after a few hours.
– Make sure interiors dry completely before sealing or displaying in closed containers. Moisture equals odor city.
Tools and Supplies Checklist
If you love a tidy plan, here you go:
- Buckets or tubs for soaking
- Dish soap, baking soda, table salt
- Hydrogen peroxide (3%)
- Old toothbrush, nail brush, wooden skewers
- Microfiber cloths, gloves
- Mineral oil or wax for finishing
- Optional: diluted bleach for special cases, magic eraser, clear acrylic spray
Display Ideas That Don’t Scream Tourist Trap
You cleaned them—now show them off without leaning full “beach bathroom 2009.”
- Sort by color in a shallow tray with sand or tiny pebbles.
- Fill a glass cloche or apothecary jar (make sure shells are bone-dry).
- Glue tiny shells to a picture frame edge for a low-key coastal vibe.
- Shadow boxes with labels for nerdy-but-chic organization.
FAQ
Can I boil seashells to clean them?
You can, but I don’t recommend it. Boiling can make shells brittle, dull colors, and stink up your house. If you try it anyway, keep it very brief and be ready for the smell. Peroxide or soapy soaks work better, IMO.
How do I remove barnacles or calcified bits?
Soak the shell in warm, soapy water, then gently pry barnacles with a blunt knife or a plastic scraper. For tiny calcified patches, a quick vinegar dip (3–5 seconds) can loosen them—then rinse immediately and neutralize with a baking soda rinse. Don’t use vinegar on fragile shells.
What if my shells lose their shine after cleaning?
That happens when you over-scrub or use harsh chemicals. Bring back luster with a tiny amount of mineral oil and a good buff. If the surface turned chalky, switch to wax for a more natural finish.
How do I get rid of that lingering fishy smell?
Use a hydrogen peroxide soak for 10–20 minutes, then rinse and dry thoroughly. Follow with a baking soda bath if needed. The smell usually comes from trapped organic residue, so poke into crevices with a skewer after soaking.
Is it safe to use bleach on all shells?
Nope. Bleach can weaken, whiten too much, and make shells flake. Only use heavily diluted bleach on sturdy items like sand dollars, and for a short time. Always rinse and re-soak in fresh water afterward.
Can I put cleaned shells in a fish tank?
Only if your tank can handle higher pH and hardness. Shells dissolve slowly and raise alkalinity, which can stress fish in soft-water setups. Research your species first—reef and hard-water setups handle shells better.
Conclusion
Cleaning seashells doesn’t need a lab coat or a tolerance for eau de low tide. Start with soap and water, level up to peroxide if needed, and keep the vinegar cameos brief. Dry completely, add a whisper of oil or wax, and then display them like the tiny ocean trophies they are. Simple, satisfying, and your house won’t smell like a dock—win-win.