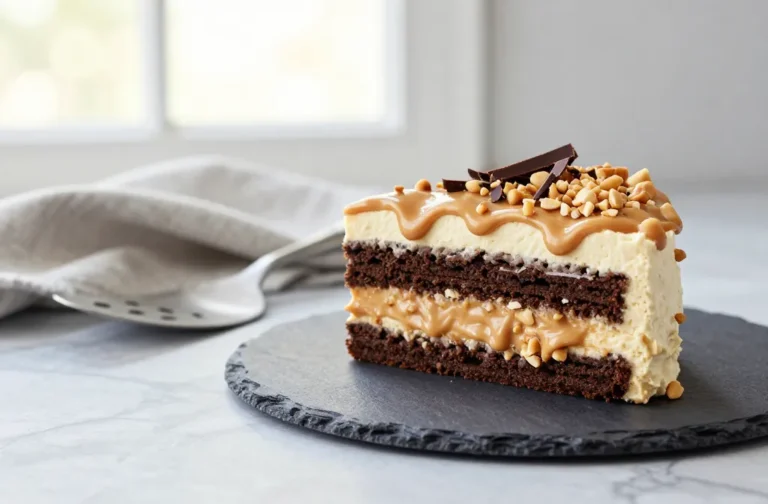
Rice Krispie treats dipped in chocolate are the dessert equivalent of a mic drop. They’re fast, nostalgic, and ridiculously satisfying. You get crispy-chewy marshmallow bliss and a glossy chocolate shell that snaps. Want to impress with minimal effort? This is your move.
Why Chocolate-Dipped Rice Krispie Treats Win Every Time
You get the best of both worlds: crunchy texture and silky chocolate. These treats look fancy with almost zero stress. They scale beautifully for parties, bake sales, or random Tuesday cravings.
Plus, you can customize them like a boss. Different chocolates, toppings, shapes—you name it. FYI, they also travel well, which is code for “you can hide them from roommates.”
Your Short, Sweet Shopping List
Base ingredients:
- 6 cups crispy rice cereal
- 10 oz mini marshmallows (one standard bag)
- 3 tbsp unsalted butter
- 1 tsp vanilla extract (optional but lovely)
- Pinch of salt (do it—marshmallows need it)
For dipping:
- 10–12 oz chocolate (dark, milk, or white—your call)
- 1–2 tsp neutral oil or cocoa butter (optional, for shine and smoothness)
- Toppings: flaky sea salt, sprinkles, crushed peanuts, toffee bits, coconut flakes
Step-by-Step: From Pot to Perfect Dip
You don’t need a pastry degree to nail this. Just keep the heat gentle and stir like you mean it.
- Prep your pan: Line a 9×13-inch pan with parchment and lightly grease it. This saves your sanity.
- Make the marshmallow base: Melt butter in a large pot over low heat. Add marshmallows and stir until smooth. Remove from heat, then add vanilla and salt.
- Stir in cereal: Fold in the cereal until fully coated. Work fast—this stuff sets quickly.
- Press and chill: Press mixture into the pan with a greased spatula or parchment. Don’t smash it too hard or you’ll get bricks. Let it cool 30–45 minutes.
- Slice: Lift out and cut into bars or squares. Clean cuts = prettier dips.
- Melt chocolate: Microwave in 20–30 second bursts, stirring in between, or use a double boiler. Add oil for a smoother dip.
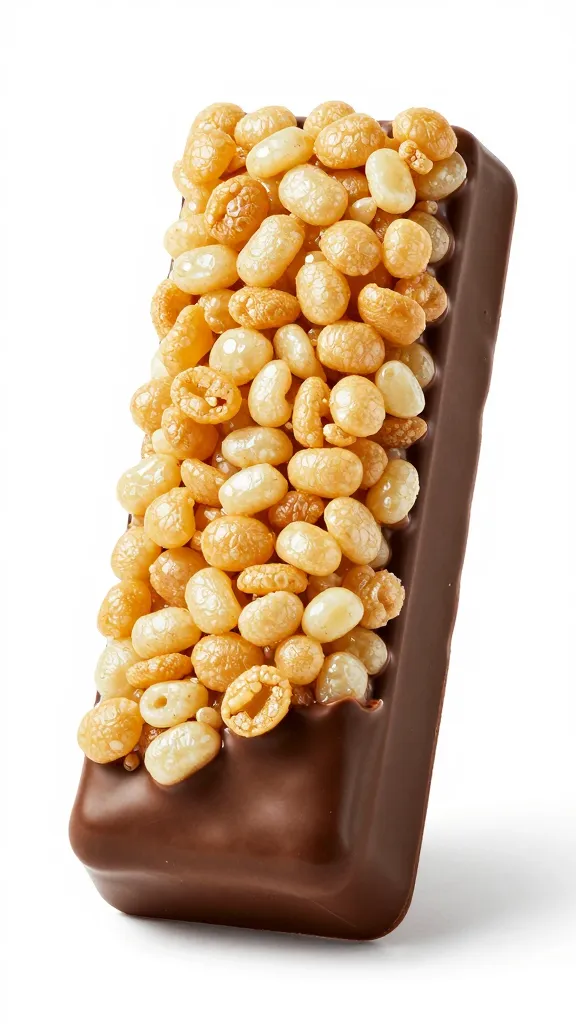
- Dip and decorate: Dunk each bar halfway (or fully, you chaos gremlin). Add toppings immediately before the chocolate sets.
- Set and store: Let them set on parchment at room temp. Refrigerate 10 minutes if you’re impatient, but don’t store them in the fridge long-term.
Pro Tips for Non-Sticky Bliss
- Low and slow heat: You’ll get soft, gooey treats, not tough ones.
- Grease your tools: Light butter or oil on your spatula and hands keeps marshmallow from clinging.
- Don’t pack it down: Press gently for that dreamy chew.
- Trim edges: If you want flawless bars, shave off the edges and “taste test” them. For science.
Choosing Your Chocolate (And Not Regretting It)
Chocolate choice changes everything. Think about flavor, sweetness, and snap.
- Dark chocolate (60–72%): Rich, balanced, and not too sweet. My favorite, IMO.
- Milk chocolate: Crowd-pleaser, super nostalgic.
- White chocolate: Sweet and creamy; pairs great with tart toppings like freeze-dried raspberries.
- Compound vs. real chocolate: Real chocolate tastes better, but you’ll need to temper for a firm snap. Compound (candy melts) is easier for beginners.
Quick Tempering (If You Want That Fancy Snap)
- Chop chocolate finely. Melt two-thirds until smooth.
- Stir in the remaining one-third off heat until melted and slightly thickened.
- Use immediately. Your dipped treats will set shiny and snappy at room temp.
Flavor Twists That Go Way Beyond “Cute”
Let’s be honest: you’ll make the classic version once, then immediately want to freestyle.
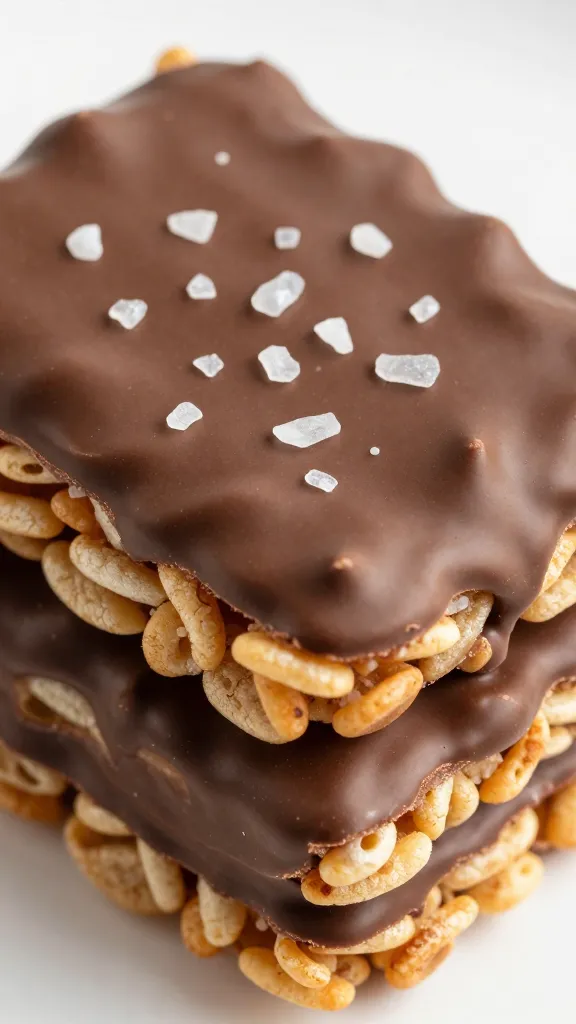
- Salted brown butter: Brown the butter until nutty, then add marshmallows. Finish with flaky salt after dipping. Chef’s kiss.
- Peanut butter swirl: Stir 1/3 cup creamy peanut butter into the melted marshmallows. Dip in milk chocolate. Add chopped peanuts.
- Mocha moment: Add 1 tsp espresso powder to the marshmallow mix. Dip in dark chocolate. Sprinkle cocoa nibs.
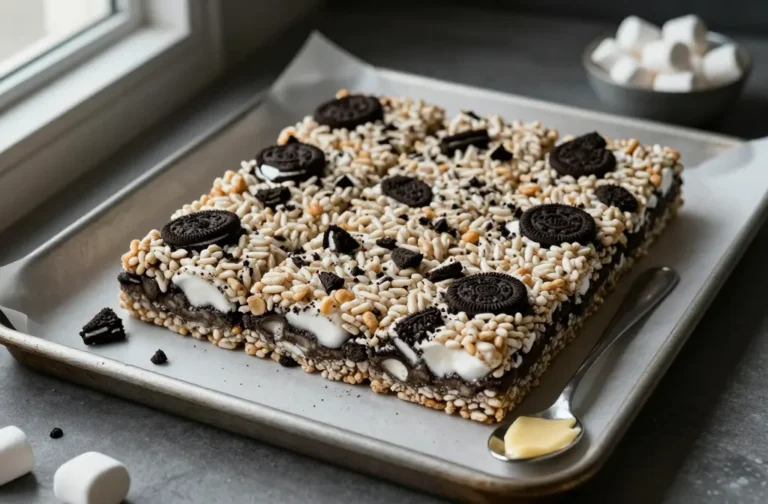
- Cookies & cream: Fold in crushed chocolate sandwich cookies. Dip in white chocolate. More cookie crumbs on top.
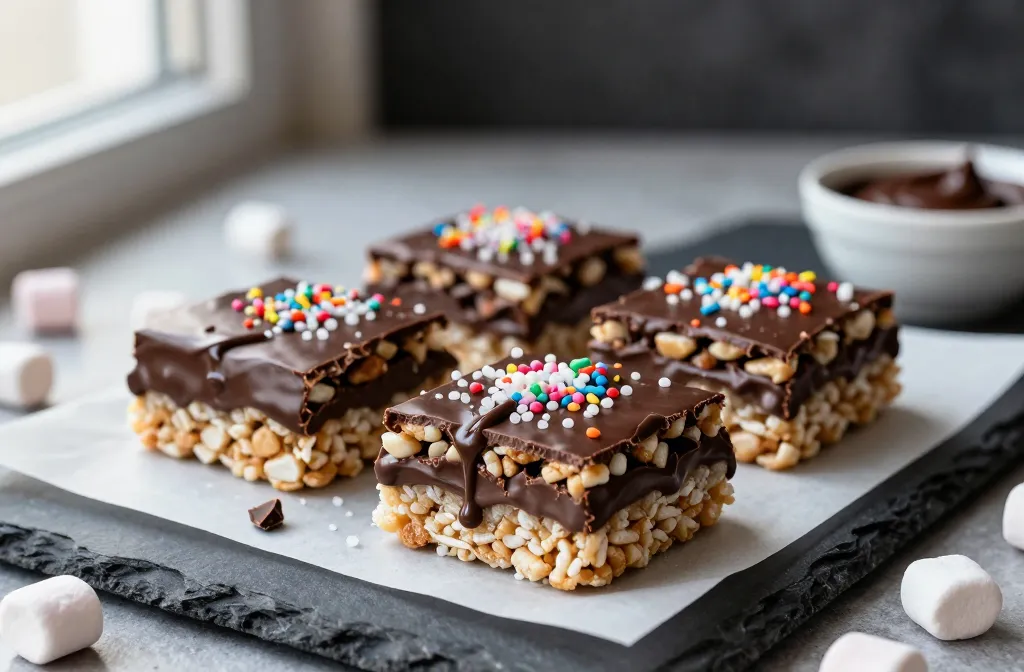
- Birthday party energy: Add rainbow sprinkles to the cereal mix. Dip in white or milk chocolate. Top with more sprinkles because obviously.
Add-Ins That Actually Work
- Toasted coconut flakes for texture and a tropical vibe
- Mini chocolate chips folded in after the marshmallow cools 1–2 minutes
- Crushed pretzels for salty crunch
- Toffee bits if you love buttery sweetness
Shaping, Serving, and Storing Like a Pro
You can make these look like bakery treats with tiny tweaks.
- Shapes: Squares are classic; rectangles look elegant; use cookie cutters for hearts, stars, or seasonal shapes.
- Clean dips: Let excess chocolate drip off, then gently swipe the bottom edge on the bowl before setting on parchment.
- Drizzles: Use a fork to flick a contrasting chocolate over the set dip. Instant “I tried” energy.
- Storage: Keep in an airtight container at room temp for 2–3 days. Layer with parchment to protect the chocolate.
- Freezing: You can freeze them undipped for up to a month. Thaw at room temp, then dip fresh.
Batching for Parties
- Double the base recipe in a half-sheet pan for bulk bars.
- Set up a dipping station: one bowl of chocolate, one tray for toppings, one parchment-lined sheet to set.
- Add labels for flavors—your guests will appreciate it, and you’ll look wildly organized.
Common Mistakes (And How to Dodge Them)
We all mess up sometimes. Here’s how to avoid the classic goofs.
- Overheating marshmallows: They get tough. Keep the heat low and remove the pot as soon as they melt.
- Smashing the mixture into the pan: Gentle pressure only for a soft bite.
- Using wet tools: Water makes things seize or go sticky. Light grease works better.
- Thin chocolate coating: Dip once, let set, then drizzle or re-dip halfway for thicker coverage.
- Refrigerating overnight: The fridge dries them out. Store at room temp, sealed tight.
FAQ
Can I make these without butter?
Yes. Use coconut oil or a vegan butter substitute. Coconut oil adds a light coconut flavor that pairs nicely with dark chocolate. Just keep the heat gentle so everything blends smoothly.
What’s the best chocolate for dipping?
Use high-quality bars or wafers that melt evenly. If you don’t want to temper, go with compound chocolate or candy melts for easier handling. If you want glossy, snappy shells, temper real chocolate—worth it, IMO.
How do I stop the treats from sticking to my hands?
Lightly grease your hands with butter or oil, or use a piece of parchment to press the mixture. Avoid water—sticky city. A greased offset spatula also works great for even layers.
Why did my chocolate get thick and grainy?
You probably overheated it or water got in. Melt low and slow, and keep tools bone-dry. You can sometimes rescue seized chocolate with a bit of warm cream, but that turns it into a ganache, not a dip—delicious, just different.
Can I make these gluten-free?
Yes, but check the cereal brand. Some crispy rice cereals contain barley malt. Choose a certified gluten-free cereal and use chocolate without gluten-containing add-ins.
How far in advance can I make them?
Make them 1–2 days ahead for best texture. Dip the day you serve if you want maximum shine. Store airtight at room temp and keep them out of direct sun—chocolate melts, and so does pride.
Conclusion
Rice Krispie treats dipped in chocolate deliver big flavor with tiny effort. They look polished, taste nostalgic, and adapt to any vibe—from bake sale to date night Netflix. Whip up a pan, dip, sprinkle, and flex your dessert skills with basically zero stress. FYI: keep a stash for “emergencies,” because you’ll crave them again tomorrow.