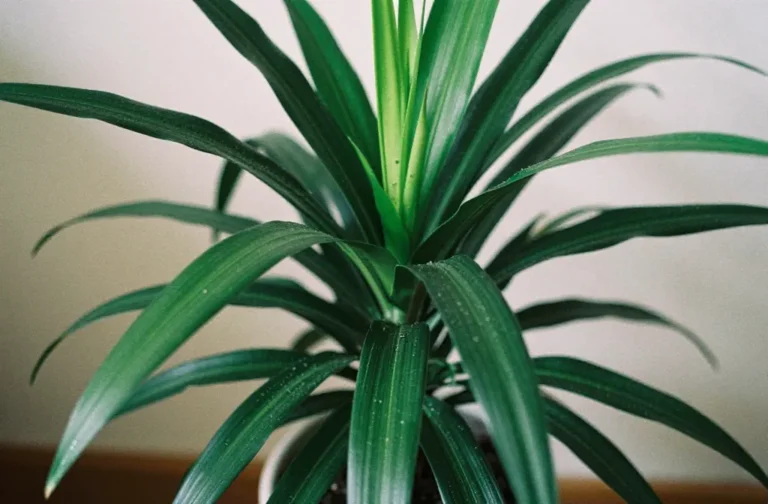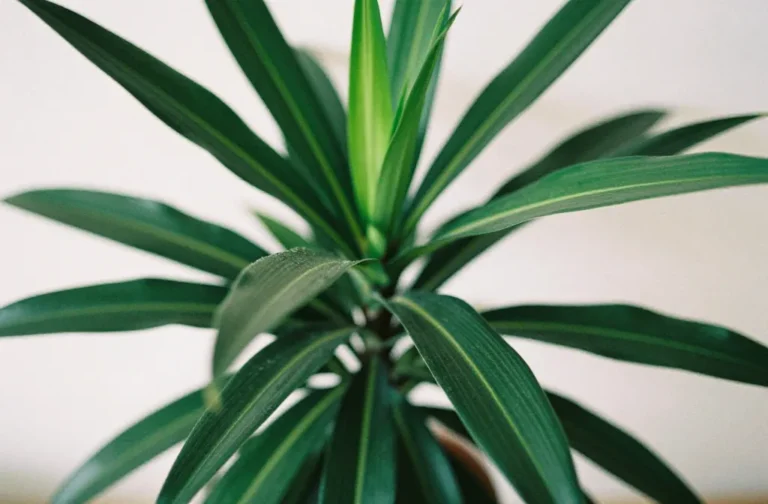
Your Monstera might look chill, but when it’s rootbound and cramped, it’s secretly plotting a jailbreak. Repotting isn’t scary—it’s a quick reset that keeps those iconic split leaves coming. Whether your plant looks like a jungle gym or a twig with ambition, timing and technique matter.
Let’s get your Monstera into a new home without the drama.
How to Tell Your Monstera Wants a Bigger Pot
You don’t need a botany degree. Your plant will tell you—loudly.
- Roots poking out of the drainage holes or circling the top of the soil? It’s outgrown the current setup.
- Water runs straight through the pot like it’s late for a meeting.
That’s a rootbound sign.
- Leaves look smaller and new growth stalls. The plant has no room to invest in big foliage.
- Soil dries out in a day (or stays soggy forever). Either way, the root-to-soil balance is off.
FYI, these symptoms usually show up every 12–24 months for a Monstera kept in good light.
When to Repot for Happy, Fast Growth
You’ll get the best results in spring through early summer.
That’s when your Monstera wakes up and grows like it means it.
- Spring = ideal: Quick recovery, new roots, new leaves, big wins.
- Summer = still good: Just don’t repot during a heat wave if you can help it.
- Fall/Winter = only if necessary: Emergencies only—like root rot or severe rootbound stress.
If your plant looks rough and the soil smells funky, repot it regardless of the season. Crisis protocol beats calendar.
Pick the Right Pot (and Size Actually Matters)
A bigger pot is not always better. Oversized pots stay soggy and invite root rot—aka Plant Horror Story #1.
- Size up by 1–2 inches in diameter, max.
From 8 inches to 10 inches? Perfect.
- Choose drainage holes. Non-negotiable.
Decorative cover pots are fine, but the nursery pot needs drainage.
- Material:
- Terracotta: Breathable, dries faster, great for heavy waterers.
- Plastic: Retains moisture longer, lighter, and budget-friendly.
- Ceramic (glazed): Pretty and stable, just watch moisture.
- Moss pole or stake? If your Monstera climbs, pick a pot sturdy enough to support it.
What Soil Mix Works Best?
Monsteras love a chunky, airy mix that drains fast but holds some moisture.
- DIY mix: 40% high-quality potting soil, 30% orchid bark, 20% perlite or pumice, 10% coco coir.
- Bonus add-ins: A handful of horticultural charcoal for freshness and some worm castings for gentle nutrients.
IMO, chunky mixes prevent 90% of root problems.
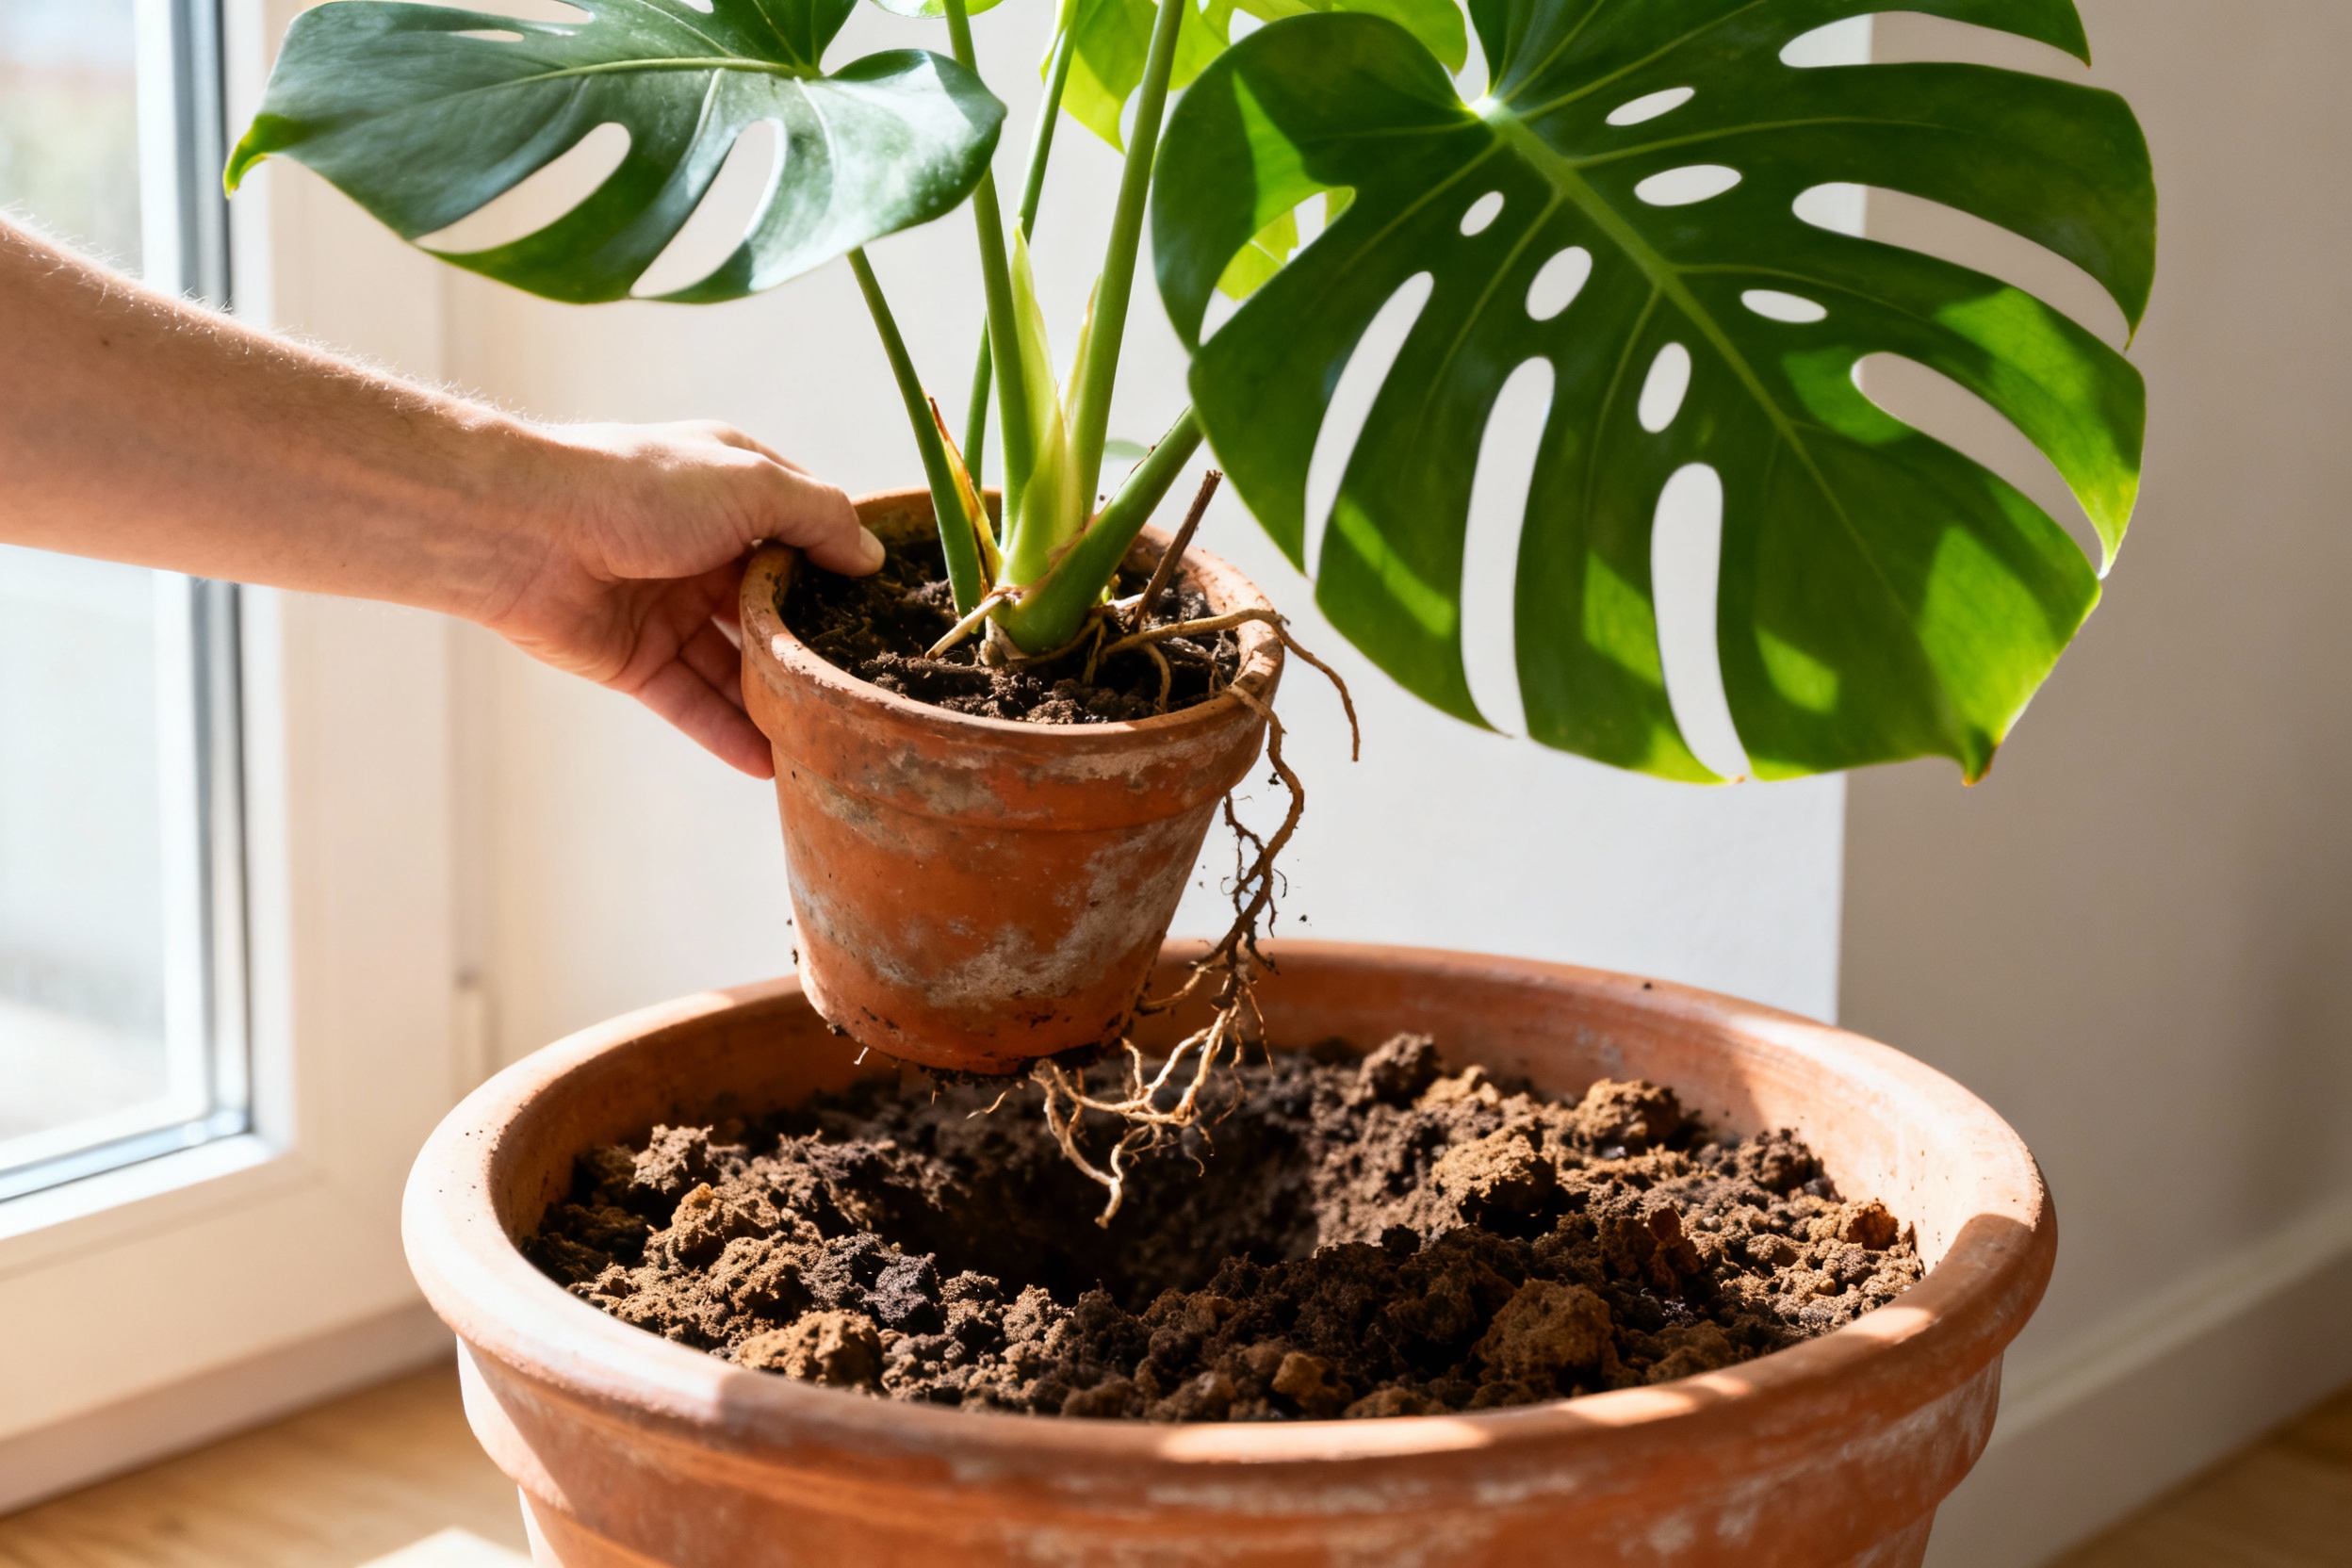
Step-by-Step: Repot Your Monstera Without Chaos
Let’s keep it simple and painless—for you and the plant.
- Water lightly the day before. Slightly moist roots slide out easier.
- Prep the new pot. Add a layer of fresh mix to the bottom.
Set your moss pole now if you use one.
- Gently remove the plant. Tip the pot, support the base, and wiggle it free. No yank-and-pray.
- Loosen the roots.
Tease apart tight root circles with your fingers. Trim any black, mushy roots.
- Set the height. Place the root ball so the crown sits about an inch below the rim.
Keeps water from spilling everywhere.
- Backfill with soil. Tuck the mix around the roots. Tap the pot to settle it, but don’t pack it like a suitcase.
- Secure to the pole if using.
Use soft ties and give the stems support without squeezing them.
- Water thoroughly. Let excess drain. Add a bit more mix if the level drops.
Pro Tips for a Smooth Repot
- Keep the old soil level: Don’t bury the stem higher than before.
- Don’t fertilize for 4 weeks: Fresh mix has nutrients.
Let the roots settle first.
- Bright, indirect light after repotting. Avoid harsh sun for a week.
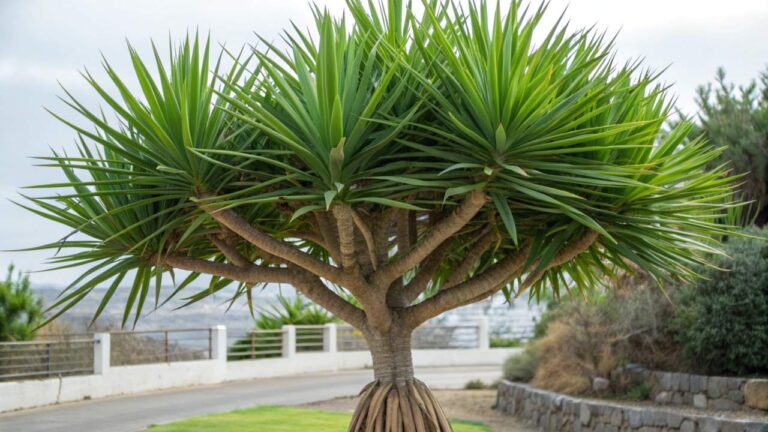
What About Big, Mature Monsteras?
When your plant looks like it could file taxes, full repotting gets messy. You have options.
- Root prune and refresh: Pull the plant, trim 10–20% of the roots, and return it to the same pot with fresh mix.
- Divide it: If you see multiple stems, separate them and pot individually.
Instant propagation win.
- Top-dress only: Remove the top 2–3 inches of soil and replace with fresh mix if the plant doesn’t need a full repot yet.
FYI, mature Monsteras benefit from a moss pole or plank. They climb in nature, and they’ll reward you with bigger fenestrations when they can grip something.
Aftercare: Help Your Monstera Bounce Back
Repotting stresses plants a bit. You’ll see a small pause in growth while it readjusts.
Totally normal.
- Watering: Let the top 1–2 inches dry before watering again. Overwatering post-repot is a classic mistake.
- Humidity: Aim for 50–60%. A tray with pebbles and water helps if your air runs dry.
- Light: Bright, indirect light keeps growth steady.
Direct sun right after repotting? Hard pass.
- Check ties and stems: As it settles, you might need to adjust supports.
Signs Your Repot Worked
- New leaves within 4–8 weeks in growing season.
- Steadier watering rhythm—not drying out overnight or staying soggy for days.
- Thicker stems and more aerial roots grabbing the pole. That’s growth energy.
Common Mistakes to Avoid
Let’s save future-you some headaches.
- Jumping 3 pot sizes: Slows growth and risks root rot.
- Dense, peat-heavy soils: These compact fast and suffocate roots.
- Burying the stem: Leads to rot at the base—no thanks.
- Fertilizing ASAP: Let the plant settle first.
Start light after a month.
- Ignoring pests: Check leaves and stems before and after repotting. Fungus gnats love wet, fresh soil.
FAQ
How often should I repot my Monstera?
Every 1–2 years works for most plants. Younger Monsteras grow fast and may need yearly upgrades.
Mature plants can go longer if you refresh the topsoil and prune roots.
Can I repot during winter?
You can, but only if necessary—like treating rot or severe rootbound stress. Growth slows in winter, so recovery takes longer. If you can wait until spring, do that.
What if my Monstera droops after repotting?
Totally normal for a few days.
Keep it in bright, indirect light, hold off on fertilizer, and water only when the top layer dries. It should perk up once the roots settle.
Do I need a moss pole?
You don’t need one, but your plant will grow bigger leaves with better splits if it can climb. A coir pole, moss pole, or wooden plank all work.
Tie stems gently and encourage aerial roots to attach.
Which soil brand should I buy?
Look for a high-quality potting mix for aroids or houseplants, then add extra bark and perlite to make it chunky. Pre-mixed aroid blends work great if you don’t want to DIY.
Can I use a decorative pot without drainage?
Yes, but keep your Monstera in a plastic nursery pot inside it. Water at the sink, let it drain fully, then return it to the cover pot.
Your floors stay cute and your roots stay alive.
Wrap-Up: Give Your Monstera Room to Flex
Repotting your Monstera doesn’t need a full afternoon or a therapist. Pick the right pot, use a chunky mix, upgrade in spring if you can, and keep the stem at the same level. Support it with a pole, water smart, and let it settle.
Do that, and your Monstera will reward you with bigger, brighter, split-happy leaves—no drama required.