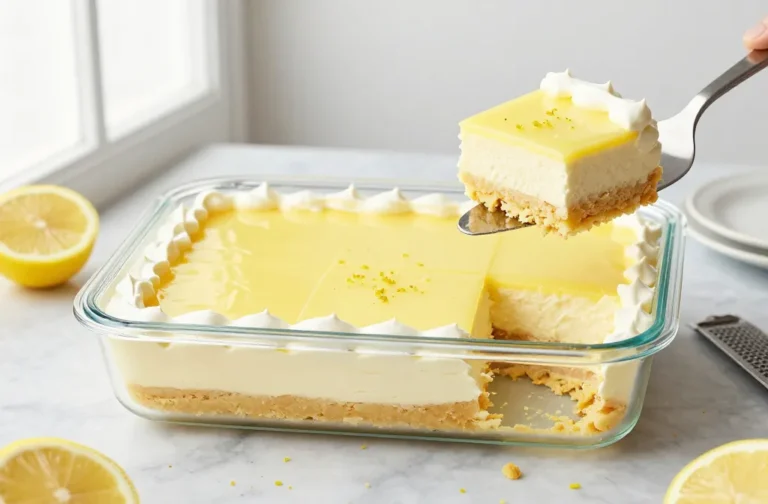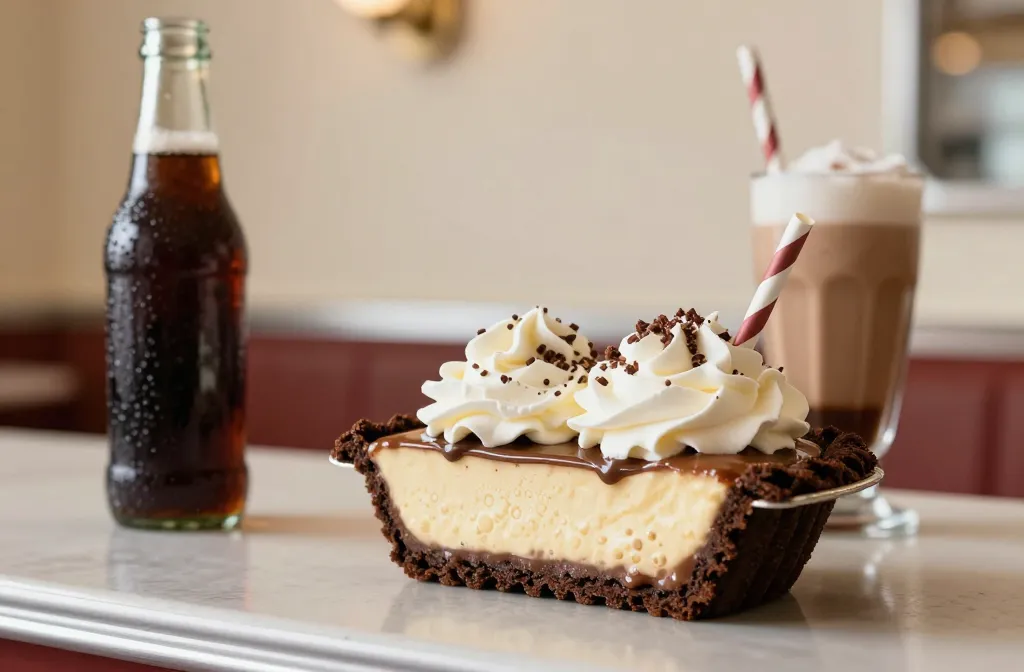
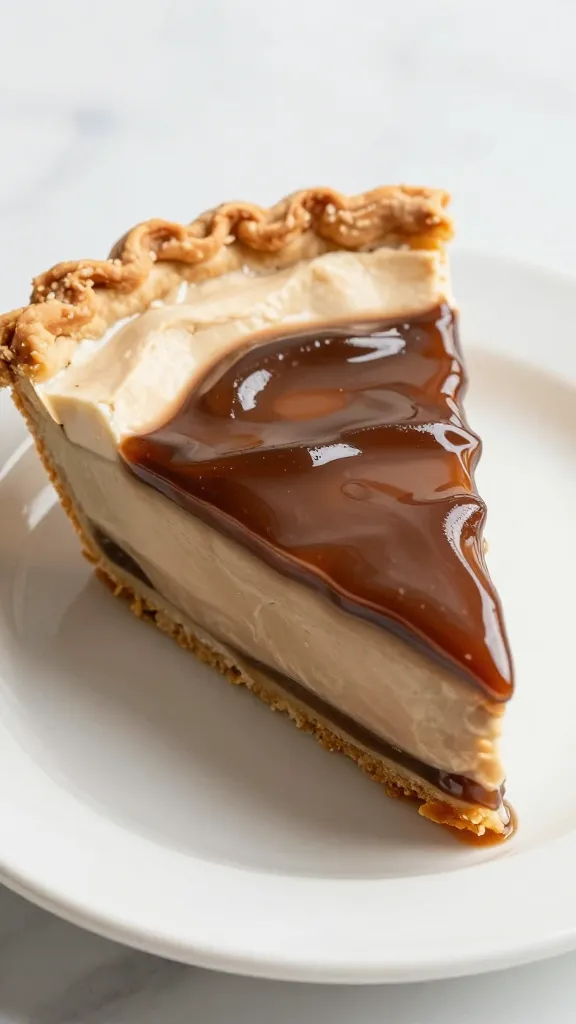
Root beer float pie doesn’t mess around. It takes the nostalgia of a frosty float and stuffs it into a sliceable, fork-friendly dessert that actually holds its shape. Creamy, bubbly, and a little bit ridiculous—in the best way—this pie tastes like summer vacation and retro diners had a baby. Want a low-effort showstopper that makes everyone at the table weirdly emotional? This is it.
Why Root Beer Float Pie Works (And Why You’ll Crave It)
The root beer float combo just makes sense: creamy vanilla plus spicy-sweet soda equals magic. A pie version doubles down on that, with a texture that sits somewhere between mousse and icebox cake. It’s cold, fluffy, and gently fizzy if you nail the method.
You also get options. You can go no-bake, semi-homemade, or fully from-scratch, depending on your mood and your pantry. FYI, this pie travels well and slices cleanly, so it wins potlucks, birthdays, and random Tuesday nights.
Ingredients That Actually Matter
You only need a handful of basics, but the details count. Choose wisely and you’ll taste the difference.
- Root beer: Use a brand with strong sassafras and wintergreen notes. Avoid diet soda—it won’t set as well and can taste weird.
- Vanilla ice cream: Go for real vanilla bean or French vanilla for depth. Softened, not melted.
- Whipped topping or whipped cream: Stabilized whipped cream tastes better IMO, but whipped topping keeps things ultra-light and foolproof.
- Gelatin (unflavored): This keeps the pie sliceable. You won’t taste it, promise.
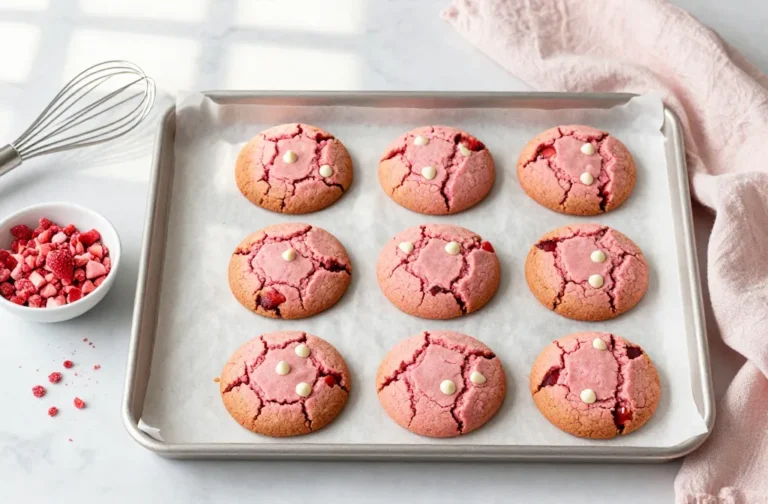
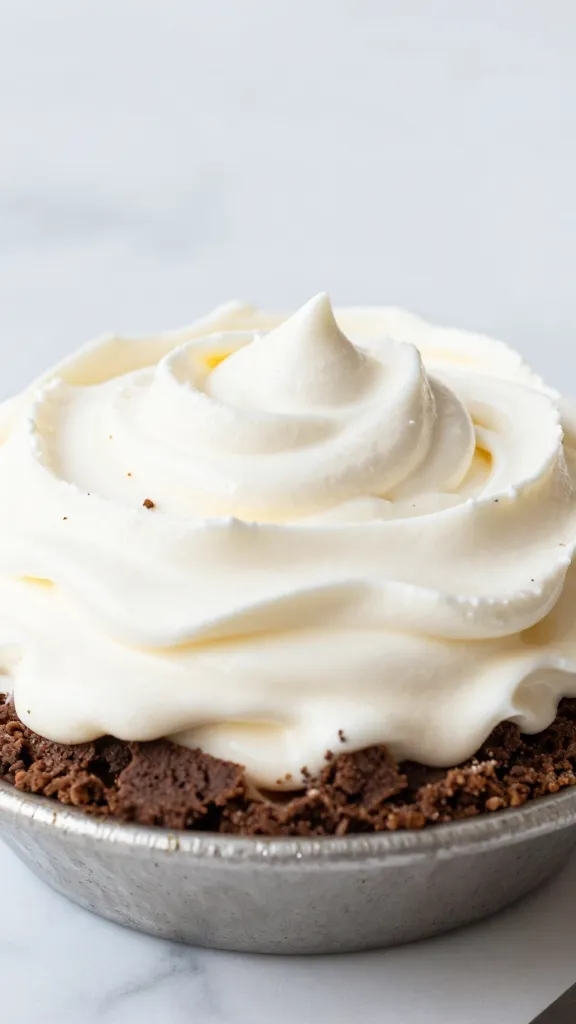
- Crust: Graham cracker or chocolate cookie crust. Chocolate plays surprisingly well with root beer; graham reads more classic float.
- Vanilla extract: Just a splash to turn up the float vibes.
What About Alcohol?
If you want a grown-up twist, add 1–2 tablespoons of spiced rum or vanilla vodka. Mix it into the root beer before you bloom the gelatin. Keep it light so the pie still sets.
Step-by-Step: From Soda Pop to Slice
Here’s the streamlined method that keeps the “float” personality intact without turning everything soupy.
- Make the crust: Press a chocolate wafer or graham mix (cookie crumbs + melted butter + pinch of salt) into a 9-inch pie plate. Chill 20 minutes or bake at 350°F for 8 minutes to set. Cool completely.
- Bloom the gelatin: Sprinkle 2 teaspoons unflavored gelatin over 1/4 cup cold root beer in a small bowl. Let it sit 5 minutes to soften.
- Warm and dissolve: Heat 1/2 cup root beer until hot but not boiling. Stir in the bloomed gelatin until fully dissolved. Add 1 teaspoon vanilla. Let cool to just warm—about 10 minutes.
- Build the base: In a large bowl, whisk 1 1/2 cups softened vanilla ice cream until creamy. Slowly stream in the gelatin-root beer mixture while whisking.
- Lighten it up: Fold in 2 cups whipped cream or whipped topping in two additions. Gentle folds = fewer bubbles lost and a fluffier set.
- Fill and chill: Pour into the crust. Tap the pie plate lightly to smooth. Chill at least 6 hours, preferably overnight.
- Finish strong: Top with more whipped cream, root beer drizzle, or crushed cookies right before serving.
Texture Troubleshooting
– Too soft? You either shorted the gelatin, used diet soda, or didn’t chill long enough. Next time: full 6–8 hours in the fridge.
– Rubbery? That’s over-gelatin or overheated gelatin. Use exactly 2 teaspoons and warm just enough to dissolve.
– Weepy pie? Overmixed. Fold with a spatula like it owes you money but you still love it.
Choosing Your Root Beer Like a Pro
Not all root beers hit the same. Some read vanilla-heavy, others lean spicy-herbal. Here’s a rough guide.
- A&W: Smooth and creamy, very vanilla-forward. Safe and crowd-pleasing.
- Barq’s: Sharper with a tiny caffeine kick. Gives the pie more bite.
- Mug: Mild and sweet. Family-friendly and mellow.
- Craft brands (Virgil’s, IBC): Stronger botanicals and complexity. Great flavor payoff.
Can You Use Homemade Root Beer Syrup?
Yes, and it slaps. Mix a small amount of concentrated syrup into club soda to control sweetness. Keep the final mix close to standard root beer sweetness so the pie doesn’t taste cloying.
Flavor Twists That Still Respect the Float
You don’t need to reinvent anything here, but a smart tweak can make this dessert feel custom.
- Chocolate ripple: Swirl in 1/4 cup cooled chocolate ganache before chilling. Looks fancy, tastes nostalgic.
- Cherry on top (literally): Fold in chopped maraschino cherries and add a splash of juice for color. Retro in the best way.
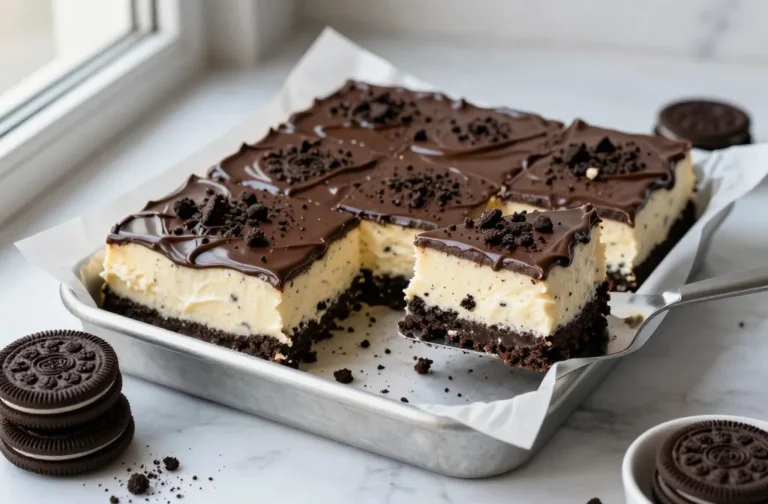
- Oreo crust: If you love a strong contrast, Oreo plus root beer equals pure diner energy.
- Float bar pie: Serve slices with mini scoops of vanilla ice cream and a drizzle of cold root beer tableside. Unnecessary? Yes. Fun? Also yes.
Dairy-Free or Lighter Options
– Dairy-free: Use coconut whipped cream and a dairy-free vanilla “ice cream.” Flavor stays great, texture stays cloud-like.
– Lighter: Swap half the ice cream with vanilla Greek yogurt. You’ll get tang and a slightly firmer set. FYI, don’t skip the gelatin.
Serving, Storing, and Zero-Stress Planning
You can make this pie 1–2 days ahead, which makes hosting easier. The flavor actually deepens overnight, and the slices clean up beautifully.
– Chill time: Minimum 6 hours, but overnight wins.
– Storage: Cover loosely with plastic wrap and store in the fridge for up to 3 days.
– Freezing: You can freeze it for a firmer, ice-cream-cake vibe. Thaw 10–15 minutes before slicing.
– Garnishes: Add whipped cream, shaved chocolate, or even tiny root beer candies just before serving so they don’t melt or bleed.
Presentation Tips That Impress Without Effort
– Wipe your knife between slices for clean edges.
– Use a hot knife (dip in hot water, wipe dry) for the first cut.
– Plate with a tiny splash of root beer reduction: simmer soda until syrupy and cool. You get sticky, caramelly magic.
Common Mistakes You Can Dodge
– Using diet root beer: Artificial sweeteners mess with flavor and set. Hard pass.
– Skipping the bloom: Dumping gelatin straight into hot liquid makes it clump. Bloom first or regret later.
– Adding warm filling to a warm crust: Heat on heat equals soggy crust. Cool it down.
– Overmixing: Folds, not whisks, once the whipped cream goes in. Air equals fluff equals joy.
FAQ
Can I make this without gelatin?
Yes, but it won’t slice as cleanly. Use a stabilized whipped cream (with a little cornstarch or mascarpone) and reduce the root beer slightly to concentrate it. Expect a softer, mousse-like pie. Still tasty, just a bit more wobbly.
What if I don’t like root beer?
Then try cream soda for a vanilla-forward twist, or cola for a cherry-cola vibe with a touch of grenadine. The method stays the same. IMO, cream soda makes the silkiest, sweetest version.
How do I keep the root beer flavor from fading?
Use a bold brand and don’t drown the filling with extra vanilla or chocolate. You can also simmer 1/2 cup root beer to reduce by half and mix it in for a stronger note. Cool it fully before adding.
Can I make mini pies or bars?
Absolutely. Press crust into a lined 8×8 pan for bars or into cupcake liners for minis. Chill times drop slightly for small sizes—start checking at 3–4 hours. Cute, portable, dangerously poppable.
Any gluten-free tips?
Use gluten-free cookie crumbs for the crust and confirm your gelatin and vanilla are GF. Everything else should be fine. The texture stays identical, so no one will clock it.
How do I double this for a crowd?
Use a 9×13 pan and 1.5x the crust, 2x the filling. Chill overnight, slice into squares, and top with rosettes of whipped cream. It feeds a lot, and it looks party-level intentional.
Conclusion
Root beer float pie captures pure throwback joy and parks it right in your fridge. It’s easy, a little cheeky, and it absolutely delivers on flavor. Make it once and it becomes that signature “Wait, you brought what?” dessert. Slice, serve, and enjoy the sweet, fizzy nostalgia—no straw required. FYI: leftovers taste even better for breakfast. IMO, that’s just efficient living.