Baseboards collect dust and scuffs like they’re running a side hustle. You don’t notice them… until you do, and then you can’t unsee the grime line ringing your room. The good news? You can clean them fast, keep them cleaner longer, and maybe even enjoy the oddly satisfying before-and-after moment. Let’s make those trim lines look sharp again.
Why Baseboards Get Gross (And Why You Should Care)
Baseboards sit in the splash zone for everything: dust, pet hair, mopping overspray, and sneaker bumps. They mark easily and attract sticky film along open doorways and kitchens. Ignore them too long and they make the whole room look tired.
The fix doesn’t take hours. You just need the right tools, a simple game plan, and a few smart tricks to prevent the grime comeback tour. FYI: you can do a whole room in 10–15 minutes once you get the hang of it.
Gear Up: What You Actually Need
You don’t need a cleaning closet that rivals a hardware store. Grab this short list and you’ll cover 99% of situations:
- Vacuum with brush attachment or a microfiber duster (for dry dust pickup)
- Microfiber cloths (two or three)
- Soft scrub brush or old toothbrush (for grooves and corners)
- Mild cleaner: warm water + a few drops of dish soap; or a gentle all-purpose cleaner
- Magic-eraser sponge (for scuffs on painted trim)
- Dryer sheets or furniture polish (optional, for dust-repelling finish)
- Kneeling pad or long-handled baseboard tool (your knees will thank you)
What to Avoid
- Harsh abrasives on glossy or matte paint—hello scratches and dull spots.
- Soaking water on wood or MDF—swelling and raised edges aren’t cute.
- Bleach near colored walls or floors—overspray can stain or strip.
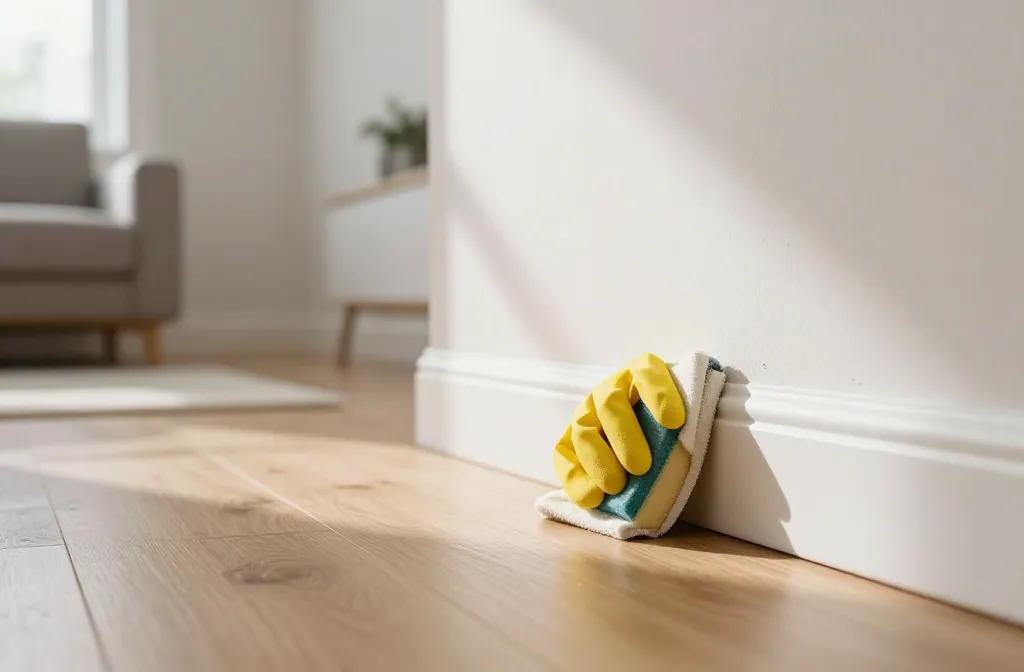
The Fast Method: Clean Baseboards in 5 Simple Steps
Let’s keep it simple and efficient. Here’s the go-to routine that works in most rooms.
- Dry dust first. Run the vacuum’s brush along the top edge and face. Hit corners and the gap where baseboard meets floor. This prevents muddy smears later.
- Spot test your cleaner. Quick swipe behind a door. If the paint finish stays happy, proceed.
- Wipe with soapy water. Dip a microfiber in warm, sudsy water, wring nearly dry, and wipe from left to right. Work in 3–4 foot sections. Rinse your cloth often.
- Tackle trouble spots. Use a magic-eraser for scuffs and a toothbrush for grooves, caulk lines, and corners. Light pressure only; let the tool do the work.
- Dry and buff. Follow with a clean, dry cloth. Optional: a teensy mist of furniture polish on the cloth to finish—this adds a dust-repelling layer.
Pro Tip: The “Walk and Wipe” Strategy
Carry a small caddy: one wet cloth, one dry cloth, and your eraser sponge. Walk the perimeter once to clean, once to dry. You’ll shave time and avoid backtracking. IMO, nothing beats efficiency plus a podcast for making this painless.
Different Baseboards, Slightly Different Rules
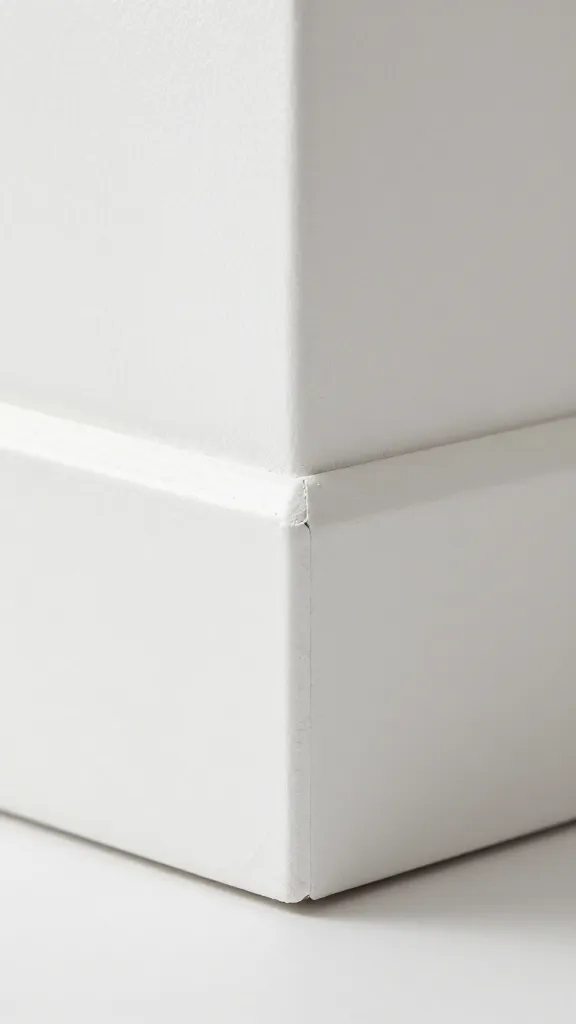
Not all trim likes the same treatment. Use the right approach so you don’t wreck the finish.
Painted Wood (Semi-Gloss or Satin)
– Use mild dish soap and water or a gentle all-purpose cleaner.
– Magic-eraser works for scuffs but go light—abrasion can dull satin finishes.
– If grease or sticky film lingers (looking at you, kitchens), mix water with a tiny squirt of degreasing dish soap.
Stained or Sealed Wood
– Skip the water soak. Use a barely damp cloth with a wood-safe cleaner.
– Follow up with a dry cloth and, if you like, a tiny bit of wood polish for sheen.
– Avoid magic-erasers—they can haze the finish.
MDF Baseboards
– MDF hates water. Wring cloths very well.
– Fix swelling or chipped paint by sanding lightly and repainting rather than scrubbing harder.
Unpainted or Raw Trim (Construction Phase or DIY Projects)
– Stick to dry dusting only. Moisture raises grain.
– Seal or paint before doing any wet cleaning.
Troubleshooting the Annoying Stuff
Some grime plays hardball. Here’s how to win without damaging the trim.
Black Scuff Marks
– Try a damp microfiber first.
– If stubborn, use a magic-eraser with feather-light pressure.
– Still there? A drop of baking soda paste on a soft cloth, then wipe clean and dry.
Mystery Sticky Film
– Warm water + a dash of dish soap solves most sticky residues.
– For oil-based gunk, add a teaspoon of white vinegar per quart of water.
– Rinse with a damp cloth to remove any cleaner film.
Dust Cemented in Grooves
– Loosen with a dry soft brush or toothbrush.
– Vacuum the loosened dust.
– Finish with a barely damp cloth and dry immediately.
Mildew in Bathrooms
– Mix water with a little vinegar, wipe, then dry thoroughly.
– If caulk shows mold stains, replace the caulk rather than nuking it with harsh chemicals.
Make It Last: Keep Baseboards Cleaner, Longer
A tiny bit of prevention cuts your cleaning time in half. Maybe more.
- Dust regularly—every two weeks with a quick vacuum pass while you already have it out.
- Seal the edge where baseboard meets wall with tidy caulk to block dust traps.
- Finish with a dust-repelling layer using a light swipe of furniture polish or a dryer sheet on painted trim.
- Address door-stop issues—replace missing or weak door stops to avoid new scuffs.
- Consider semi-gloss paint on trim; it resists stains and wipes clean easier than matte.
Speed-Clean Routine (Monthly, 10 Minutes)
– Quick vacuum of tops and corners.
– Wipe high-traffic areas only (entryway, kitchen, hall).
– Buff dry. Done. Your future self says thanks.
If You Plan to Repaint Soon
Cleaning before painting matters. Paint will not stick to grime, and you’ll lock in stains forever.
- Wash thoroughly with warm soapy water; rinse with a damp cloth; dry well.
- De-gloss shiny finishes lightly with a sanding sponge; wipe dust after.
- Spot-fill dents with wood filler, sand smooth, and spot-prime.
- Tape floors tightly to keep lines crisp and paint off the planks. FYI: high-quality painter’s tape earns its keep.
FAQ
How often should I clean my baseboards?
Dust every two weeks if you can swing it, and do a deeper wipe-down every one to three months. Homes with pets or lots of foot traffic need more frequent attention. If you see that gray line along the top, that’s your nudge.
Can I use vinegar on painted baseboards?
Yes, in moderation. Mix a small amount with water for a light degrease. Always test first and rinse with a damp cloth to avoid a dull film on certain paints.
What’s the easiest way to clean baseboards without bending over?
Use a long-handled baseboard tool or attach a microfiber cloth to a flat mop. Vacuum with a wand and brush for the dry step. Your back will send a thank-you note.
Do dryer sheets really repel dust?
They help a bit. Rubbing a clean, dry sheet over painted trim leaves a slight anti-static effect that slows dust buildup. It’s not magic, but it buys you time, IMO.
Why do my baseboards look streaky after cleaning?
You likely used too much cleaner or water. Wring cloths well and follow with a dry microfiber to buff. Hard water can leave residue too, so consider a final wipe with distilled water.
Will magic-erasers damage paint?
They can dull satin or matte paint if you scrub hard. Use light pressure, focus only on the scuff, and stop as soon as it lifts. When in doubt, use a soft cloth first.
Wrap-Up: Clean Lines, Cleaner Room
Baseboards don’t need drama—just a quick dust, a smart wipe, and a little prevention. Once you run through this routine a couple times, you’ll knock out a room during a coffee break. Keep it simple, keep it consistent, and enjoy that crisp, just-cleaned edge that makes the whole space pop. And hey, if anyone notices and compliments your baseboards? That’s elite-level housekeeping bragging rights.