You love your makeup brushes. They make your highlighter pop, your foundation smooth, and your eyeliner (mostly) symmetrical. But if they’re crusty, shedding, or smell like last month’s setting spray, they’re sabotaging your look. Let’s fix that. Grab a towel, a cleanser, and five minutes—your brushes are about to glow up.
Why Clean Brushes Actually Matter
You don’t need a lab coat to get this: dirty brushes hold onto oil, dead skin, and bacteria. Then you swirl all that back onto your face. Hello, clogged pores. Hello, breakouts.
Clean brushes also work better. Fresh bristles blend faster, pick up product evenly, and save you time. Plus, regular cleaning helps them last longer, which your wallet will appreciate.
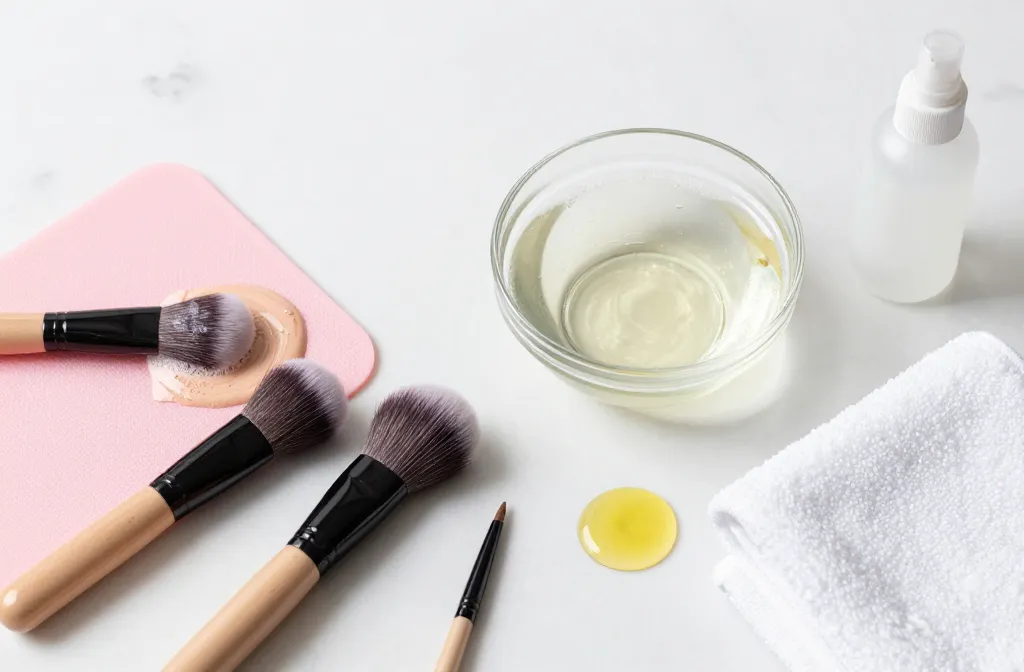
What You’ll Need (No Fancy Kit Required)
Keep it simple. You probably own half of this already.
- Mild cleanser: baby shampoo, gentle face wash, or a brush-specific soap
- For deep cleaning gunk: olive oil or a cleansing balm (just a dab!) for oil-based makeup
- Warm water: not hot—hot water can loosen glue and ruin bristles
- A textured surface: silicone mat, brush egg, or just your palm
- Clean towel: for drying
- Rubbing alcohol (70%): for quick handle wipe-downs
The Quick Wash: Your Weekly Routine
Do this once a week for face brushes, every 1–2 weeks for eye brushes. It takes less time than your base routine. Pinky promise.
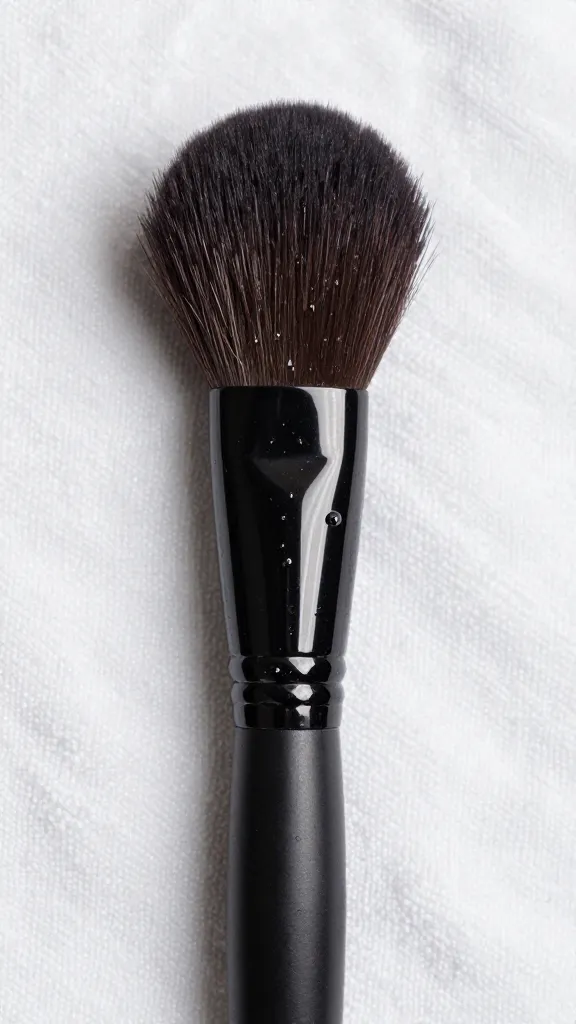
- Wet the bristles with warm water. Keep the ferrule (the metal part) and handle dry. Water in the glue = shedding city.
- Add a drop of cleanser to your palm or a mat. Swirl the brush gently until it lathers and the water runs murky. Satisfying, right?
- Rinse thoroughly. Keep the brush angled down. Squeeze the bristles lightly until the water runs clear.
- Reshape the bristles with your fingers so it dries in the correct shape.
- Dry flat on a towel with the bristles hanging off the edge of the counter. Airflow = faster drying. Never dry upright—water trickles down and wrecks the glue.
Heads-Up: Foundation & Concealer Brushes
Cream products cling like stage-five clingers. If your brush still looks dingy after one wash, repeat with a tiny drop of olive oil first, then your regular cleanser. Rinse really well so the oil doesn’t linger.
The Deep Clean: Once a Month (Yes, Really)
Your weekly wash does the job. But a monthly deep clean resets everything.
- Soak, but smartly: Fill a bowl with warm water and a few drops of cleanser. Dip only the bristles for 5–10 minutes. Don’t dunk the ferrule.
- Agitate & rinse: Swirl on a mat to lift stubborn buildup.
- Optional disinfect: Especially for artists or acne-prone skin. Use a brush-safe disinfecting spray after washing. Let it air dry.
Synthetic vs. Natural Bristles
– Synthetics (nylon/taklon) love liquids and creams. They handle frequent washing like champs.
– Natural hair behaves like, well, hair. Use gentler cleansers and consider a tiny bit of conditioner every few washes. Rinse thoroughly so they don’t feel greasy.
Fast Fixes When You’re Rushing
We’ve all been there—smoky eye plans, dirty blending brush. Don’t panic.
- Color switchers: Those spongy tins remove powder color instantly. Great between shades.
- Quick-dry sprays: Spritz on a paper towel, swirl the brush, wait a minute. FYI: This freshens, but it doesn’t replace a real wash.
- DIY wipe-down: A tiny bit of micellar water on a cotton pad works in a pinch for powders.
What Not to Do (Please, for the love of bristles)
– Don’t use hot water.
– Don’t soak the whole brush.
– Don’t dry them upright.
– Don’t use dish soap daily—too harsh for natural hair.
– Don’t yank on shedding bristles; trim strays instead.
Drying Like a Pro
Drying makes or breaks your brush game. Literally.
- Angle downward: Always keep the bristles pointing down or flat while drying.
- Speed it up: Gently squeeze with a towel first. Then air dry.
- Hack: Rubber band your brushes to a hanger so the heads hang over the edge. Low-tech, high reward.
- Avoid heat: No hairdryers. No radiators. That’s a shortcut to crispy, splayed bristles.
Extra Credit: Handles, Ferrules, and Storage
Bacteria doesn’t just love bristles. It parties on handles, too.
- Wipe handles with rubbing alcohol and a cotton pad every couple of uses.
- Check the ferrule if you notice wobbling or shedding. You might have water damage. Dry better next time, and consider a touch of glue if it’s loose.
- Store upright in a clean cup or roll them in a brush case. Keep them away from bathroom steam if you can. Steam + dust = grime.
How Often Should You Clean?
– Foundation, concealer, cream products: every 3–4 uses.
– Powder face brushes: weekly.
– Eye brushes: every 1–2 weeks (more often if you switch colors a lot).
– Beauty sponges: after every use, IMO. They’re absorbent little gremlins.
Common Mistakes (And Easy Fixes)
– Using too much soap: Residue makes brushes stiff. Use a pea-sized amount and rinse well.
– Scrubbing too hard: Gentle swirls = clean. Aggressive scrubbing = frizz and fallout.
– Skipping reshaping: Always pinch and shape before drying so they don’t dry weird and fluffy in the wrong direction.
– Forgetting travel brushes: They need love too. Clean them when you unpack.
– Waiting until they stink: If your brush has a “vibe,” you waited too long. Set a reminder, FYI.
FAQs
Can I use dish soap to clean brushes?
You can for synthetic brushes in a deep clean, especially for heavy oils. But it’s harsh, so don’t do it often, and avoid it on natural bristles. A mild shampoo or dedicated brush soap works better long-term.
How long do brushes take to dry?
Usually 4–8 hours, depending on size and density. Big foundation and kabuki brushes take longer. Wash at night, let them dry while you sleep, and you’re set for morning glam.
What if my brush keeps shedding?
Shedding happens with age or water damage. Make sure you don’t soak the ferrule and avoid hot water. If it still sheds after a few washes, it might be time to retire it. RIP to a real one.
Do I clean new brushes before using them?
Yes, give them a quick wash. It removes factory residue and softens the bristles. Your skin will thank you.
Can I use vinegar or alcohol on the bristles?
Skip vinegar on bristles—it can be too acidic. Alcohol can dry out natural hair, so use it for handles only. For disinfecting bristles, use a brush-safe spray after washing.
Is a silicone cleaning mat worth it?
IMO, yes. It speeds things up and helps lift gunk without over-scrubbing. Your hands stay less pruney, too.
Conclusion
Clean brushes mean better makeup, happier skin, and tools that last. Set a simple routine: quick wash weekly, deep clean monthly, and dry them properly. It’s five minutes that pays you back every time you blend. Now go give those bristles a spa day—they’ve earned it.