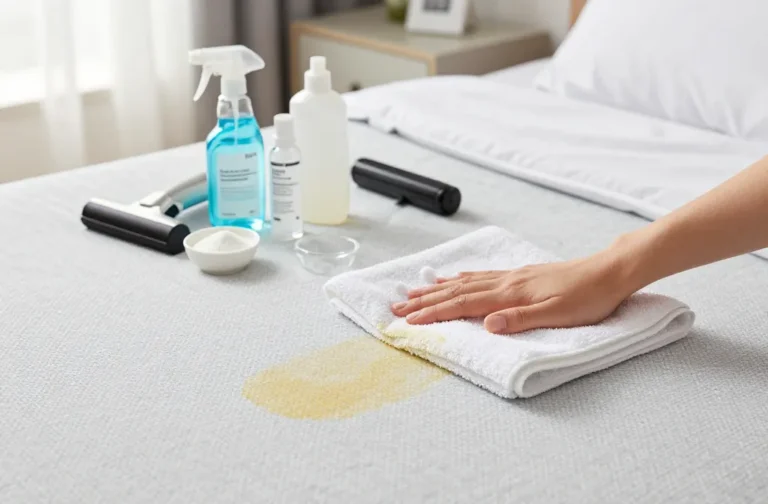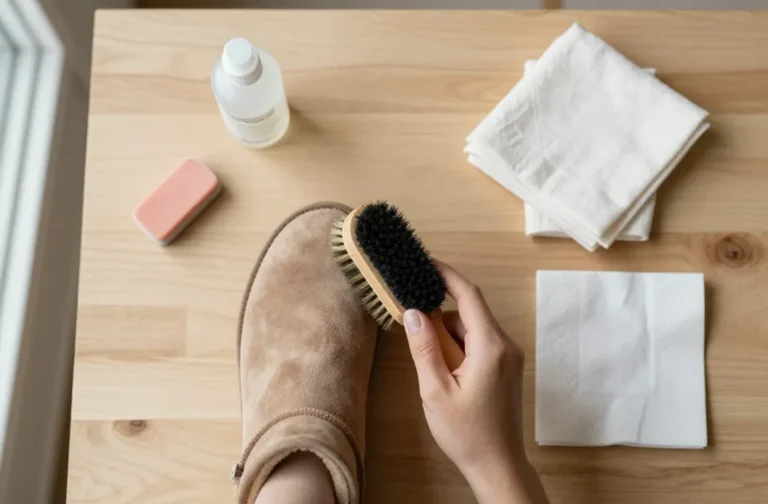
Your brushes work hard. They deserve better than crusty bristles and mystery gunk. Clean them right, and they’ll paint smoother lines, blend like a dream, and last way longer. Skip it, and enjoy streaks, frizz, and a small meltdown. Your call.
Know Your Brush: Makeup, Paint, or Cleaning?
Not all brushes live the same life. A foundation brush fights oils and pigment. An acrylic paint brush wrestles polymers. A dusting brush eats, well, dust. Each one needs a slightly different approach.
Here’s the big idea: match the cleaner to the grime. Oils need soap. Dried paint needs solvent or warm water, depending on the type. Dust? A gentle wash does the trick.
The Golden Rules (Works for Almost Every Brush)
Want the TL;DR? Follow these and you’ll be 90% there:
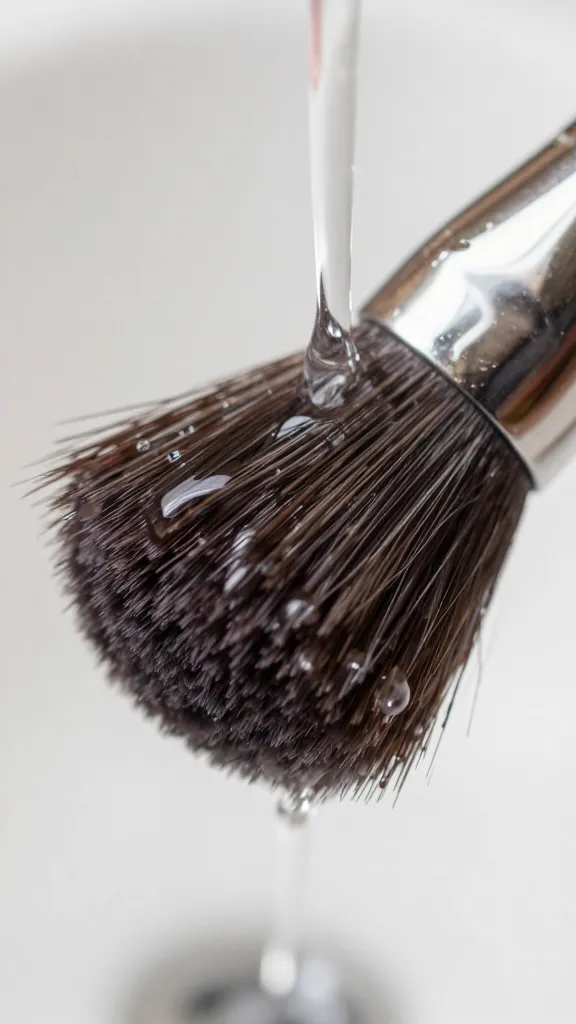
- Always wet the bristles first, not the handle. Keep water off the ferrule (the metal band) to avoid loosening glue.
- Use lukewarm water. Hot water can warp bristles and melt glue. Cold water doesn’t clean well.
- Clean from base to tip. Don’t scrub sideways like you’re washing carrots.
- Rinse until the water runs clear. If it still looks like a latte, keep going.
- Shape and dry flat. Bristles down or flat, never upright while wet, or water slides into the ferrule and ruins everything.
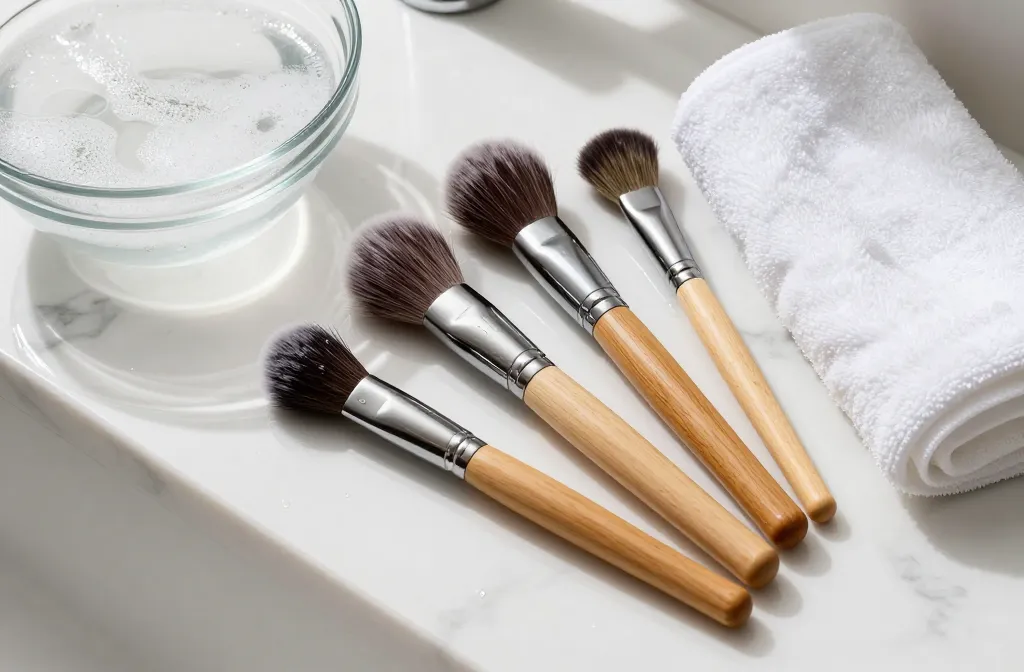
Makeup Brushes: Gentle but Thorough
Makeup brushes collect oils, pigment, dead skin, and bacteria. Cute, right? Clean them weekly for face brushes, biweekly for eye brushes. Your skin will thank you.
What to Use
- Mild soap or gentle shampoo (baby shampoo works)
- Brush cleanser (great for quick sanitizing between looks)
- Olive oil or cleansing balm for stubborn cream products (tiny bit!)
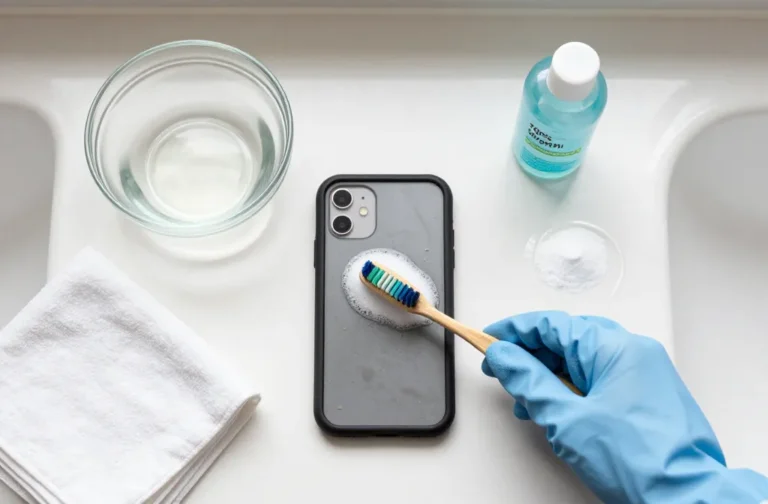
How to Clean
- Wet the bristles with lukewarm water, angled downward.
- Add a drop of soap to your palm or a silicone cleaning mat.
- Swirl the brush gently until the lather turns… interesting.
- Rinse thoroughly, squeeze out water with your fingers, repeat if needed.
- Reshape the bristles and lay the brush flat on a towel, tip slightly hanging over the edge for airflow.
Pro tip: For daily spot-cleaning, spritz brush cleaner on a microfiber cloth and swipe until it runs clean. Deep clean once a week. IMO, that’s the sweet spot between hygiene and sanity.
Artist Paint Brushes: Watercolor, Acrylic, Oil
Different paints, different rules. Don’t use the same cleaner for watercolor and oil, unless chaos is your brand.
Watercolor and Gouache
- Cleaner: Lukewarm water and mild soap
- Method: Rinse immediately after use. Lather gently. Rinse until water’s clear. Shape and dry flat.
- Why: These paints are water-soluble, so soap and water handle them easily.
Acrylic
- Cleaner: Soap and water while paint is wet; once dry, it’s basically plastic
- Method: Rinse ASAP. Work in soap. Use a brush comb if needed. Rinse and reshape.
- FYI: Dried acrylic is a nightmare. If it’s set, try an acrylic brush restorer, but manage expectations.
Oil Paint
- Cleaner: Odorless mineral spirits or safflower/linseed oil first, then soap and water
- Method: Swirl in oil or OMS to break down pigment. Wipe on a rag. Wash with soap until it runs clean. Condition natural hair with a dab of hair conditioner. Rinse, reshape, dry flat.
- Note: Dispose of solvent-soaked rags safely. They can self-heat. Yes, really.
DIY and Household Brushes: Cleaning, Stain, and Grout
These workhorses deal with grime, not glam. They clean up great if you don’t treat them like chew toys.
Paint Rollers and Wall-Paint Brushes (Latex/Water-Based)
- Scrape excess paint back into the can with a 5-in-1 tool.
- Rinse under lukewarm water while combing bristles or squeezing the roller.
- Add dish soap, massage thoroughly, rinse until clear.
- Shake out water, reshape, and hang or lay flat to dry.
Tip: Wrap in plastic if you’ll reuse within 24 hours. No, your freezer is not a long-term storage plan.
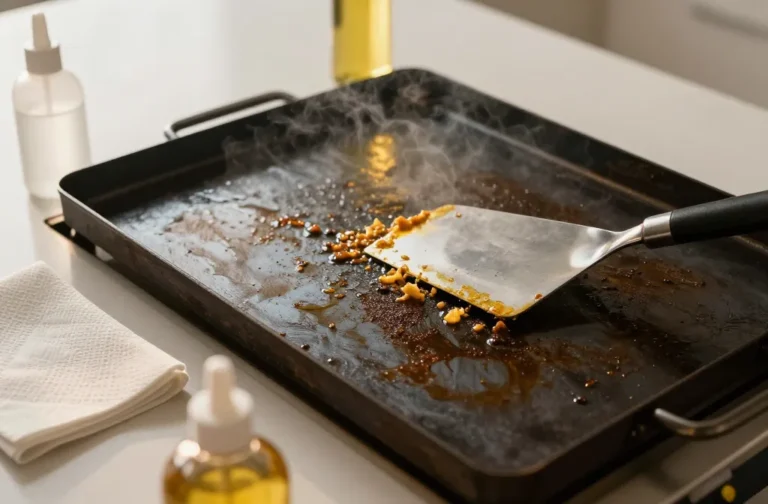
Oil-Based House Paint
- Use mineral spirits in a container. Swirl, press gently to release paint.
- Repeat with clean solvent until mostly clear.
- Wash with dish soap after to remove solvent residue. Rinse well. Dry flat.
Scrub and Grout Brushes
- Soak in warm water with a little dish soap and white vinegar.
- Scrub bristles together, rinse, and air-dry upright.
- For mildew funk, a 10-minute dip in diluted bleach (1:10) works. Rinse like your life depends on it.
Save Your Bristles: Common Mistakes to Avoid
- Don’t soak past the bristles. Water creeps into the ferrule, loosens glue, and the brush sheds like a nervous cat.
- Don’t use boiling water. Warped bristles and cracked handles aren’t a vibe.
- Don’t dry upright. Gravity pulls water into the handle. Lay flat or bristles-down.
- Don’t scrub on rough surfaces. You’ll splay the tips and ruin precision.
- Don’t mix solvents. OMS and alcohol and acetone together? Please no. Pick one that matches the medium.
Make Them Last: Maintenance and Storage
Brushes live longer if you treat them like tiny tools, not disposable napkins.
Quick Maintenance Habits
- Wipe as you work. Keep a lint-free rag or paper towel nearby. Less buildup = easier cleaning.
- Condition natural hair. A pea-sized dab of conditioner after deep cleans keeps them soft.
- Use the right brush for the job. Don’t scrub grout with your nicest sable. Seems obvious, but here we are.
Smart Storage
- Dry completely before storing in a closed container. Moisture invites mold and weird smells.
- Store bristles-up or flat when dry. Use guards for delicate tips.
- Keep away from heat and direct sun. Warping is real.
Deep Dive: Natural vs. Synthetic Bristles
Not sure what you’ve got? Quick test: natural bristles feel slightly textured and taper irregularly; synthetics feel smoother and more uniform.
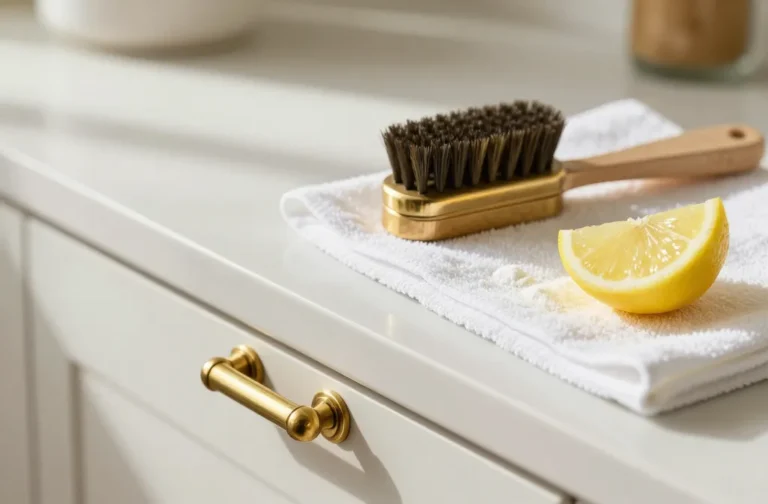
Natural Bristles (Sable, Hog, Goat)
- Pros: Great paint/cream pickup and smooth laydown.
- Care: Gentle soap, lukewarm water, optional light conditioner.
- Avoid: Harsh solvents frequently. They dry out the hair and it splits.
Synthetic Bristles (Nylon, Taklon, Polyester)
- Pros: Handle water, soaps, and acrylics like champs.
- Care: Soap and water; tolerate more vigorous cleaning.
- Avoid: High heat. Synthetics can bend or curl.
FAQ
How often should I clean makeup brushes?
Face brushes (foundation, blush, bronzer) need a deep clean weekly. Eye brushes can stretch to every 1–2 weeks if you spot-clean between uses. FYI, if you deal with breakouts, clean more often.
Can I use dish soap for all brushes?
You can use mild dish soap for synthetic bristles and household/paint brushes. For natural hair makeup or artist brushes, use gentle soap or brush cleaner instead. Dish soap can strip natural oils and make them brittle.
What if my acrylic paint dried on the brush?
Try an acrylic brush restorer or isopropyl alcohol soak, then comb gently. Sometimes it works, sometimes the brush retires early. IMO, prevention (rinsing immediately) beats every “miracle” fix.
Is rubbing alcohol okay for makeup brushes?
Use it for a quick sanitize on synthetic bristles only, and not daily. It dries out natural hair and can loosen glue over time. A proper soap-and-water wash still cleans best.
How do I stop shedding?
Don’t soak the ferrule, avoid hot water, and reshape after washing. Cheap brushes shed more, period. If you did everything right and it still sheds, it might be time to upgrade.
Can I speed up drying with a hair dryer?
You can on a cool, low setting from a distance. Heat can warp bristles or damage glue. Blot on a towel first to cut the dry time by half.
Conclusion
Clean brushes perform better, feel better, and last longer. The routine doesn’t need to be fancy—just consistent and gentle. Match the cleaner to the mess, rinse like you mean it, and dry smart. Do that, and your brushes will treat you like royalty, not like the goblin who left them caked in gunk.