Silver looks amazing… until it doesn’t. One day it sparkles; the next it’s rocking a gloomy gray haze like it’s going through a phase. The good news? You can bring it back to life faster than your coffee gets cold. Grab a few simple supplies, follow a couple of no-fuss methods, and your jewelry will shine like it means business.
Why Silver Tarnishes (And Why It’s Not Your Fault)
Tarnish happens when silver reacts with sulfur compounds in the air and on your skin. It’s chemistry, not a personal attack on your style. Perfume, lotions, sweat, and even the air in your city can speed things up. FYI: Sterling silver (92.5% silver) tarnishes faster than pure silver, but it also holds up better for daily wear. Trade-offs, right?
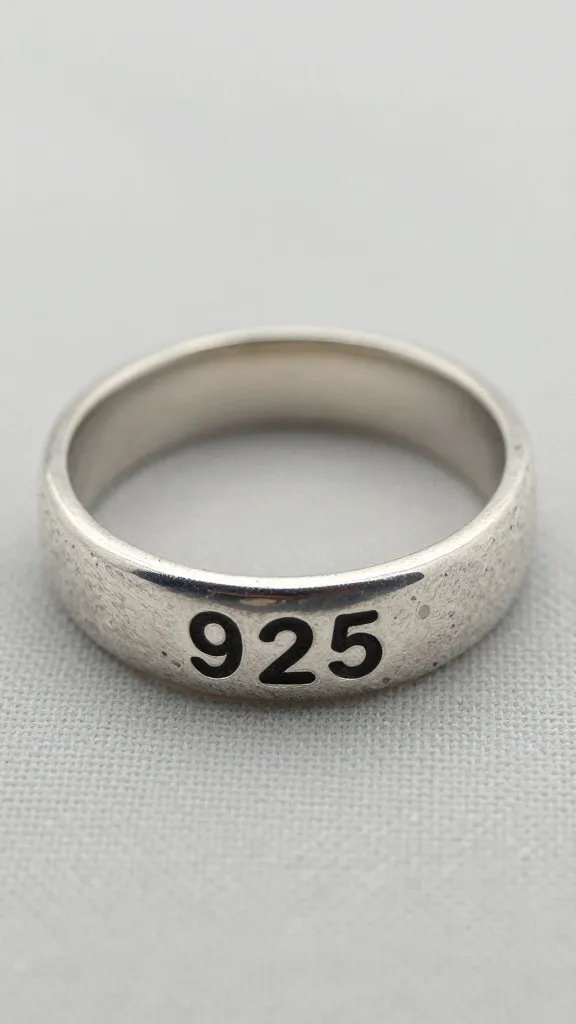
Quick Test: Is It Silver or Just Silver-Plated?
Before you clean anything, figure out what you’re working with. Sterling pieces usually have stamps like “925,” “Sterling,” or “Ster.” Silver-plated items might say “EPNS,” “silver plate,” or nothing at all. Why care? Silver-plated jewelry needs gentler cleaning, because you don’t want to rub off the thin silver layer and expose the base metal. If you’re unsure, treat it like it’s delicate. Your future self will thank you.
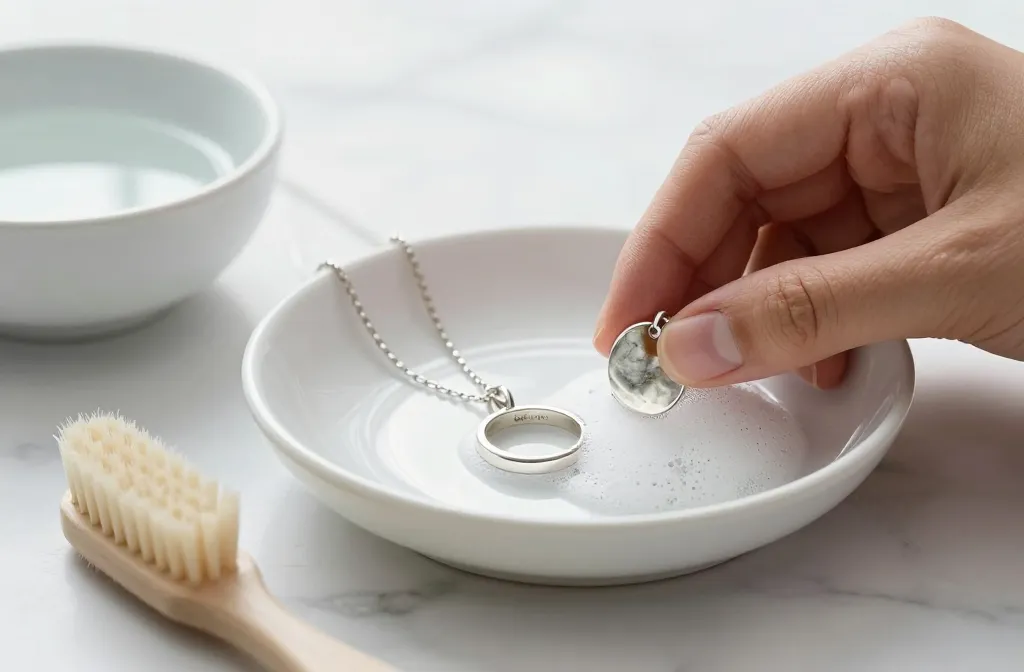
Method 1: The Classic Soap-and-Water Clean (Start Here)
If your piece looks dull with light tarnish, this simple wash often fixes it. It’s boring, but it works.
- What you need: Mild dish soap, warm water, a soft toothbrush, a soft microfiber cloth.
- How to do it: Mix a few drops of soap into warm water. Soak your jewelry for 3-5 minutes. Gently brush in crevices. Rinse in clean water and pat dry. Buff with the cloth.
- Good for: Everyday grime, fingerprints, light tarnish, silver-plated pieces.
Pro tip: Dry like you mean it
Moisture invites tarnish back to the party. Pat dry thoroughly and let pieces air-dry for a few extra minutes before storing. Overkill? Maybe. Effective? Absolutely.
Method 2: Baking Soda Paste (For Stubborn Tarnish)
Baking soda brings gentle grit without wrecking your jewelry—if you use a light touch.
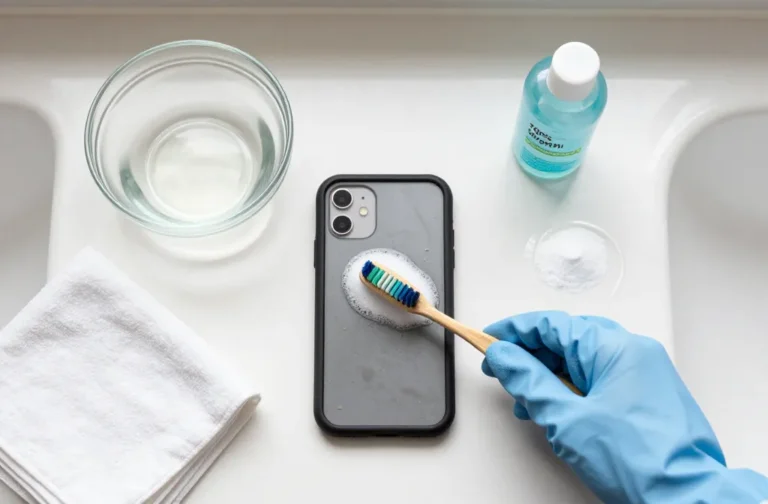
- What you need: Baking soda, a few drops of water, soft cloth or toothbrush.
- How to do it: Mix a thick paste (think toothpaste consistency). Dab it on and rub gently in small circles. Rinse well and dry.
- Good for: Heavier tarnish on solid sterling silver.
Important caveat
Avoid abrasive scrubbing on satin, matte, or oxidized finishes. Also skip this on silver-plated pieces and anything with delicate patinas. You want shine, not a personality wipe.
Method 3: Aluminum Foil + Baking Soda Bath (The Chemistry Trick)
This method doesn’t just polish; it reverses tarnish chemically. Science class, but make it sparkly.
- Line a bowl with aluminum foil, shiny side up.
- Add very hot water (not boiling if your jewelry has stones), a tablespoon of baking soda per cup of water, and optionally a pinch of salt.
- Drop your silver in so it touches the foil. Wait 1-3 minutes. You’ll smell sulfur (eggs)—that’s the tarnish moving off the silver. Glamorous, I know.
- Rinse and dry thoroughly. Buff to finish.
Do not use this on: Pieces with glued-in stones, pearls, opals, turquoise, coral, or anything porous or heat-sensitive. Heat + chemicals + glue = regret.
Method 4: Commercial Silver Polish (When You Want Fast and Foolproof)
Sometimes you want the easy button. A quality silver polish removes tarnish and leaves a protective layer.
- How to use: Apply a small amount to a soft cloth, rub lightly, and buff. Follow the label exactly—no heroic scrubbing.
- When to use: For intricate designs, chains that look gray-black, or when DIY didn’t cut it.
Choose wisely
Liquid polishes and treated polishing cloths work best for jewelry. Avoid heavy-duty dips unless you’re comfortable and your piece is plain metal with no stones. IMO, dips can be too harsh for sentimental favorites.
Special Cases: Stones, Pearls, and Antique Finishes
Not all silver jewelry behaves the same. Some pieces demand kid gloves.
- Pearls and porous stones (opals, turquoise, coral, lapis): No chemicals, no hot water, no foil. Wipe with a damp cloth only. Clean the silver parts gently with a polishing cloth, avoiding the stones.
- Glued-in stones: Avoid soaking and heat. Use a slightly damp cloth and a gentle polish around settings.
- Oxidized/antique finishes: That dark shading is intentional. Do not scrub it off. Clean lightly and buff the raised areas only.
- Intricate chains: Use a mild soap bath and a super-soft brush. Rinse carefully so you don’t leave soapy sadness in the links.
Aftercare: Keep It Shiny Longer
Want less cleaning and more wearing? Small habits make a big difference.
- Wear it often. Your skin’s natural oils help slow tarnish. Yes, really.
- Last on, first off. Put jewelry on after makeup, perfume, and hair products. Take it off before sweating, swimming, or cleaning.
- Store smart. Use airtight bags with anti-tarnish strips or chalk. Keep pieces separate so they don’t scratch each other.
- Wipe after wearing. Quick buff with a polishing cloth = fewer deep cleans.
- Schedule mini cleanups. A 2-minute soap rinse each month beats a 20-minute rescue mission later.
What to buy for an easy routine
– Anti-tarnish pouches or strips
– Treated silver polishing cloth
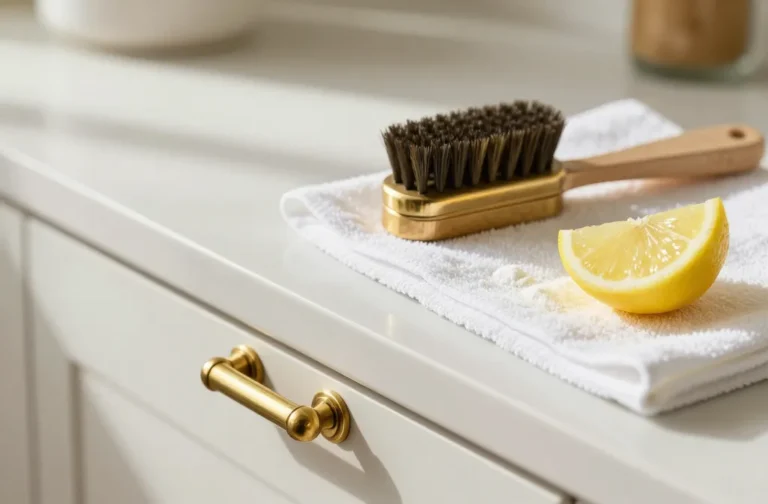
– Mild dish soap and a soft toothbrush
– Small zip bags to store pieces separately
IMO, a good polishing cloth pays for itself fast.
Troubleshooting: When It Still Looks Meh
If your silver still looks cranky, you might face one of these:
- It’s not tarnish—it’s scratches. Micro-scratches kill shine. Only professional polishing can remove deeper ones safely.
- The plating wore off. Silver-plated jewelry can show the base metal after heavy wear. Time for replating or a strategic retirement.
- Residue from cleaner. Rinse again and buff dry. Residue causes dullness and smudges.
- Stubborn black crevices. Use a soft brush with silver polish and patience. Intricate patterns hoard tarnish like dragons hoard gold.
FAQ
Can toothpaste clean silver jewelry?
It can, but I don’t recommend it. Many toothpastes contain abrasives that scratch silver and stones. Use a baking soda paste or a proper silver polish instead. Your jewelry deserves better than minty sandpaper.
How often should I clean my silver?
Lightly wipe or buff after each wear and do a quick wash monthly if you wear it often. Deep cleans only when you see visible tarnish. Overcleaning can wear finishes over time, so aim for “just enough,” not “obsessive.”
Is the aluminum foil method safe for all silver?
It’s safe for plain sterling silver pieces without stones or glue, and it works great for chains and solid items. Skip it for anything with pearls, porous stones, or glued settings. Heat and chemicals don’t play nice with delicate components.
What if my jewelry has gemstones?
Research the specific stone first. Many gemstones hate heat, chemicals, or even soaking. When in doubt, use mild soap, lukewarm water, and a soft brush, and keep cleaners away from the stones. Or go with a professional cleaning for peace of mind.
Why does my silver tarnish faster than my friend’s?
Body chemistry varies. Perfume, lotions, sweat, and even your diet can speed tarnish. Your environment matters too—urban air can contain more sulfur. FYI, wearing your silver often and storing it well slows the process a lot.
When should I see a professional jeweler?
If the piece has sentimental or high monetary value, complex settings, loose stones, heavy tarnish you can’t shift, or visible damage, let a pro handle it. They’ll clean, polish, and check prongs and clasps so you don’t lose a stone mid-brunch.
Wrap-Up: Shine Now, Chill Later
You don’t need a chemistry degree or a fancy setup to fix tarnished silver—just a smart method and a gentle touch. Start with soap and water, level up to baking soda or foil when needed, and keep polish on standby for tough cases. Store smart, wear often, and your silver will stay selfie-ready. Minimal effort, maximum sparkle. IMO, that’s the sweet spot.