You don’t need a museum curator’s degree to clean wood furniture. You just need the right approach, a soft cloth, and zero fear of dust bunnies. I’ll walk you through what works, what ruins finishes, and how to fix the “oops” moments. Ready to make that table shine without stripping its soul?
Know Your Wood and Finish First
Before you touch a bottle, figure out what you’re dealing with. Solid wood? Veneer? Laminate disguised as wood? The finish matters more than the species.
- Lacquer/shellac: Glossy, often on vintage pieces, sensitive to alcohol and heat.
- Polyurethane/varnish: Durable modern finish, takes mild cleaners well.
- Oil or wax finish: Feels natural, low sheen, loves gentle cleaners and periodic re-oiling.
- Painted wood: Treat like a delicate finish—no harsh scrubbing.
Not sure? Do a spot test on the back or underside with a damp cloth. If it gets sticky or dull, stop. Switch to gentler methods and pat yourself on the back for testing first.
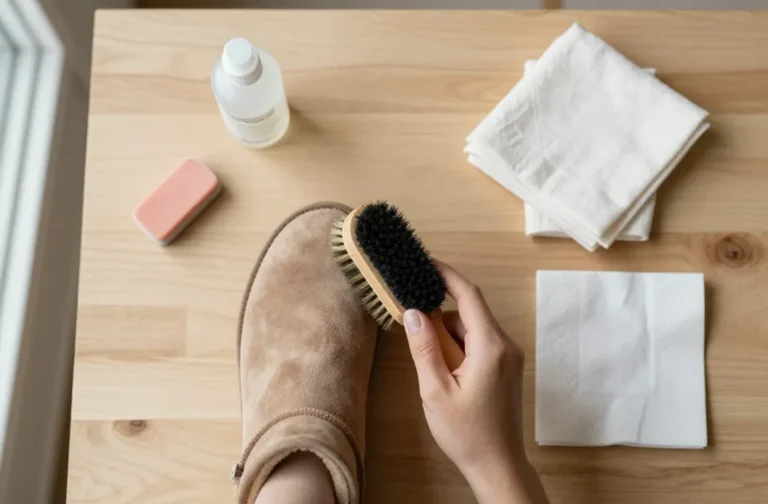
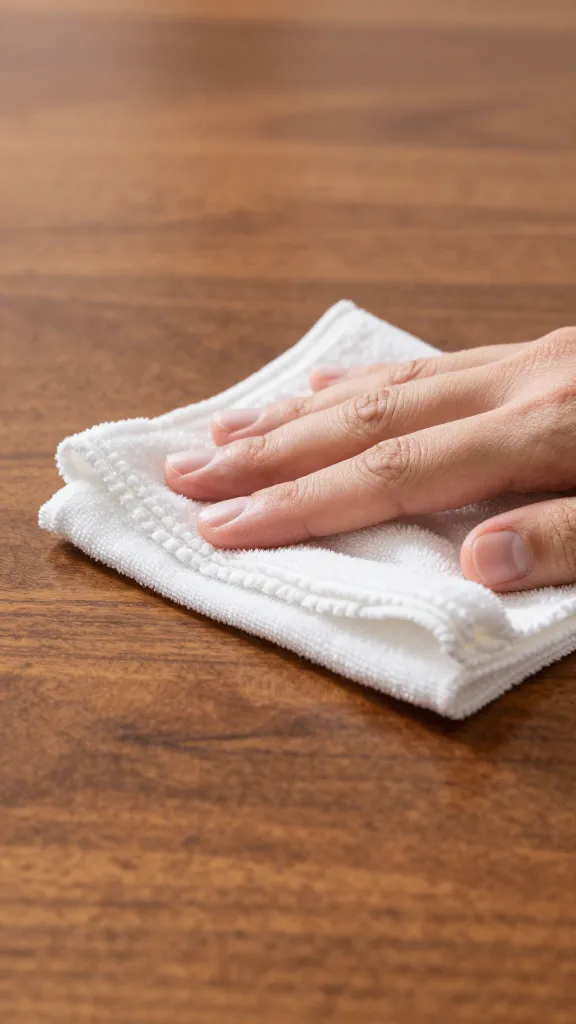
The Basic Clean: Dust, Then Wipe
Start simple. Dust grabs onto grime and turns into tiny sandpaper when wet. You don’t want that.
- Dust with a microfiber cloth. Work with the grain. Capture dust, don’t smear it.
- Lightly dampen a clean cloth with water (not dripping) and wipe.
- Dry immediately with another cloth. Water and wood aren’t besties.
Skip the feather duster, BTW. It just flicks dust around like confetti. Fun? Yes. Useful? Meh.
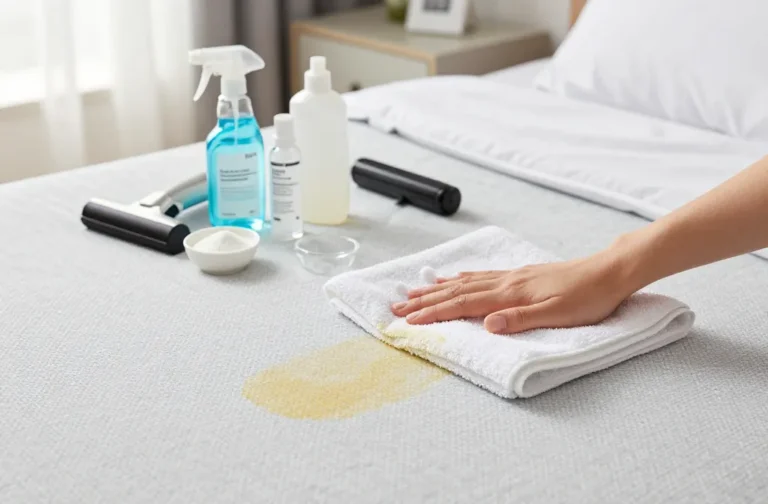
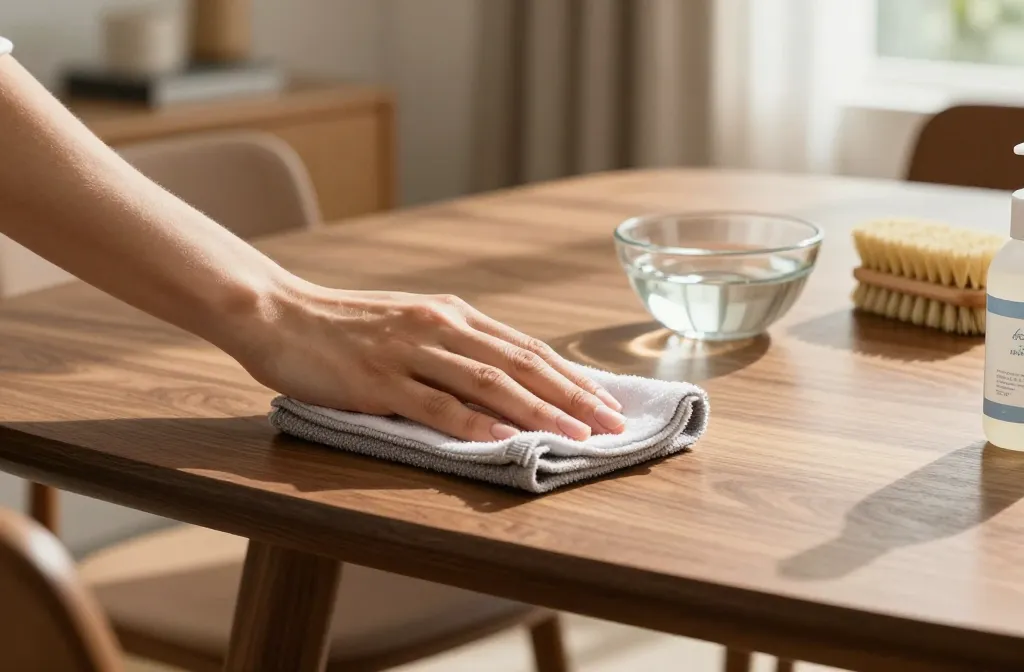
When Water Isn’t Enough: Mild Cleaners That Don’t Bite
You’ll meet sticky fingerprints, mystery rings, and the odd spaghetti sauce incident. Reach for something gentle.
- Warm water + a drop of dish soap: Great for greasy smudges. Wring out the cloth well.
- White vinegar + water (1:10): Cuts grime on sealed finishes. Test first. Avoid on waxed or oiled finishes.
- Commercial wood cleaner: Choose one without silicone if you plan to refinish later.
How to Use Cleaners Without Wrecking Anything
– Apply cleaner to the cloth, not the furniture.
– Wipe with the grain using light pressure.
– Rinse the cloth, wipe again to remove residue.
– Dry immediately. Yes, again. Moisture can swell wood and make it cranky.
Dealing With Stains, Rings, and Other Drama
Wood holds stories. Some you want. Some you… don’t.
White Rings (Water Marks)
White = moisture trapped in the finish, not the wood. You can fix it.
- Hairdryer on low a few inches away. Move constantly until the ring fades.
- Mayonnaise or petroleum jelly dab overnight under a paper towel. Wipe off, buff gently. Weird? Yes. Works? Often.
- Non-gel toothpaste + baking soda (tiny dab). Rub lightly with a soft cloth, then clean and dry. Go slow.
Dark Stains
Dark = moisture reached the wood or a chemical reaction (thanks, metal and water). That usually needs sanding and refinishing. IMO, call a pro for antiques.
Sticky Build-Up (Old Polish or Wax)
When your table feels like it’s wearing a sweater, remove the gunk.
- Mineral spirits on a soft cloth, light pressure, ventilated space. Wipe clean, then dry.
- A second pass if needed. Don’t soak. You’re dissolving build-up, not marinating furniture.
To Polish, Wax, or Oil? Let’s Settle This
You don’t need to polish every time. Most finishes want simple cleaning, not spa days.
- Furniture polish: Adds shine and a pleasant smell. Use sparingly. Silicone-based products can build up and complicate refinishing later.
- Paste wax: Adds a hard, low-sheen protective layer on bare wood or older finishes. Apply thinly, let haze, buff. Lasts months.
- Danish oil/tung oil: Good for oil-finished pieces that look dry. Apply per instructions, wipe off excess thoroughly.
How to Tell If Your Piece Wants Wax or Oil
– Feels dry, chalky, or rough? Likely benefits from wax or oil.
– Looks sealed and glossy? Stick to cleaner and maybe light polish.
– Not sure? Test a tiny spot with paste wax. If it buffs beautifully, you’re golden.
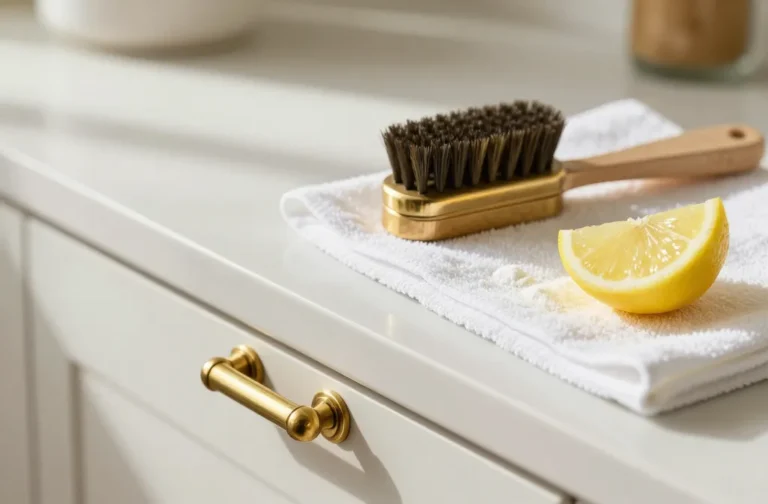
Tools That Make Life Easier
You don’t need a workshop, just a small kit.
- Microfiber cloths: Several, because one always goes missing.
- Soft-bristle brush: Great for carvings and crevices.
- Cotton swabs: Target small problem areas without collateral damage.
- Mineral spirits and paste wax: For deeper maintenance.
- Coasters and placemats: Prevent drama before it starts. FYI, this is the real hack.
Prevent Damage Like a Pro
Good habits keep you from playing stain whack-a-mole later.
- Use coasters, trivets, and placemats. Heat and moisture love to leave autographs.
- Clean spills immediately. Blot, don’t rub. Then dry.
- Avoid ammonia, bleach, and all-purpose cleaners. They strip finishes and your patience.
- Control sunlight. Rotate items and use curtains to avoid fade lines.
- Mind humidity. Aim for 40–55%. Too dry or too humid = warps and cracks. A small humidifier/dehumidifier helps.
- Lift, don’t drag. Felt pads under legs prevent scratches and those haunting screech noises.
Quick Maintenance Schedule (IMO: totally manageable)
– Weekly: Dust with microfiber.
– Monthly: Damp wipe and dry.
– Quarterly: Deep clean problem spots, wax if your finish wants it.
– Yearly: Inspect joints, handles, and feet; tighten screws and refresh pads.
Fixing Small Scratches and Dings
You can hide small sins without a full refinish.
- Walnut trick: Rub a cut walnut over a light scratch. Oils darken the line. Magic-lite.
- Wax or blending sticks: Choose a shade that matches the wood, fill, and buff.
- Furniture touch-up markers: Tap, blend, and immediately wipe excess. Less is more.
- Steam for dents: For bare or oil finishes only—damp cloth + warm iron for seconds. Test first.
FAQ
Can I use olive oil and vinegar as a DIY polish?
You can, but I wouldn’t. Olive oil can go rancid and attract dust. If you want a DIY route, use mineral oil with a tiny bit of beeswax—but only on oil-friendly finishes. Otherwise, a purpose-made polish keeps things simple and predictable.
How do I clean antique furniture without ruining it?
Go slow and gentle. Dust, then use a barely damp cloth. Skip vinegar and harsh cleaners. If you see crazing, flaking, or a super delicate finish, stop at dusting and call a conservator for anything beyond basic cleaning. Preserving value beats experimenting, IMO.
Why does my table feel sticky even after cleaning?
That’s old polish, smoke, cooking oils, or silicone build-up. Use mineral spirits on a soft cloth to dissolve residue, then wipe with a clean damp cloth and dry. After that, switch to a non-silicone cleaner to avoid the sticky cycle.
Will polishing make scratches disappear?
It can soften their look, but it won’t fill a scratch. Use a wax filler stick or a touch-up marker first, then polish to blend everything. Deep scratches need sanding and refinishing—call in reinforcements if that sounds like a weekend ruiner.
Is lemon oil good for wood?
Most “lemon oil” products are mineral oil with fragrance. They can freshen up dry wood and add luster but don’t protect like wax or a film finish. Use sparingly and only where oil makes sense. If you smell lemons, don’t assume it’s nutrition for wood—it’s marketing.
Can I use a magic eraser?
Use with extreme caution. It’s a micro-abrasive. On many finishes, it dulls the sheen or rubs through. If you try it, test in a hidden spot and keep pressure feather-light. Personally, I save it for walls and sneakers.
Conclusion
Cleaning wood furniture shouldn’t feel scary. Dust regularly, use mild cleaners, and match your approach to the finish. Treat stains with targeted fixes, protect surfaces from heat and moisture, and polish or wax only when it makes sense. Do that, and your furniture will look great for years—no museum ropes required, FYI.