You looked down, didn’t you? Scuffed toes, mystery stains, maybe a whiff of “what died in here.” The good news: you can bring sneakers back from the brink without dropping half a paycheck on a “miracle” cleaner. Give me one session and a few household items, and your kicks will look fresh enough to flex again.
Know Your Materials (So You Don’t Wreck Them)
Before you dunk anything, figure out what you’re dealing with. Different materials demand different attitudes—like friends with wildly different coffee orders.
- Leather and synthetic leather: Tough-ish. Handles gentle scrubbing and a bit of moisture. Don’t soak.
- Mesh and knit (Primeknit/Flyknit): Fragile-ish. Clean with a soft brush and light touch. No aggressive scrubbing unless you like fuzz.
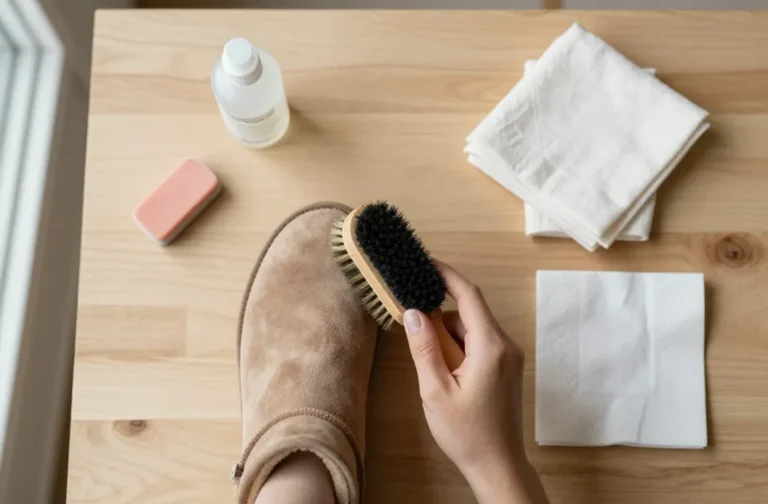
- Suede and nubuck: High maintenance. Keep them away from water floods. Use a suede brush and eraser.
- Canvas: Chill but stains quickly. Scrub with soapy water. Avoid color bleed by testing first.
- Rubber outsoles and midsoles: Scrub away. They can take it. Magic eraser helps, too.
Quick test first
Dab your chosen cleaner on a hidden spot. Watch for color bleed or weird textures. If it passes the vibe check, proceed.
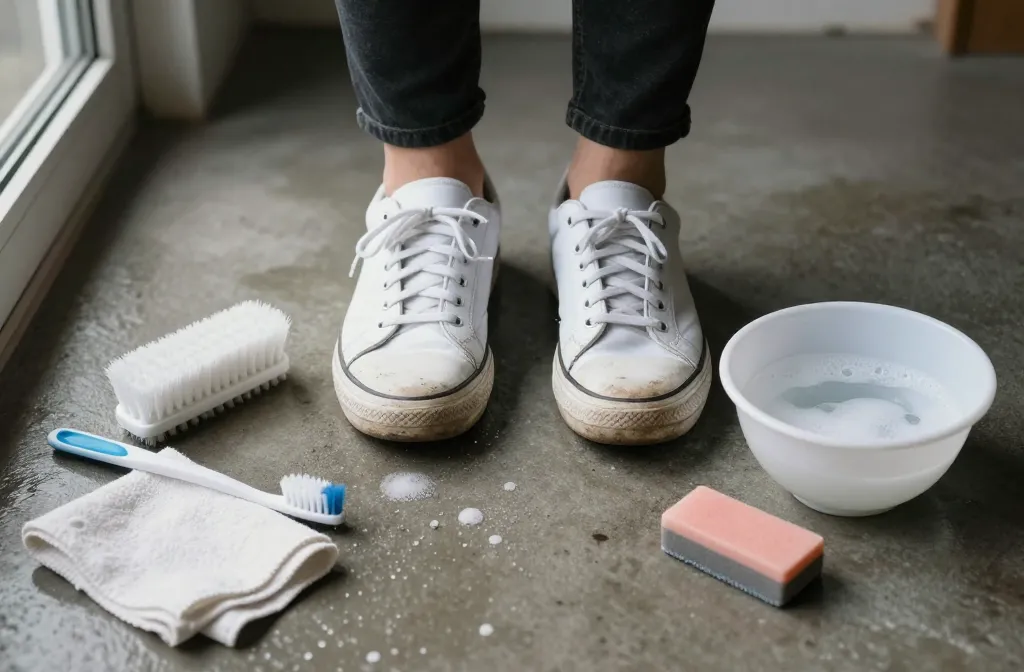
What You Need (No Fancy Stuff Required)
You don’t need a boutique kit. You probably own most of this already:
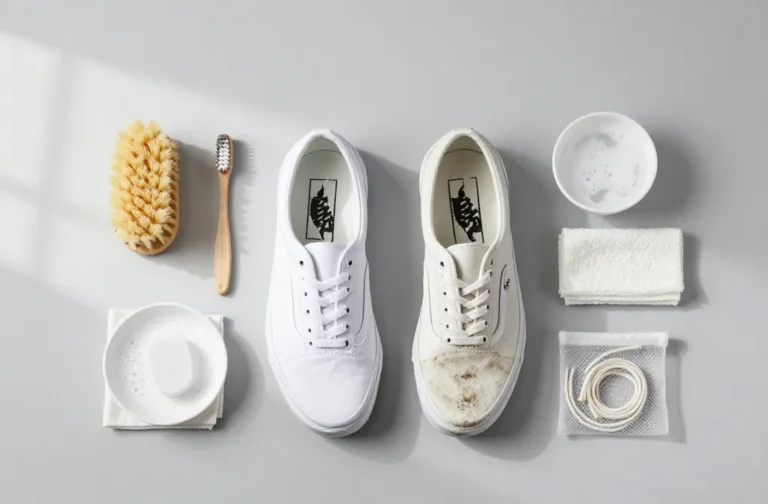
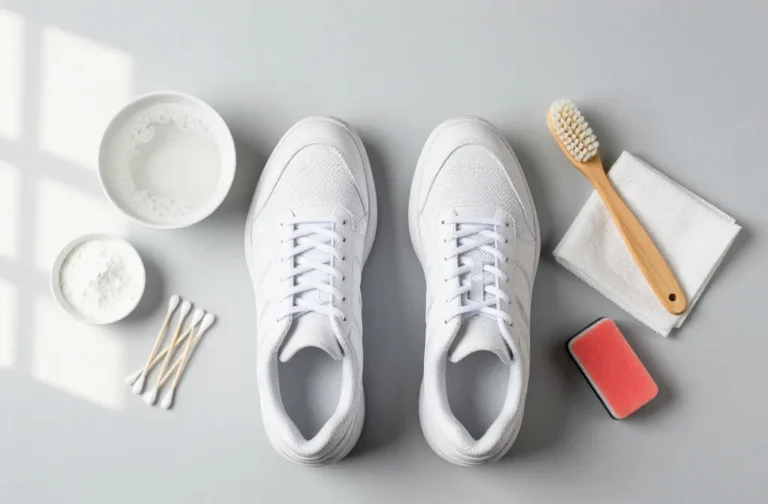
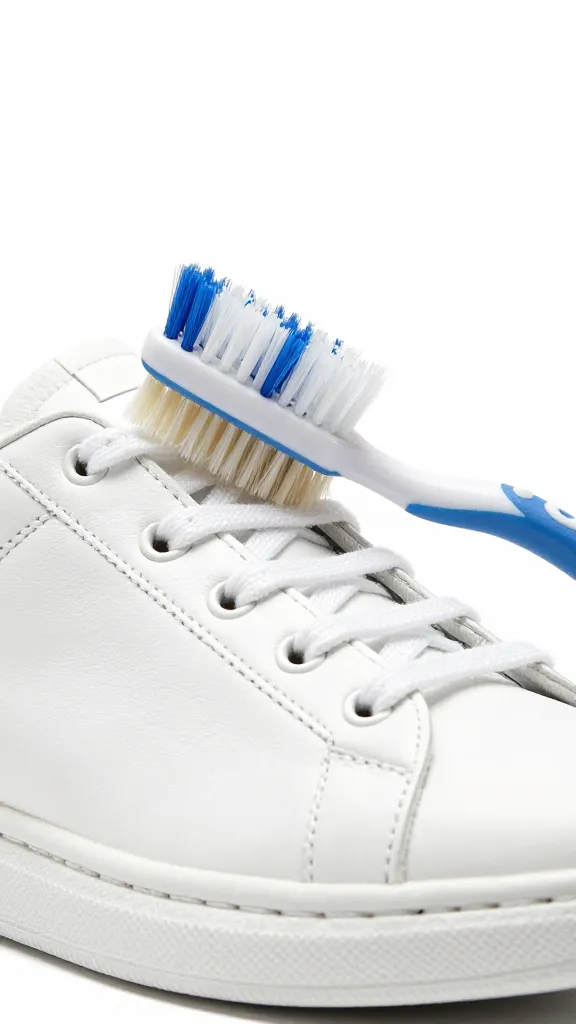
- Soft brush: Old toothbrush works. Bonus: medium brush for soles.
- Microfiber cloths or old T-shirts: For wiping and drying.
- Mild soap: Dish soap or gentle laundry detergent.
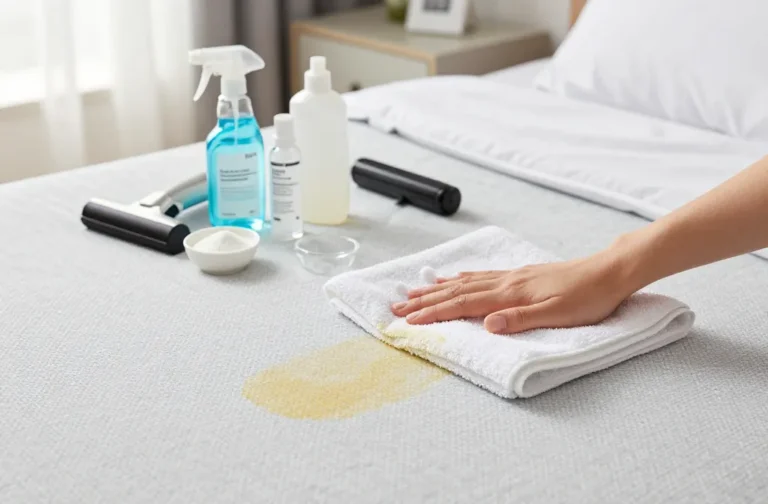
- Baking soda + white vinegar: For stink and tough stains.
- Magic eraser: For midsoles and scuffs.
- Suede brush/eraser: If you own suede.
- Sneaker trees or paper: To hold shape while drying (not newspaper—ink can transfer).
The Basic Clean: A Step-by-Step That Actually Works
We’ll tackle this like a mini spa day. No candles needed. Unless you want vibes.
- Remove laces and insoles. Toss laces in warm soapy water. If insoles come out, air them separately. FYI, laces collect like 90% of the grime vibe.
- Dry brush first. Knock off dust and dirt with a dry brush. You’ll avoid turning dust into mud.
- Mix your solution. A bowl of warm water + a tiny squirt of mild soap. You want suds, not bubble bath.
- Spot clean uppers. Dip brush, tap off excess water, and scrub in small circles. Keep it light on mesh/knit and suede (use almost-dry brush for suede).
- Wipe as you go. Use a damp cloth to lift dirty suds so they don’t resettle. Repeat if stubborn stains laugh at you.
- Attack midsoles. Use a magic eraser or a firmer brush with the same soapy mix. This step alone upgrades the entire shoe’s look. IMO, it’s the cheat code.
- Clean outsoles. Go in with a medium brush and more pressure. Outsoles can handle chaos.
- Rinse lightly. Don’t soak. Wipe with a cloth dampened in clean water to remove soap residue.
- Dry properly. Stuff with paper or shoe trees to keep shape. Air dry in a breezy spot away from direct heat or sun. Heat warps, sun fades—both tragic.
- Deal with laces and insoles. Rinse laces, squeeze water out, then air dry. Wipe insoles with a lightly soapy cloth, then a clean damp cloth. Sun them briefly for odor-killing UV, but don’t leave them all day.
Stain triage
– Mud: Let it dry first, then brush off chunks. Wet mud just spreads like bad gossip.
– Oil/grease: Sprinkle baking soda, let it sit 30 minutes, brush, then clean with soapy water.
– Grass: Mix a drop of detergent with a little white vinegar, dab, then rinse with a damp cloth. Test first to avoid color issues.
Special Care: Suede, Knit, and White Sneakers
Some sneakers need bespoke drama management.
Suede and nubuck
– Use a dedicated suede brush to lift dirt—go in one direction.
– For shiny, flattened spots, work them with a suede eraser or clean pencil eraser.
– If you must use moisture, keep it minimal and even across the panel to avoid tide marks.
– Finish by brushing to restore the nap. Protect with a suede spray after drying.
Knit and mesh
– Go super light with the scrubbing. A soft brush or microfiber cloth only.
– Don’t flood the fabric. You’ll push dirt deeper and risk loosened glue.
– Blot, don’t rub, when lifting stains.
White sneakers (the eternal struggle)
– Add a pinch of baking soda to your soap mix for gentle brightening.
– A magic eraser on the midsoles works wonders—don’t overdo it on painted areas.
– Yellowing? That’s oxidation. Some pairs respond to a tiny bit of hydrogen peroxide mixed with baking soda on fabric, but test carefully. Overuse can dry or fade material.
What Not to Do (Because Regret Hurts)
Let’s save a few pairs from the sneaker afterlife.
- No washing machines for leather, suede, or glued constructions. Canvas sometimes survives, but it can still warp or split glue. Risky.
- No bleach on uppers. It yellows fabric over time and wrecks fibers.
- No direct heat from radiators, dryers, or hairdryers. Glue softens, soles warp, uppers crack. Sad times.
- No soaking unless it’s a cheap canvas beater and you accept fate.
- No harsh brushes on delicate uppers. Save the aggression for outsoles only.
Deodorize Like You Mean It
Looks clean. Smells… questionable? Handle that.
- Baking soda overnight. Sprinkle inside, shake out in the morning. Cheap and effective.
- Vinegar mist. Lightly mist insoles with diluted white vinegar (1:1 with water), air dry. Kills odor-causing bacteria. Don’t soak.
- Tea tree oil drop. One drop mixed into water on a cloth to wipe insoles. Antimicrobial and less “salad dressing.”
- Rotate pairs. Feet sweat. Let shoes rest 24 hours between wears. FYI, this extends life too.
Protect and Maintain (Future You Will Thank You)
You cleaned them. Keep them that way with minimal effort.
Protective sprays
– Use a water and stain repellent on leather, suede, and fabric after full drying. Light coats, multiple passes. Reapply monthly if you wear them often.
Quick maintenance routine
– After each wear: Quick wipe of midsoles, air them out.
– Weekly: Brush off dust, check laces, spot clean stains before they set.
– Monthly: Proper clean if needed. Deep clean less often to reduce wear on materials.
FAQs
Can I put sneakers in the washing machine?
You can, but should you? Usually no. It can warp shapes, weaken glue, and wreck suede or leather. If you insist with canvas beaters, use a laundry bag, cold gentle cycle, and air dry. IMO, hand-washing gives better, safer results.
How do I fix yellowing soles?
Oxidation causes that. Some people use “sole sauce” and sunlight or UV lamps to reverse it. It works sometimes on icy soles, but it’s finicky and can damage rubber if overdone. Start with a test patch and keep expectations realistic.
What’s the best brush for cleaning?
A soft-bristle brush (or toothbrush) for uppers and a medium or stiff brush for outsoles. Keep a separate brush for suede. One brush to rule them all sounds nice, but cross-contamination makes stains worse.
How often should I clean my sneakers?
Light maintenance weekly, deep clean monthly or when they look rough. The more you spot clean early, the less time you’ll spend fixing disasters later. Future you = grateful.
Why do my sneakers still smell after cleaning?
Odor hangs out in insoles and foam. Pull insoles, clean them separately, and let everything dry completely. Add baking soda overnight and rotate pairs. If funk persists, consider replacing insoles—cheap fix, big impact.
Can I use dish soap on all materials?
Mostly yes, as long as it’s mild and you dilute it well. Avoid anything with bleach or strong fragrances on delicate fabrics. Always spot test—five seconds that can save a shoe, FYI.
Conclusion
Cleaning sneakers doesn’t require a chemistry degree or a $40 bottle of “liquid magic.” Know your materials, use gentle tools, and don’t rush the drying. Do a little maintenance often, and your kicks will stay fresh, comfy, and flex-worthy. Now go rescue that pair you almost retired—plot twist, they’re not done yet.