Your silver looked cute yesterday and… not so much today? Don’t panic. Tarnish happens, and it doesn’t mean you ruined your jewelry. You can bring back that glow at home with simple stuff you already own, and I’ll walk you through exactly how—without wrecking your favorite pieces.
Why Silver Tarnishes (And Why That’s Actually Normal)
Tarnish is just silver reacting with sulfur compounds in the air. It turns the surface dark or yellowish, sometimes even rainbow-y. Annoying? Yes. Catastrophic? Nope.
Here’s the good news: tarnish sits on the surface. You can remove it gently and safely if you use the right method for your piece. The trick? Match the cleaning method to the jewelry—plain sterling, oxidized finishes, gemstones, or plated pieces all need slightly different care.
Quick Checks Before You Start
Before you dunk or scrub anything, do a 30-second assessment. Saves you headaches later.
- Type: Sterling (stamped 925), fine silver, silver-plated, or mystery metal?
- Stones: Porous gems (turquoise, opal, pearl, lapis) hate harsh chemicals and soaking.
- Finish: Brushed, matte, rhodium-plated, or intentionally oxidized? Don’t strip it accidentally.
- Fragility: Loose prongs, delicate chains, hollow beads—be gentle.
FYI: If you can’t identify the piece and it looks fancy or sentimental, test any method on a tiny hidden spot first.
The Easiest Everyday Clean: Soap and Water
You don’t need to go full chemistry set for light grime. Warm water + mild dish soap = chef’s kiss.
- Mix: A few drops of mild dish soap in warm water.
- Soak: 3–5 minutes for plain silver; skip soaking for delicate stones.
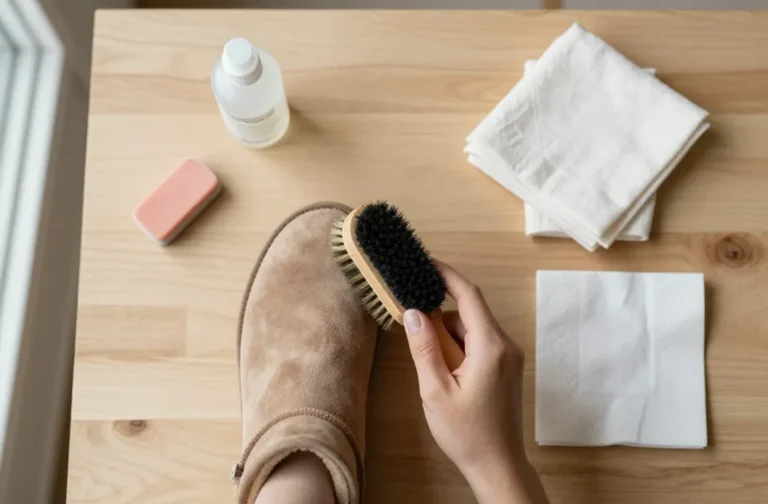
- Brush: Use a super-soft toothbrush or baby brush. Tiny circles. Chill pressure.
- Rinse + Dry: Rinse in running lukewarm water and pat dry with a lint-free cloth.
- Polish: Finish with a silver polishing cloth for shine.
When Soap and Water Wins
Use this for regular maintenance, light tarnish, and removing lotion or sunscreen buildup. It’s boring but safe—and IMO, underrated.
The Baking Soda Methods (Two Ways)
Baking soda pulls its weight in the silver world, but you need to use it correctly.
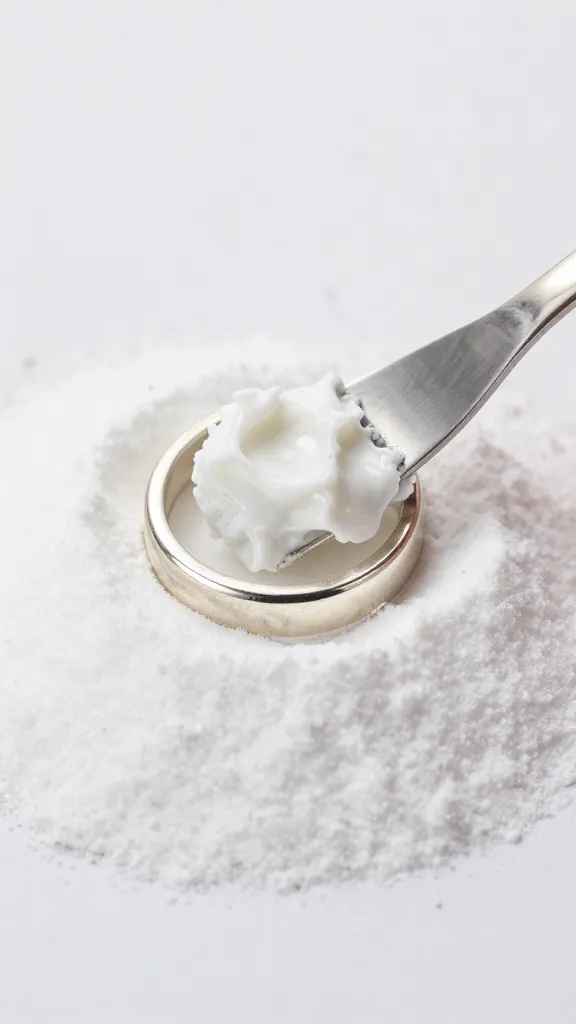
1) Baking Soda Paste for Moderate Tarnish
Great for plain sterling without stones or plating.
- Make paste: 2 parts baking soda + 1 part water.
- Apply gently: Use your fingers or a cloth. Avoid scrubbing hard—baking soda can micro-scratch.
- Rinse + dry: Rinse well and pat dry. Polish with a cloth.
Note: Skip this on mirror-finish pieces you baby, silver-plated items, and anything with soft stones. It’s slightly abrasive.
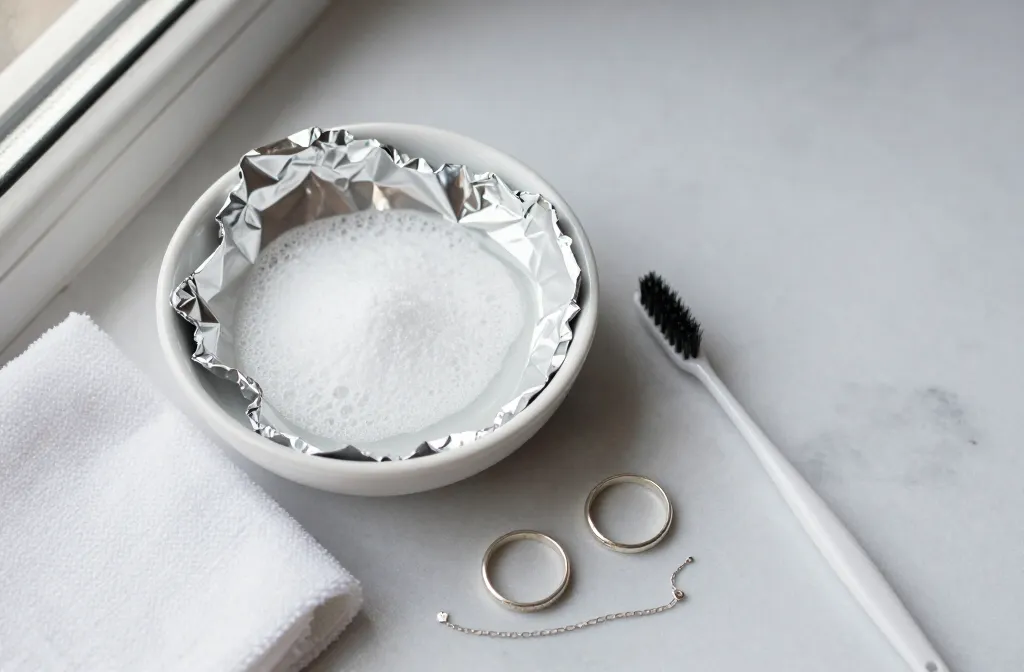
2) Aluminum Foil + Baking Soda “Bath”
This one feels like witchcraft, but it’s just science. It reverses tarnish (sulfur moves off your silver onto the foil).
- Line a glass or ceramic bowl with shiny-side-up aluminum foil.
- Add hot water (not boiling for gemstones), then mix in 1 tablespoon baking soda per cup of water. Optional: add a pinch of salt.
- Drop in plain silver pieces so they touch the foil. You may smell a faint rotten-egg scent. That’s sulfur leaving.
- Wait 1–3 minutes, then remove, rinse, and dry.
Do not use on silver-plated items with worn spots, pieces with glued stones, pearls, opals, turquoise, or intentionally oxidized designs. It can strip finishes or loosen adhesives.
The Gentle Heroes: Commercial Polishing Cloths and Creams
When in doubt, grab a proper silver cloth. It’s low-risk, fast, and oddly satisfying.
- Silver polishing cloth: Rub gently in straight lines. The dark residue you see? That’s normal.
- Silver cream/polish: Use sparingly per instructions. Apply, wait a few seconds, buff off. Avoid stones and crevices.
I reach for a polishing cloth 90% of the time. It keeps texture and patina intact without drama, IMO.
What About Toothpaste?
Hard pass. Some formulas scratch silver. You’ll earn “vintage” vibes you didn’t ask for. Use baking soda paste or a proper polish instead.
Special Cases: Stones, Plating, and Oxidized Finishes
Not all silver behaves the same. Here’s how to avoid heartbreak.
Silver with Gemstones
– Porous/soft stones (pearls, opals, turquoise, coral, lapis, malachite): No soaking. No heat. No foil method.
– How to clean: Lightly damp cloth with mild soapy water. Clean the silver around the stones with a polishing cloth. Dry immediately.
Silver-Plated Jewelry
Plating is a thin layer that you can remove if you go too hard.
– Avoid abrasives: No baking soda paste, no hard brushes.
– Use: Mild soapy water and a very gentle polishing cloth. If the brass shows through, it’s time for re-plating.
Intentionally Oxidized or Antique-Look Silver
Those dark crevices give depth. Don’t erase them.
– Skip the foil bath.
– Use a polishing cloth on raised areas only to leave the shadows intact.
Drying and Polishing Like a Pro
Water spots look meh. Finish strong.
- Pat dry with a soft, lint-free cloth—microfiber works great.
- Polish last: Use a clean section of your cloth and keep pressure even.
- Detail trick: A clean, dry, soft-bristle brush hits chain links and filigree without scratching.
Prevention: Keep the Shine Longer
You can’t stop tarnish forever, but you can slow it down dramatically.
- Wear it often: Natural oils help keep tarnish away. Yes, really.
- Store smart: Airtight bags or containers with anti-tarnish strips. Separate pieces to avoid scratches.
- Avoid gunk: Put jewelry on last—after lotions, perfume, hairspray, sunscreen.
- Dry fast: Sweat and chlorinated pools are tarnish accelerators. Rinse and dry after a workout or swim.
- Monthly wipe-down: Quick polish cloth session = less deep cleaning later.
DIY Anti-Tarnish Kit
– Zip bags or small airtight containers
– Anti-tarnish tabs or silica gel packs
– Silver polishing cloth
– Soft toothbrush
– Mild dish soap
– Microfiber towel
Build it once, win forever. Okay, not forever, but your future self will thank you.
Troubleshooting: When Things Get Weird
– White, chalky film? Soap residue. Rinse again and buff dry.
– Black patches won’t budge? Try the foil bath (plain silver only) or a commercial polish.
– Rainbow sheen? Heat/chemical reaction. Use a polishing cloth or cream to even it out.
– Still dull after cleaning? You might have micro-scratches. A pro can re-polish the surface.
– Green gunk at joints? That’s corrosion from alloys or trapped moisture. Clean gently, then dry thoroughly and store better.
FAQ
Can I use vinegar or lemon to clean silver?
You can, but I don’t recommend it for most jewelry. Acids can etch finishes and mess with porous stones or adhesives. Stick to mild soap, baking soda methods, or a real silver polish. Your pieces will live longer.
How often should I clean my silver jewelry?
Light wipe with a polishing cloth every few weeks if you wear it often. Do a deeper clean every couple of months or when you see noticeable tarnish. Regular tiny maintenance beats once-a-year scrubbing, FYI.
Is the aluminum foil method safe for all silver?
It’s safe for plain sterling or fine silver with no stones, plating, or intentional oxidation. Skip it for pearls, opals, turquoise, glued pieces, and plated jewelry. When in doubt, use a polishing cloth.
My silver looks yellow, not black—what’s up?
Tarnish can look yellow or brown before it goes deep gray or black. Clean it the same way. If yellow persists, it might be old lacquer or residue—use a silver polish cream, then buff well.
Can I shower with silver jewelry?
You can, but I wouldn’t. Soap scum builds up, and chlorinated or hard water speeds tarnish. If you forget and wear it, rinse and dry afterward. Low drama, quick fix.
What’s the best way to store silver jewelry?
Airtight containers or zip bags with anti-tarnish strips. Keep pieces separate, cool, and dry. Bonus points if you toss in silica gel packs to fight humidity.
Conclusion
Silver loves attention but doesn’t need a spa day every week. Match the method to the piece, keep things gentle, and build a tiny routine—soap-and-water cleans, polishing-cloth touchups, and smart storage. Do that, and your jewelry will gleam on command. Low effort, big shine, zero panic.